Collaborative Drawing Mastery
Mastering Dynamic Proportions
Frame Before You Render
Before your pencil can capture a subject, your eye must first frame it. The initial challenge in drawing isn't detail, it's scale and placement. Get the big picture wrong, and every perfect detail you add will only make the drawing look more incorrect. This is where the envelope method comes in. It’s a technique for quickly establishing the outer boundaries of your subject, ensuring it fits on the page and its main proportions are sound from the start.
Look at your subject and identify its highest, lowest, leftmost, and rightmost points. Lightly mark these on your paper. Then, connect these points with straight lines to create a simple, angular shape—the 'envelope.' This isn't the final outline; it's the container for your entire drawing. It forces you to see the subject as a single, unified shape rather than a collection of parts. This initial map is your guide to blocking in the major forms accurately.
Measure with Your Eye
Once the envelope is set, you need to place the major forms within it. This requires measurement, but not with a ruler. The technique of allows you to find accurate proportions using only your eye, a straight arm, and your pencil. Close one eye, extend your arm fully, and hold your pencil straight up. Align the tip of the pencil with the top of an object you want to measure. Slide your thumb down the pencil to mark the bottom of that object. This length is now your basic unit of measurement.
You can now use this unit to check other dimensions. How many "head lengths" tall is a figure? Is the width of the torso equal to one head length, or one and a half? This isn't about finding exact inches or centimeters; it's about understanding relationships. You're building a network of proportional checks. Key —like the shoulders, hips, knees, and elbows—serve as reliable anchor points for these measurements. Finding the angle between the shoulders and the hips, for example, tells you almost everything you need to know about the twist in a torso.
Draw the Action, Not the Form
Proportions create accuracy, but gesture creates life. is the practice of quickly capturing the essential movement and energy of a subject. It’s not about outlines or details; it’s about the flow, the weight, and the rhythm of the pose. The goal is to train your hand to follow your eye in one fluid motion.
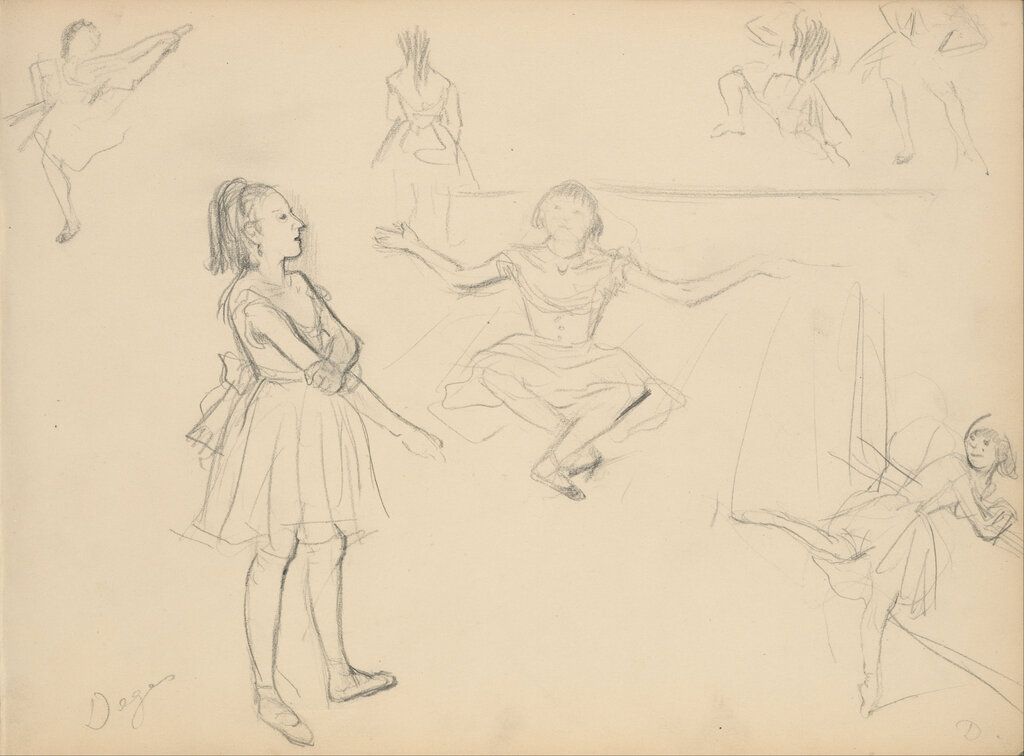
The best way to learn this is through timed exercises. Set a timer for 30 seconds and draw a figure. Don't lift your pencil. Try to capture the entire pose with a single, continuous line if you can. When the timer goes off, stop, and start a new one. Then try one-minute drawings, then five-minute drawings. The intense time pressure forces you to abandon detail and focus solely on the major masses and the line of action—the primary curve that defines the pose's energy.
Think of it as scribbling with a purpose. Your lines should describe the direction of the limbs and the twist of the torso, not their edges.
After establishing the gesture, you can begin massing-in the large shapes of the torso, hips, and head. Use simple ovals and boxes to represent these forms, paying attention to how they overlap and connect. This bridges the gap between the skeletal gesture line and a fully formed figure. By starting with the envelope, measuring comparatively, and capturing the gesture, you build a drawing from a foundation of solid, dynamic proportions. The details can wait.
What is the primary purpose of the "envelope method" in drawing?
The main goal of gesture drawing is to capture the subject's intricate details and realistic textures.