CMYK Woodcut Printing Mastery
Introduction to Woodcut Printmaking
A Centuries-Old Craft
Woodcut printmaking is one of the oldest forms of printmaking. At its core, it's a relief printing technique. This means you carve an image into a block of wood, leaving the printing parts level with the surface while removing the non-printing parts. Think of it like a sophisticated rubber stamp. The raised areas of the block get inked, and the carved-away areas remain blank.
This method dates back to ancient China and was used for printing textiles before it was used for printing on paper. In Europe, it became popular in the 15th century for creating everything from religious art to playing cards and, most importantly, illustrating books. Before the invention of the printing press, woodcuts made it possible to reproduce images for the first time.
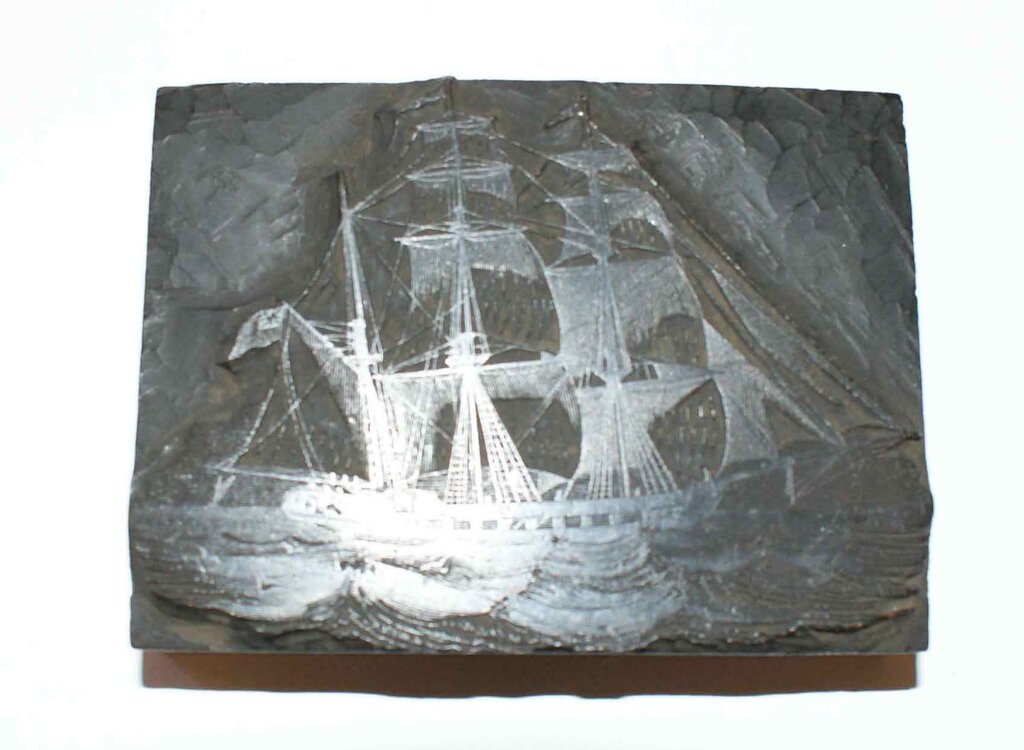
Choosing Your Canvas
The type of wood you choose has a huge impact on your final print. The main consideration is the grain. Woodblocks are typically cut either along the grain (plank-grain) or across it (end-grain).
Plank-grain blocks are more common and show the wood's natural grain, which can become a beautiful part of the printed image. Softer woods like pine or poplar are easy to carve and great for beginners, but they don't hold fine details well. Hardwoods like cherry, pear, or maple are more difficult to carve but allow for incredibly precise, delicate lines.
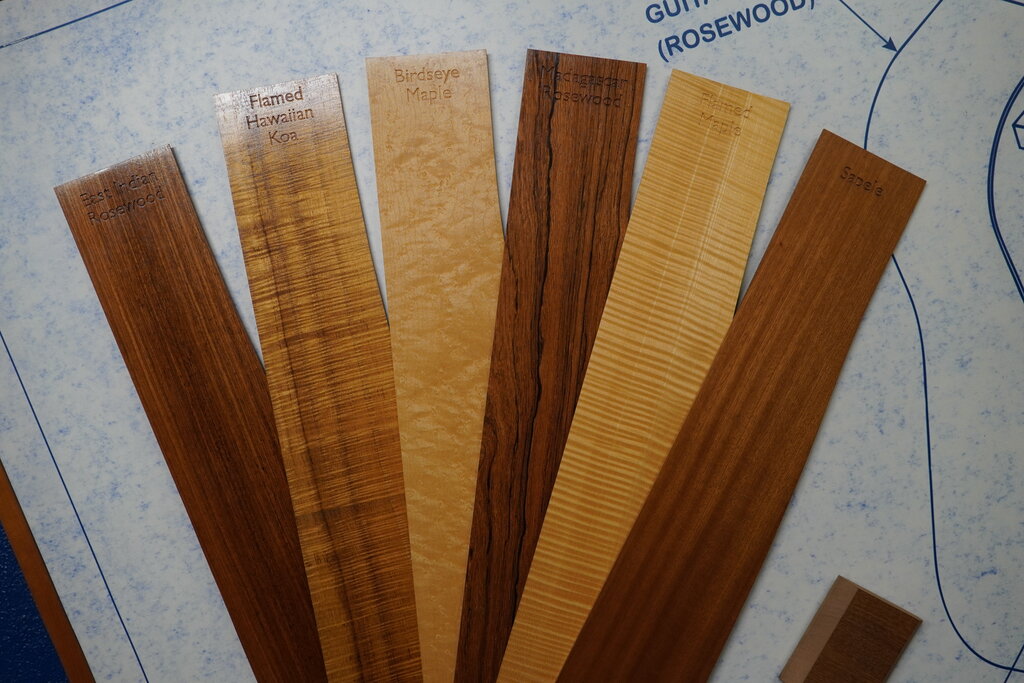
End-grain blocks, usually from boxwood, are very dense and have almost no visible grain. This makes them ideal for highly detailed work, a technique known as wood engraving. For your first projects, a soft plank-grain wood like basswood is an excellent choice.
The Carver's Toolkit
You don't need a lot of tools to start, but having the right ones is key. The basic tools for woodcut carving are gouges and knives. Each creates a different kind of mark.
A V-gouge has a V-shaped tip and is used for making fine, sharp lines. A U-gouge has a U-shaped or curved tip and is perfect for scooping out larger areas of wood. A straight knife is used for outlining your design and making precise vertical cuts.
From Sketch to Block
Once you have your wood and tools, you need to get your design onto the block. The simplest way is to draw directly on the wood with a soft pencil. You can sand the surface lightly first to make it smoother and easier to draw on.
Another common method is to use transfer paper (like carbon paper). You draw your design on a separate piece of paper, place the transfer paper on the block with the ink-side down, put your drawing on top, and trace over the lines firmly with a pencil or pen. This transfers the design neatly to the wood surface.
Remember: Your printed image will be a mirror image of what's on the block. Any text or asymmetrical designs must be transferred in reverse!
With your design transferred, you're ready to start carving. The most important rule of thumb is safety. Always carve with control, and position your non-carving hand safely behind the tool's path. A sharp tool is a safe tool, as it requires less force and is less likely to slip. Take your time, and enjoy the process of watching your image emerge from the wood.
Ready to check your understanding of these foundational concepts? Let's see what you've learned.
Woodcut is a form of relief printing. What does this mean?
Which carving tool is best suited for clearing out large, non-printing areas of a woodblock?
Now you have a solid grasp of the basics. The next step is to practice these skills and prepare for your first print.