Cloud Native Development with Docker Desktop
Introduction to Docker Desktop
Your Docker Command Center
So far, you've learned about Docker's core concepts: images, containers, and the powerful command-line tools used to manage them. While the command line is essential, it's not always the most intuitive way to see everything at a glance. That's where Docker Desktop comes in.
Think of it as the dashboard for your car. The engine (the Docker Engine) does all the heavy lifting, but the dashboard gives you a clean, visual way to see your speed, fuel level, and any warning lights. Docker Desktop does the same for your containers, images, and other Docker resources. It's a graphical user interface (GUI) that bundles the Docker Engine, the command-line client, and other tools into a single, easy-to-install application for your Mac, Windows, or Linux machine.
Docker Desktop is a native application that delivers all of the Docker tools to your Mac or Windows Computer.
With Docker Desktop, you can manage the lifecycle of your containers without having to memorize a long list of commands. It provides a visual overview of what's running, what's stopped, and how your different components are connected.
Installation and Setup
Getting Docker Desktop running is straightforward, but first, make sure your computer meets the system requirements. The needs vary slightly depending on your operating system.
| Operating System | Key Requirements |
|---|---|
| Windows | Windows 10/11 64-bit (Pro, Enterprise, or Education). WSL 2 backend. |
| macOS | Version 12 (Monterey) or newer. Intel or Apple silicon chip. |
| Linux | 64-bit version of Debian, Ubuntu, Fedora, or Arch. 4GB RAM. |
To install, simply head to the official Docker website, download the correct installer for your system, and run it. The installation wizard will guide you through the process, which handles all the complex setup in the background. Once it's done, you'll see the Docker whale icon in your system tray or menu bar. Clicking it lets you access the Dashboard, settings, and other features.
Navigating the Dashboard
When you open Docker Desktop, the main window is the Dashboard. This is your mission control for container development. The interface is organized into several key sections, typically found in a navigation pane on the left side.
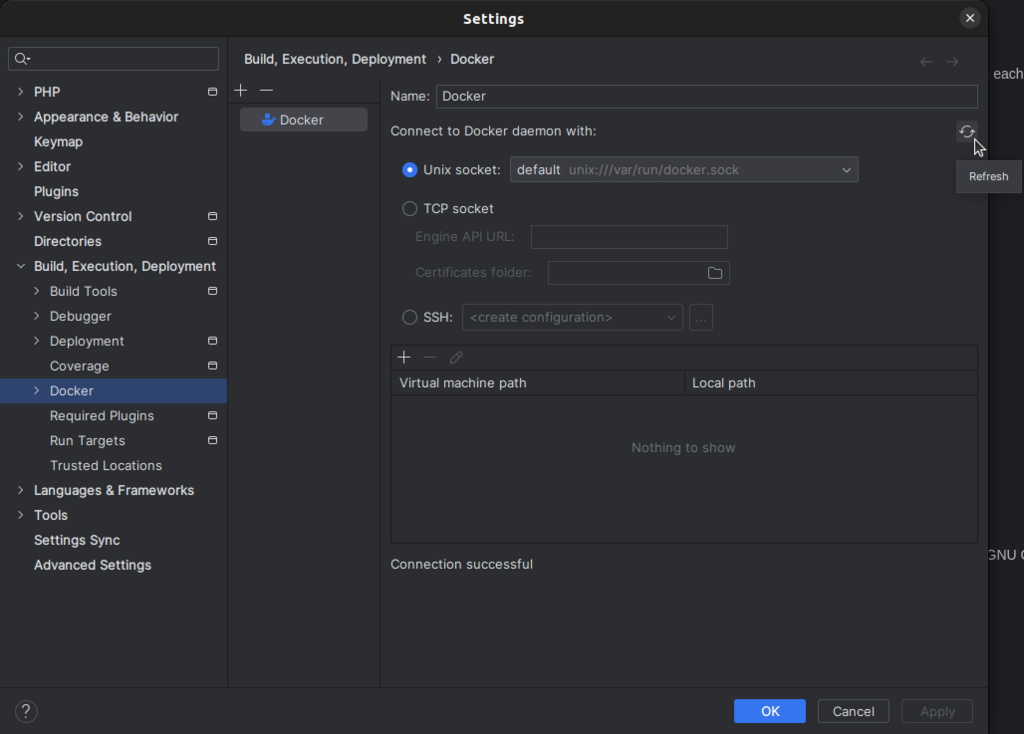
Containers: This is where you'll spend a lot of your time. It lists all your containers, both running and stopped. You can see their status, what image they're based on, and what ports they're using. From here, you can start, stop, restart, or delete containers with a single click.
Images: This view shows all the Docker images stored on your local machine. These are the blueprints you use to create containers. You can see their size, when they were created, and which ones are currently being used. You can also pull new images from registries like Docker Hub or remove old ones to free up disk space.
Volumes: As you learned previously, volumes are used to persist data generated by and used by Docker containers. This section allows you to see all the volumes on your system, which containers they're connected to, and manage them directly.
Exploring these tabs is the best way to get comfortable. Try starting a simple container (like the hello-world example you ran before) and watch how it appears in the Containers list. Then, check the Images tab to see the hello-world image that was downloaded. This direct, visual feedback is one of the biggest advantages of using Docker Desktop.
What is the primary role of Docker Desktop?
True or False: Docker Desktop bundles the Docker Engine and command-line tools into a single application, but does not replace them.
By using its simple graphical interface, Docker Desktop makes container management accessible and helps you visualize how all the pieces of the Docker ecosystem fit together on your own machine.