Clarinet Fundamentals Grade 1
Clarinet Assembly
Meet the Pieces
Before you can play a note, you need to know your instrument. A standard clarinet is made of five main sections that fit together like a puzzle. Understanding each part's role is the first step to assembling it correctly.
From bottom to top, you have the Bell, which flares out and helps project the sound. Next are the Lower Joint and Upper Joint, which house most of the keys. The small, simple-looking piece is the Barrel. Finally, the Mouthpiece is where you blow to produce a sound, using a reed held on by a ligature.
A Smooth Connection
The joints of the clarinet connect via cork-covered rings called tenons. To make assembly easy and prevent damage, you'll need to apply a small amount of cork grease. A new clarinet or one that hasn't been used in a while will need grease more often.
Only apply a thin, even layer of grease to the corks. Too much grease can attract dirt and grime, while too little can make assembly difficult and risk bending keys.
Rub a little grease on each tenon cork. Don't worry about the mouthpiece cork for now, as it usually doesn't need as much grease as the main body joints.
Putting It All Together
Assembling your clarinet should be done carefully to avoid damaging the keywork. Always hold the sections firmly, but try not to squeeze the keys. A gentle twisting motion is all you need.
| Step | Action | Tip |
|---|---|---|
| 1 | Bell to Lower Joint | Hold the lower joint in one hand and the bell in the other. Gently twist the bell onto the bottom tenon of the lower joint. |
| 2 | Upper to Lower Joint | This is the trickiest part. Hold the upper joint and press down the top two rings on the front. This lifts the bridge key. Align the bridge key with the one on the lower joint and twist the sections together. |
| 3 | Barrel to Upper Joint | Twist the barrel onto the top tenon of the upper joint. The manufacturer's logo on the barrel usually faces forward, aligned with the keys. |
| 4 | Mouthpiece to Barrel | Finally, twist the mouthpiece onto the barrel. The flat side of the mouthpiece should line up with the register key on the back of the upper joint. |
| 5 | Add the Reed | Don't put the reed and ligature on until you are ready to play. This protects the fragile reed from getting chipped. |
The connection between the upper and lower joints is critical. The two small keys that meet there are called the bridge keys. They must be aligned perfectly for certain notes to play correctly. When joining these sections, pressing the rings on the upper joint raises one of the bridge keys, allowing them to pass each other without bending.
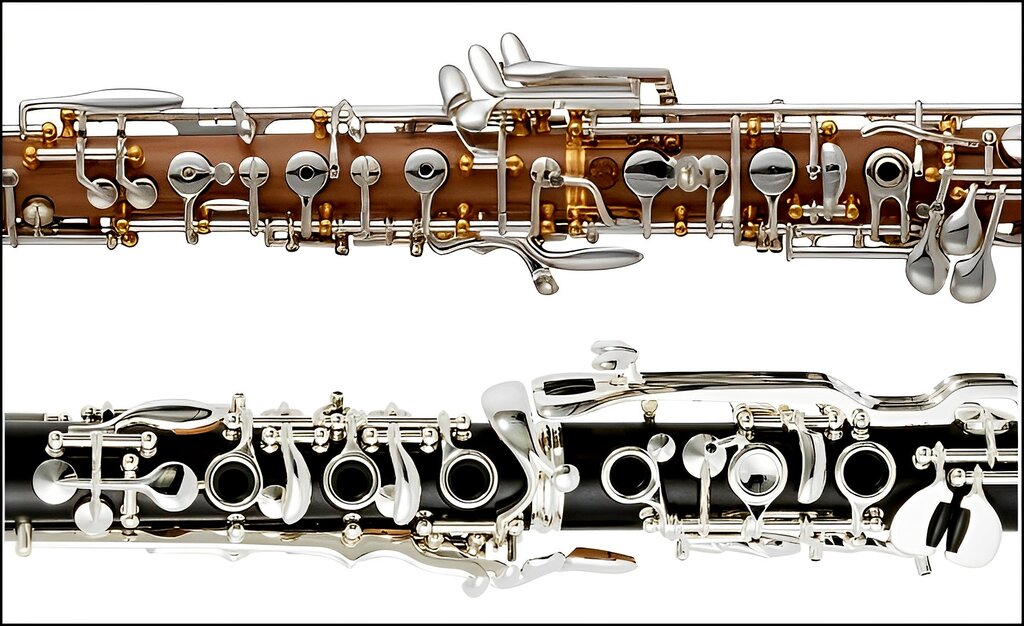
When you're finished, the instrument should feel like one solid piece. There should be no wobbling or looseness at the joints. An airtight seal is essential for a good sound.
Which part of the clarinet flares out at the bottom and is primarily responsible for projecting the sound?
The cork-covered rings that connect the main sections of the clarinet are called what?
With practice, assembling your clarinet will become a quick and easy routine. Always take your time to do it right, and your instrument will thank you with years of great music.