Ceramic Tile Installation
Mathematical Layout Planning
Mastering the Perfect Tile Layout
Professional tiling is less about the tiles themselves and more about the precision of the layout beneath them. In this chapter, we will move beyond simple wall-to-wall starts by mastering centerlines and the geometric accuracy of the 3-4-5 triangle method. By the end of this section, you will be able to construct a structural backbone for your project that eliminates awkward cuts and ensures a perfectly symmetrical finish for any room.
Finding the True Center
In a perfect world, every room would be a flawless square. In the real world, walls lean, corners flare, and a room is rarely what it seems at first glance. If you simply start tiling against the longest wall, you might find that by the time you reach the other side, your tiles are running at a diagonal or ending in slivers thinner than a pencil. This is why we almost always start from the center of the room. However, the is rarely a mathematical absolute; it is a calculated compromise.
You must decide where the eye will naturally fall. Imagine standing in the main entryway or looking at the most prominent focal wall. Your goal is to ensure that the tiles seen from that vantage point look balanced and intentional. If the physical center of the floor leaves you with an awkward two-inch strip of tile at the main entrance, you shift your starting line. You are not just measuring a floor; you are anchoring a visual experience.
Proper planning is the foundation of any tiling project.
Once you have determined your anchor point, it is time to create your —the 'backbone' of your project. By snapping two perpendicular lines that intersect at your chosen center, you divide the floor into four quadrants. This crosshairs pattern allows you to work from the middle outward, ensuring that any necessary cuts happen at the edges of the room where they are less noticeable.
This method requires a trade-off. Tiling from the center ensures visual symmetry and professional alignment, but it almost always requires more cutting than starting against a wall. If you start against a wall, you might finish faster, but you risk the entire layout looking 'off' if that wall isn't perfectly square. In this trade, we always choose the backbone. It provides the rigid guide every subsequent tile needs to stay straight.
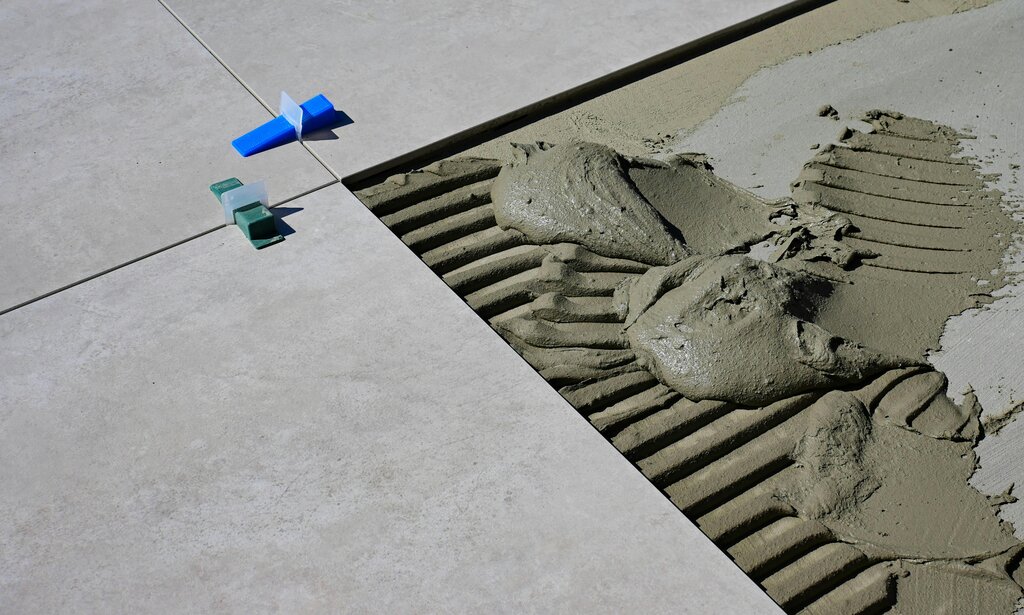
Before you mix a single bag of mortar, you must perform a dry layout. Lay a row of tiles along your snapped lines from the center to each wall, using spacers to account for grout lines. As you walk back to the doorway, look at how the pattern meets the perimeter. Does it feel balanced? Are the cuts at the edges large enough to look clean? This is your last chance to shift your backbone before it becomes permanent. You are essentially building a roadmap for your hands to follow once the clock starts ticking on your adhesive.
By establishing these initial guide lines, you have moved from guessing to engineering. You have accounted for the room's flaws and chosen a path that prioritizes the visual finish. Now that your backbone is set and your quadrants are marked, we can look at the specific mathematical checks that ensure these lines are truly perpendicular.