CCNA Certification Mastery and Network Engineering
Switching and VLANs
Creating Virtual Networks
In a physical LAN, all connected devices are part of the same broadcast domain. This means when one device sends a broadcast message, every other device on the network receives and processes it. As a network grows, this can create a lot of unnecessary traffic, slowing everything down.
A Virtual Local Area Network, or VLAN, solves this by letting you chop a physical LAN into multiple, isolated logical networks. Think of it like creating virtual floors in an office building. Everyone is in the same physical structure, but the Finance department on VLAN 10 can't hear the chatter from the Marketing department on VLAN 20. This segmentation boosts performance by shrinking broadcast domains and enhances security by isolating traffic.
Each VLAN is its own broadcast domain. Devices in different VLANs cannot communicate directly, even if they're plugged into the same physical switch.
Creating a VLAN on a Cisco switch is straightforward. You give it a number and a name for easy identification.
Switch> enable
Switch# configure terminal
Switch(config)# vlan 10
Switch(config-vlan)# name Sales
Switch(config-vlan)# vlan 20
Switch(config-vlan)# name Engineering
Switch(config-vlan)# end
Access and Trunk Ports
Once you have VLANs, you need to assign switch ports to them. Ports on a switch operate in one of two modes: access or trunk.
An access port belongs to a single VLAN. Any device you plug into an access port, like a user's computer or a printer, becomes a member of that specific VLAN. The traffic from this device is assumed to belong to that VLAN and is not tagged with any special information.
A trunk port is different. It's designed to carry traffic for multiple VLANs simultaneously. Trunk ports are typically used for the links between switches, allowing devices on the same VLAN to communicate even if they are connected to different physical switches. To keep the traffic from different VLANs separate as it crosses the trunk link, the switch adds a 'tag' to each frame. This process is defined by the standard.
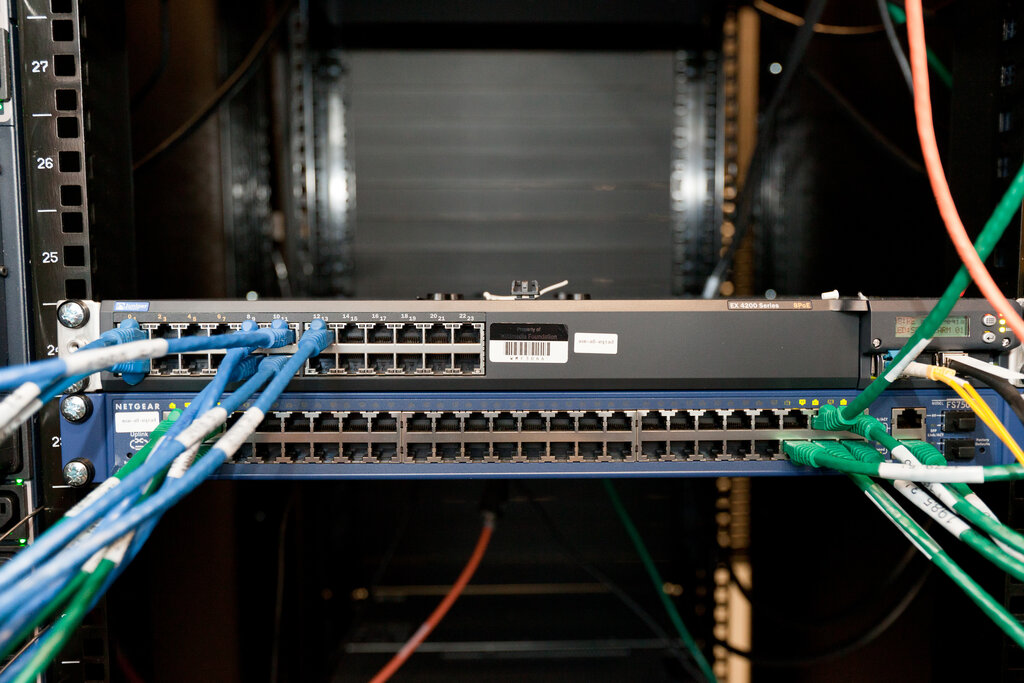
Here’s how you would configure an access port for the Sales VLAN and a trunk port on a Cisco switch.
Switch(config)# interface FastEthernet0/1
Switch(config-if)# switchport mode access
Switch(config-if)# switchport access vlan 10

Switch(config)# interface GigabitEthernet0/1
Switch(config-if)# switchport mode trunk
One special concept for trunk ports is the Native VLAN. By default, this is VLAN 1. Any traffic that crosses a trunk port without an 802.1Q tag is automatically assumed to belong to the native VLAN. For security, it's a best practice to change the native VLAN to an unused VLAN number and ensure it matches on both ends of the trunk link. A native VLAN mismatch is a common cause of connectivity issues.
Routing Between VLANs
Since VLANs are isolated, you need a Layer 3 device, a router, to allow them to communicate. This process is called inter-VLAN routing. There are two common ways to achieve this.
1. Router-on-a-Stick
This method uses a single physical router interface, connected to a trunk port on a switch, to route traffic for multiple VLANs. The router interface is configured with multiple logical 'subinterfaces', one for each VLAN. Each subinterface is assigned an IP address to act as the default gateway for its respective VLAN.
While cost-effective because it only uses one port, it can become a bottleneck since all inter-VLAN traffic has to go up to the router and back down again. The name comes from the way the router hangs off the switch with a single connection, like a lollipop.
2. Layer 3 Switching with SVIs
A more modern and efficient method uses a multilayer switch, which can perform both Layer 2 switching and Layer 3 routing. Instead of using a separate router, you create a virtual router interface on the switch itself for each VLAN. This is called a Switched Virtual Interface, or SVI.
Each SVI is assigned an IP address and acts as the default gateway for the devices in its VLAN. Since the routing is handled within the switch's hardware, it's much faster than the Router-on-a-Stick method. This is the standard for inter-VLAN routing in most modern enterprise networks.
// Enable IP routing on the Layer 3 Switch
L3_Switch(config)# ip routing

// Create the SVI for VLAN 10
L3_Switch(config)# interface Vlan10
L3_Switch(config-if)# ip address 192.168.10.1 255.255.255.0
L3_Switch(config-if)# no shutdown

// Create the SVI for VLAN 20
L3_Switch(config)# interface Vlan20
L3_Switch(config-if)# ip address 192.168.20.1 255.255.255.0
L3_Switch(config-if)# no shutdown
Automating VLAN Management
In a large network with dozens of switches, creating and naming VLANs on every single one would be tedious and prone to error. To solve this, Cisco created the (VTP). VTP allows you to manage your VLAN configuration on a single switch, and have the changes propagate automatically to all other switches in the network.
Switches in a VTP domain can be in one of three modes:
| Mode | Description | Can Create/Modify VLANs? |
|---|---|---|
| Server | The master switch. You make all VLAN changes here. It sends updates to clients. | Yes |
| Client | Receives VLAN updates from a server. Cannot make local VLAN changes. | No |
| Transparent | Does not participate in VTP but will forward VTP advertisements to other switches. Manages its own local VLAN database. | Yes (local only) |
For VTP to work, all switches must be configured with the same VTP domain name and password. When a change is made on the server, it increments a revision number and sends out an advertisement. Client switches see the new, higher revision number and update their VLAN databases accordingly.
Now, let's test what you've learned about creating, connecting, and managing virtual LANs.
What is the primary purpose of creating a Virtual Local Area Network (VLAN)?
A network technician needs to connect a user's desktop computer to a specific VLAN. Which switch port mode should be configured for the connection to the computer?
Understanding how to properly segment your network with VLANs is a critical skill for any network administrator, forming the foundation for secure and efficient network design.