CapCut Video Editing Essentials
Getting Started
What is CapCut?
CapCut is a free video editing app that makes creating polished, professional-looking videos surprisingly simple. It started on mobile and became incredibly popular for making short videos for social media, but it's now also available as a powerful desktop application.
CapCut is a free video editing app that allows users to create stunning videos easily.
What makes it great for beginners is its straightforward design and huge library of free music, sound effects, stickers, and video effects. You don't need any prior experience to start putting clips together. Everything is designed to be intuitive, letting you focus on your creative ideas rather than getting stuck on complicated tools.
Getting It Installed
Getting CapCut is easy. If you're on a phone or tablet, just head to the Apple App Store or Google Play Store and search for "CapCut." The process is the same as installing any other app.
For a desktop computer (Windows or Mac), you'll need to go to the official CapCut website. You can download the installer directly from there. Once it's downloaded, open the file and follow the on-screen instructions to install it.
Once it's installed, you're ready to open it up and start your first project. The interface might look a little busy at first, but it's organized into a few key areas that are easy to understand.
The CapCut Workspace
When you open CapCut, you'll see three main sections. Understanding what each one does is the key to getting started.
1. Media Panel: This is your library. It’s where you’ll find all the building blocks for your video: your imported video clips, audio files, photos, and all of CapCut's built-in effects, text tools, and sounds.
2. Preview Window: This is your screen. It shows you exactly what your video looks like at any given moment. When you play your project, you'll watch it here.
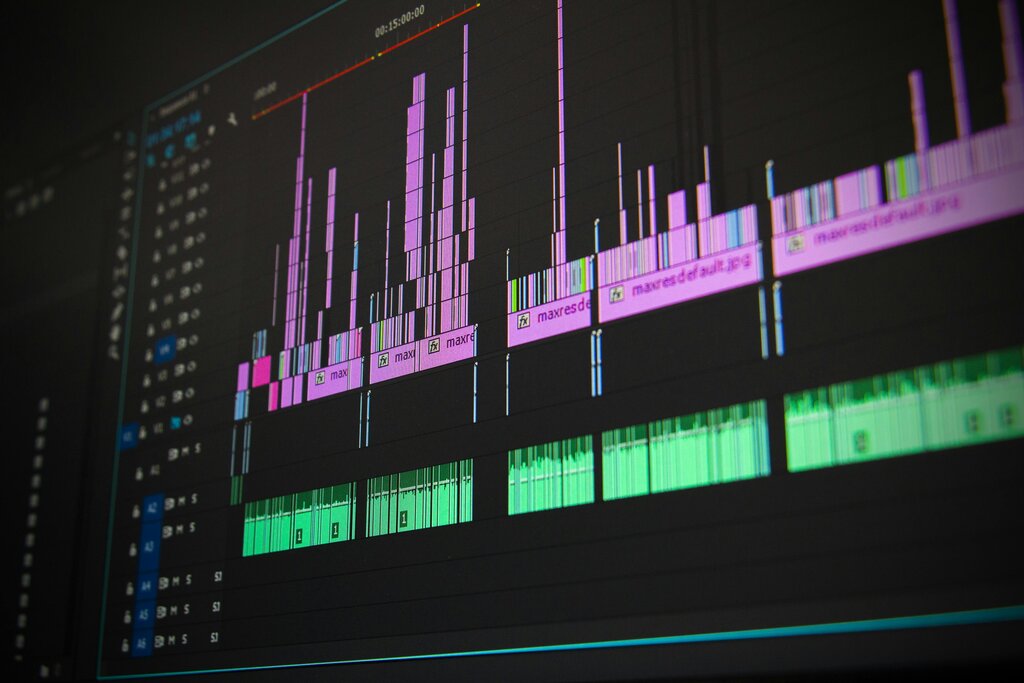
3. Timeline: This is your main workspace. You'll drag clips from the Media Panel down into the timeline to arrange them in the order you want. This is where you'll do all your editing, like trimming clips, adding music, and placing text.
Starting a New Project
Ready to make something? The first step is always to create a new project and bring in your media.
When you first open CapCut, you'll see a big button that says "New Project" or a plus (+) icon. Tapping or clicking this will open the main editor workspace. It will be empty at first, because you haven't added any videos or photos yet.
Your first task is to import your media. This just means telling CapCut which files you want to use.
Look for an "Import" button. On mobile, this will open your phone's photo gallery. On desktop, it will open a file browser for your computer. Select the video clips, photos, and audio files you want to use in your project. Once you select them, they'll appear in your Media Panel, ready for you to drag them into the timeline and start editing.
What is the primary function of CapCut?
According to the text, where do you go to install CapCut on a Windows or Mac computer?
Now you know your way around the basic layout of CapCut and how to get your files ready. Next, we'll look at how to start arranging and trimming those clips on the timeline.