Canva for E-commerce Marketing
Canva Basics
Getting Started with Canva
Canva is an online design tool that helps you create professional-looking graphics without needing any design experience. It’s perfect for making everything from social media posts and website banners to product mockups for your e-commerce store. The platform uses a simple drag-and-drop interface, making it accessible for everyone.

First, you'll need to create an account. Go to Canva's website and you can sign up using your email, or with a Google, Facebook, or Apple account. The free version of Canva is incredibly powerful and offers more than enough tools to get started. You can always upgrade to a Pro account later if you need more advanced features.
Exploring the Dashboard
Once you log in, you'll land on your Canva dashboard. This is your home base. At the top, you'll see a search bar where you can look for specific types of designs, like an “Instagram post” or a “logo.” You'll also see a “Create a design” button in the top right corner.
The main part of the screen will show you suggestions for different types of projects you might want to start. As you create designs, they will appear here under a “Recent designs” section, so you can easily find and continue your work.
Take a few minutes to click around the dashboard. Familiarize yourself with the layout—where to find templates, where your past projects are saved, and how to start something new.
Starting with Templates
The easiest way to begin is by using a template. Canva offers thousands of pre-made designs for almost any purpose. This saves you from the intimidating blank page and gives you a professional-looking foundation to build on.
Canva offers a plethora of templates tailored for various needs, from social media posts to presentations and marketing materials.
Let’s say you want to create a promotional graphic for a sale. You can search for “sale announcement” and browse through countless options. When you find one you like, just click on it to open it in the Canva editor. Now you can customize it to fit your brand.
The Design Editor
The editor is where you'll spend most of your time. It’s split into a few main areas. On the left is the object panel, in the center is your design canvas, and at the top is the main toolbar.
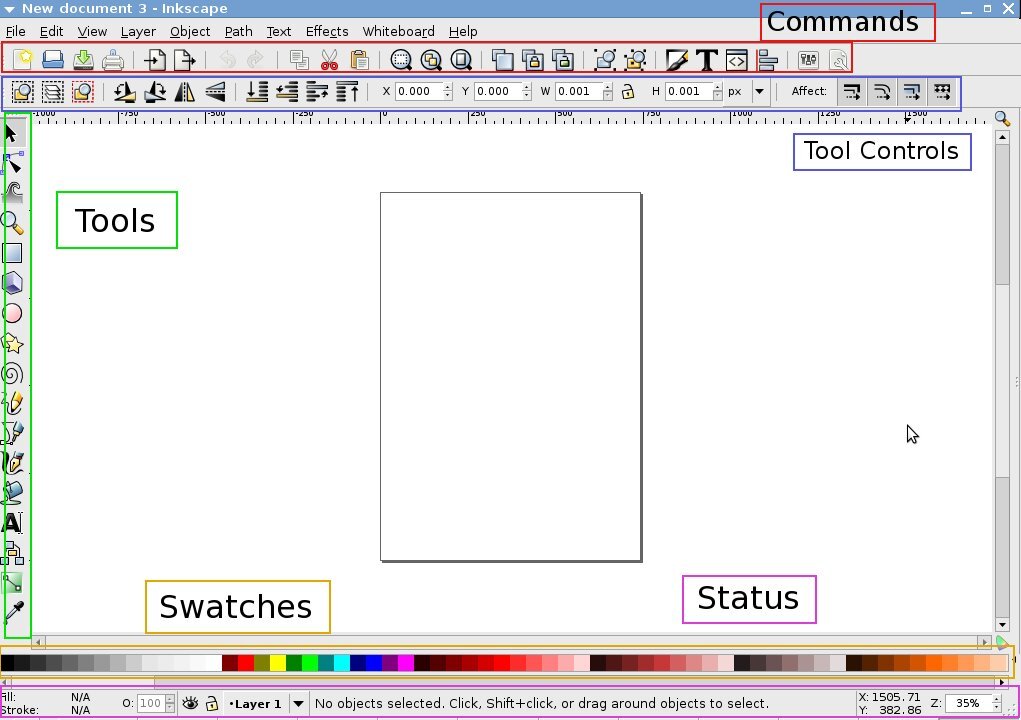
The object panel on the left is your creative toolkit. This is where you find everything you need to add to your design.
| Tool | Purpose |
|---|---|
| Templates | Switch to a different template layout. |
| Elements | Find shapes, lines, graphics, photos, and videos. |
| Text | Add headings, subheadings, or body text. |
| Brand | Access your saved brand colors and logos (mostly a Pro feature). |
| Uploads | Add your own images, like your product photos or logo. |
You can drag any item from this panel directly onto your canvas. Once an element is on your canvas, you can click on it to move, resize, or rotate it. When you select an item, the top toolbar will change to show you options for customizing it, like changing colors, fonts, or transparency. When you're happy with your design, use the “Share” button in the top-right corner to download it.
What is the primary function of Canva?
When you first log in to Canva, what is the name of the 'home base' screen where you can see your recent work and start a new design?
Now you have a solid grasp of the basics. The best way to learn is by doing, so try creating a simple design for your store. Experiment with different elements and templates to see what you can make.