Canadian National Latte Art Championship
Latte Art Fundamentals
The Perfect Canvas
Beautiful latte art doesn't start with the milk. It starts with a perfect shot of espresso. Think of the rich, reddish-brown crema on top of a fresh espresso as your canvas. Without a good canvas, your art won't have a foundation to sit on.
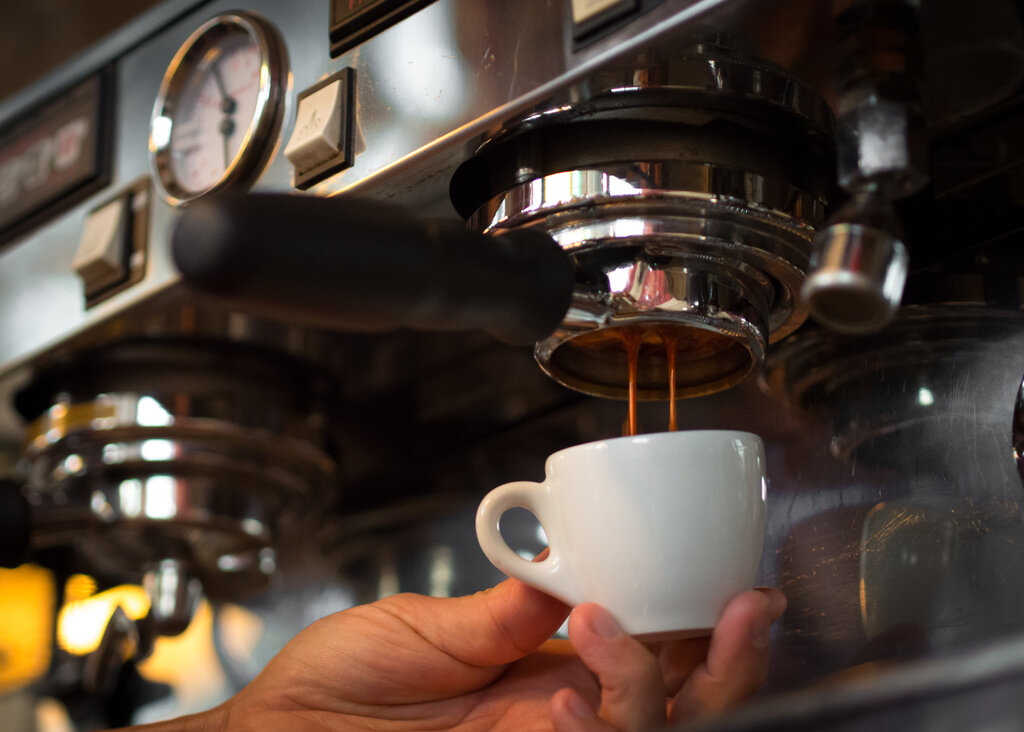
To get that crema, you need to understand the basics of your espresso machine. While they can look complex, most machines share a few key parts.
| Part | Purpose |
|---|---|
| Portafilter | The handle that holds the basket of ground coffee. |
| Group Head | Where the portafilter locks in and hot water flows through. |
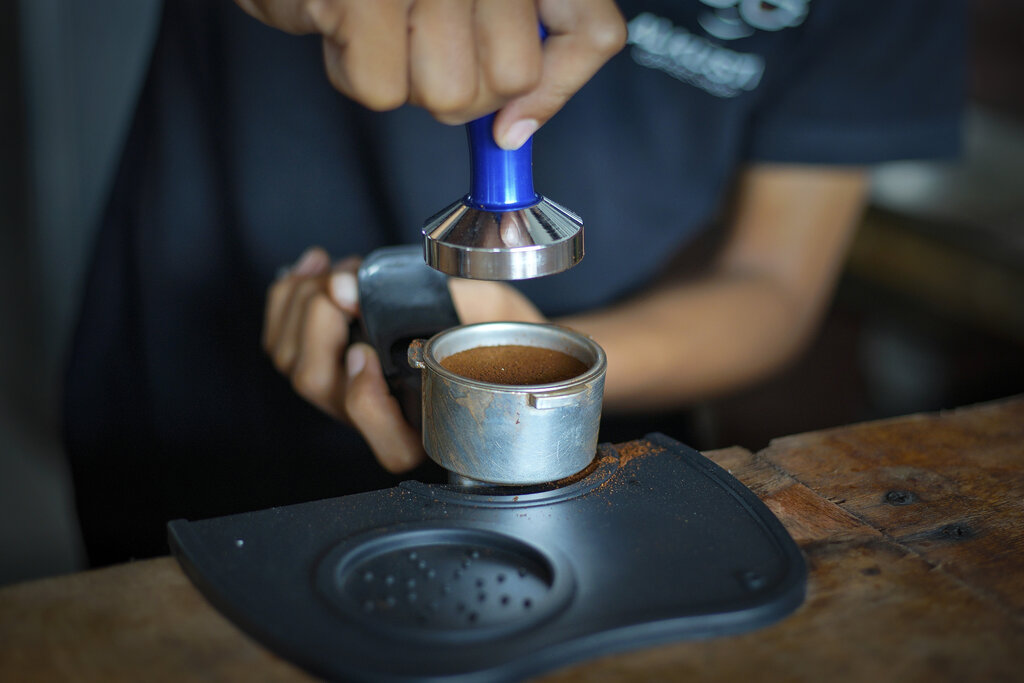
| Tamper | A tool used to press the coffee grounds into a flat, even puck. |
| Steam Wand | The nozzle that shoots out steam to heat and texturize milk. |
Your goal is a consistent extraction, meaning the water flows through the coffee grounds evenly. Start by filling your portafilter with the correct dose of finely ground coffee. Then, use your tamper to apply firm, level pressure. This step, called tamping, is crucial. An uneven puck will cause water to flow through one side faster than the other, resulting in a weak, disappointing shot.
Lock the portafilter into the group head and start the shot. You're looking for a flow that resembles warm honey. It should take about 25–30 seconds to pull a standard double shot. If it's too fast, your grind is likely too coarse; too slow, and it's too fine. A good shot will have that beautiful, persistent crema waiting for your art.
Creating Silky Microfoam
Now for the paint: the milk. The key to latte art is creating microfoam, not the stiff, bubbly foam you see on old-school cappuccinos. Microfoam is steamed milk with a smooth, velvety texture and a glossy sheen, like wet paint. It's made of tiny, uniform bubbles that integrate perfectly with the espresso.
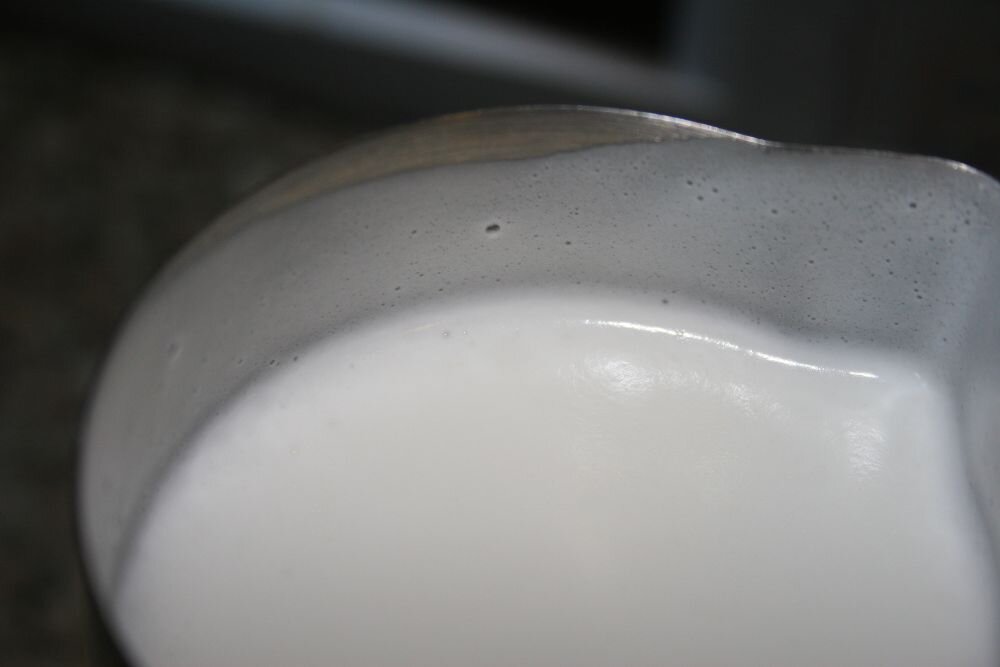
The process involves two main stages: stretching and texturing.
-
Stretching (Aeration): Start with cold milk in a cold pitcher. Place the steam wand tip just below the surface of the milk. When you turn on the steam, you should hear a gentle hissing or paper-tearing sound. This is air being introduced into the milk, which creates volume. Only do this for the first few seconds.
-
Texturing (The Vortex): Once the milk has expanded by about 20-30%, submerge the steam wand deeper into the pitcher, positioning it off-center. This creates a whirlpool or vortex. Let the milk spin until the pitcher is too hot to comfortably hold. This spinning motion breaks down larger bubbles and folds the air into the milk, creating that silky microfoam.
After steaming, immediately tap the pitcher on the counter to pop any large bubbles and give it a swirl to keep the milk and foam integrated.
The First Pour
With your espresso canvas and milk paint ready, it's time to combine them. The technique you use here determines whether you get a muddy mix or a crisp design. The key is controlling the height and speed of your pour.
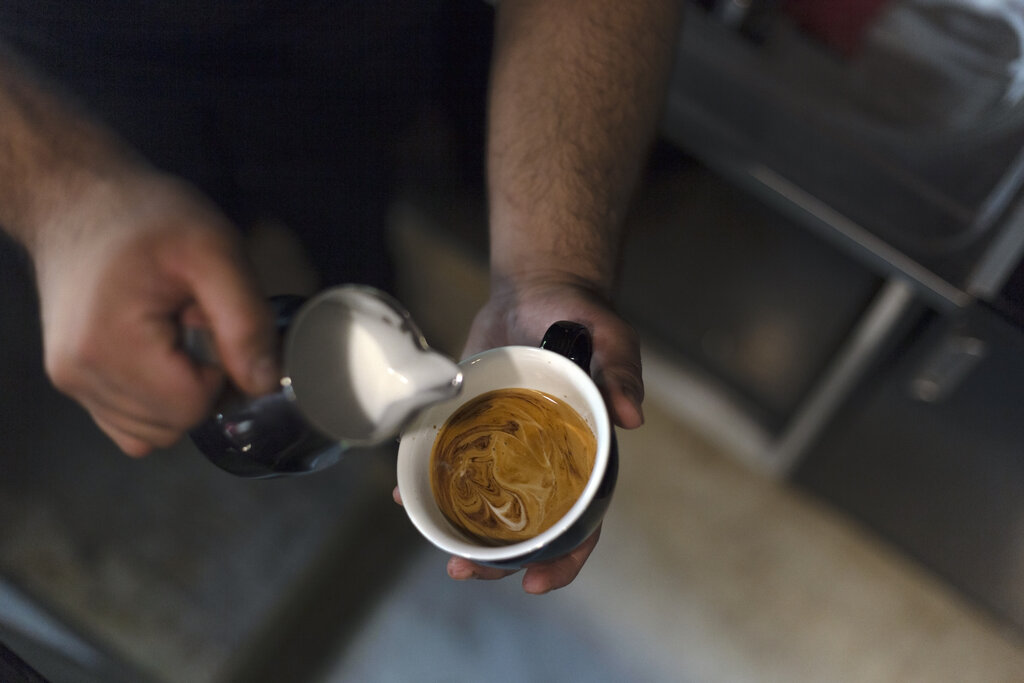
Begin by tilting your cup of espresso toward the pitcher. Start pouring the steamed milk from a relatively high position, about 4-5 inches above the cup. Pour a thin, steady stream into the center of the espresso. This initial high pour allows the milk to dive underneath the crema, mixing with the espresso and creating the base layer of your latte.
Once the cup is about half to two-thirds full, it's time to bring the pitcher down low, almost touching the lip of the cup. As you get closer, the white microfoam will begin to float on the surface of the crema instead of sinking. This is the moment your design begins to take shape. For now, just focus on getting a clean white dot to appear in the center. From that simple dot, all other designs are born.
Mastering these fundamentals—a great espresso shot, silky microfoam, and a controlled pour—is the entire foundation of latte art. Practice these steps, and you'll be ready to create more complex designs.