C++ Game Development Fundamentals
Development Environment Setup
Choosing Your Tools
To build a C++ game, you need an Integrated Development Environment (IDE). An IDE bundles a text editor, a compiler, and a debugger into one application, streamlining your workflow. It's the digital workshop where you'll write, build, and test your code.
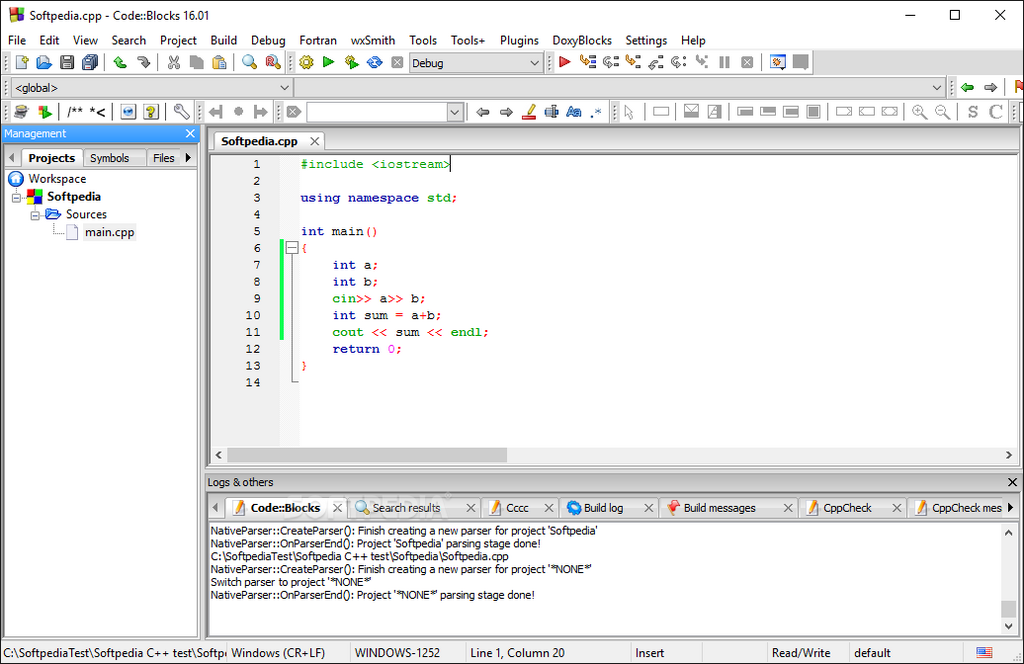
For Windows development, Visual Studio is the industry standard. Its powerful debugger and feature set are hard to beat. If you're working on macOS or Linux, or simply prefer a lightweight, cross-platform option, Code::Blocks is an excellent choice. It's open-source and straightforward to set up.
Most IDEs come with a compiler. Visual Studio uses the Microsoft Visual C++ compiler (MSVC). Code::Blocks often bundles the MinGW compiler on Windows, which is a port of the GNU Compiler Collection (GCC). The key is that the IDE knows how to use the compiler to turn your human-readable source code into an executable program.
Adding Multimedia Libraries
C++ doesn't have built-in functions for drawing graphics, playing audio, or handling windows. To do that, we need a multimedia library. These libraries provide an API (Application Programming Interface) that handles the complex, operating system-specific tasks for you.
Two popular choices for 2D games are SDL (Simple DirectMedia Layer) and SFML (Simple and Fast Multimedia Library). Both are powerful, cross-platform, and widely used. SFML is known for its modern, object-oriented C++ design, which can make it slightly easier for beginners to pick up. We'll focus on setting up SFML.
Libraries like SFML and SDL are essential because they abstract away the low-level details of graphics, sound, and input, letting you focus on building your game's logic and features.
Integrating a library like SFML involves telling your IDE where to find its files. This is a crucial skill for any C++ developer. The process generally involves these steps:
- Download the Library: Get the correct version of SFML for your compiler from its official website.
- Configure Include Directories: In your project's settings, you need to tell the compiler where to find the SFML header files (the
.hppfiles). This allows you to use#include <SFML/Graphics.hpp>in your code. - Configure Library Directories: Next, you tell the linker where to find the pre-compiled library files (the
.libfiles on Windows). - Link the Libraries: You then specify which specific library files your project needs, such as
sfml-graphics-d.lib,sfml-window-d.lib, andsfml-system-d.lib. The '-d' suffix indicates these are the debug versions, which are helpful during development. - Handle Dynamic Libraries: SFML uses dynamic-link libraries (
.dllfiles on Windows). You'll need to copy these from the SFML folder into your project's executable directory so the program can find them when it runs.
A Test Run
Once SFML is configured, you can test it with a simple program. This code creates a small window, waits for you to close it, and then exits. If this compiles and runs, your environment is correctly set up.
#include <SFML/Graphics.hpp>

int main()
{
    // Create a window with a title and size
    sf::RenderWindow window(sf::VideoMode(800, 600), "SFML works!");

    // Main game loop
    while (window.isOpen())
    {
        sf::Event event;
        // Event handling
        while (window.pollEvent(event))
        {
            if (event.type == sf::Event::Closed)
                window.close();
        }

        // Clear the screen
        window.clear();

        // Drawing happens here in the future

        // Display the contents of the window
        window.display();
    }

    return 0;
}
A working development environment is the foundation of your project. With your IDE, compiler, and multimedia libraries all in place, you're ready to start building.