Building Tech-Enabled Hardware
Introduction to Hardware Development
From Idea to Object
Every electronic device you use, from your smartphone to your coffee maker, started as an idea. But how does a simple concept become a physical product you can hold? The journey is guided by a structured process called the hardware development lifecycle. It’s a roadmap that turns an initial spark of an idea into a finished, functional piece of technology.
This lifecycle isn’t just a series of steps to follow blindly. It’s a framework for problem-solving that ensures nothing is missed. By breaking the massive task of creating new hardware into manageable stages, engineers can innovate, catch errors early, and create reliable products.
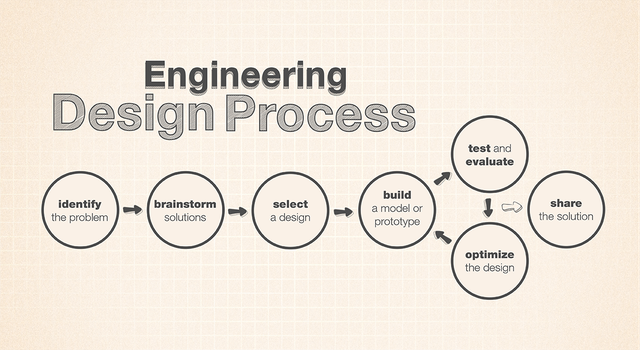
The Core Stages
The hardware lifecycle can be broken down into four key stages: design, prototyping, testing, and preparing for manufacturing. While they follow a logical order, the process is often cyclical. A discovery during testing might send the team back to the design phase to make improvements.
- Design: This is the blueprint phase. It begins with defining what the product needs to do and who it's for. Engineers then create schematics, which are detailed diagrams of the electronic circuits. From there, they design the printed circuit board (PCB), the physical board that will hold and connect all the electronic components.
This stage is all about planning. Careful design work prevents costly mistakes down the line. It’s where the product’s core functionality, look, and feel are decided.
- Prototyping: Here, the design becomes a tangible object for the first time. A prototype is an early, functional model of the product. Its purpose is to test if the design works as intended in the real world. Prototypes are often built by hand and may not look like the final product, but they are essential for validating the core ideas.
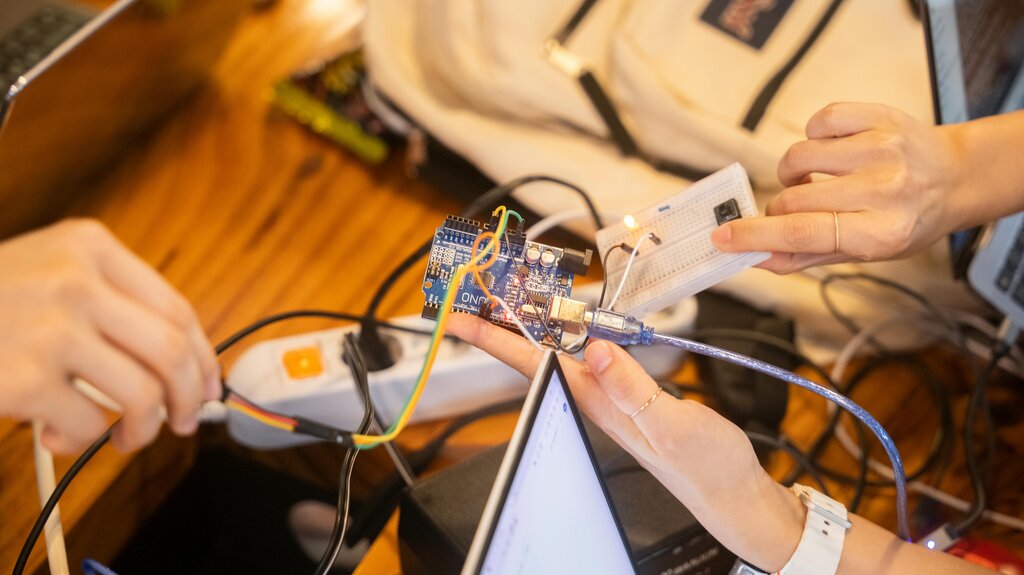
- Testing: Once a prototype is built, it's time to try and break it. The testing phase is a rigorous process of finding flaws, bugs, and weaknesses. Does the device overheat? Does the battery last as long as it should? Is it durable? The feedback gathered here is critical for refining the design. Several rounds of prototyping and testing are common.
- Manufacturing Preparation: After the design has been tested and refined, the final step is getting it ready for mass production. This involves finalizing the list of components, selecting a factory, and designing the manufacturing process itself. The goal is to ensure that every single unit produced is as reliable and well-made as the final prototype.
Why The Process Matters
Following a structured development lifecycle might seem slow, but it's the fastest way to get a great product to market. Each stage builds on the last, creating a strong foundation. Skipping a step, like proper testing, can lead to product recalls, unhappy customers, and huge financial losses.
The process forces teams to think critically at every turn. The design phase ensures the idea is solid. Prototyping proves it can work. Testing confirms it is reliable. And manufacturing preparation makes sure it can be built at scale. Together, these stages transform a simple idea into a complex piece of hardware that works for everyone.
Let's review the key stages of the hardware development lifecycle.
Now, let's test your understanding of the process.
What is the primary purpose of the hardware development lifecycle?
True or False: The hardware development lifecycle is a strict, linear process where each stage must be fully completed before the next one begins, with no option to go back.
Understanding this lifecycle is the first step in appreciating the complexity and ingenuity behind the technology we use every day.