Build Your Ultimate Home Gym
Space and Layout Planning
Charting Your Territory
Before you buy a single dumbbell, the most critical step is to assess your physical environment. This goes far beyond simply measuring the length and width of a room. You need to think in three dimensions and consider how you'll actually move within the space.
First, get out a tape measure. Record the usable floor space, accounting for any intrusions like pillars or radiators. Then, measure the vertical clearance from floor to ceiling. This is non-negotiable for overhead movements like presses or even just jumping rope. If you're 1.8 metres tall and your arms extend 0.6 metres overhead, a 2.4-metre ceiling gives you zero room for error. Aim for at least 30-50 cm of buffer above your maximum reach to ensure safety and comfort.
The Weight of Your Workout
Most residential floors are designed to handle a live load of around 150-200 kg per square metre (about 30-40 lbs per square foot). This is a distributed load, meaning it's spread out over the entire surface. A 200 kg squat rack, however, concentrates all its weight onto four small feet. This intense pressure can be a problem for your flooring and the structure beneath.
The solution is strategic placement. Identify the in your chosen space. These walls transfer the weight of the house down to the foundation and are supported by stronger structural elements. Placing your heaviest equipment, like a power rack or a loaded barbell, as close as possible to these walls helps distribute the force onto the sturdiest parts of your home's frame. If you have a basement, you can often see the floor joists and place heavy equipment perpendicular to them, spreading the load across several joists instead of just one or two.
Designing Your Zones
Once you've handled the structural concerns, it's time to plan the functional layout. A good rule of thumb is the —a designated clear space for any piece of equipment or dynamic exercise. This ensures you have enough room to safely perform movements like lunges, kettlebell swings, or bench presses without hitting a wall or another machine.
A great way to visualize this is by using painter's tape on the floor. Map out the footprint of your potential equipment and then tape a 2x2 metre box around it. This low-cost exercise can reveal potential bottlenecks or awkward layouts before you move any heavy objects. Think about creating distinct zones: a strength zone for your rack and weights, a cardio zone for a bike or rower, and a floor zone for stretching and bodyweight work. This keeps the space organised and efficient.
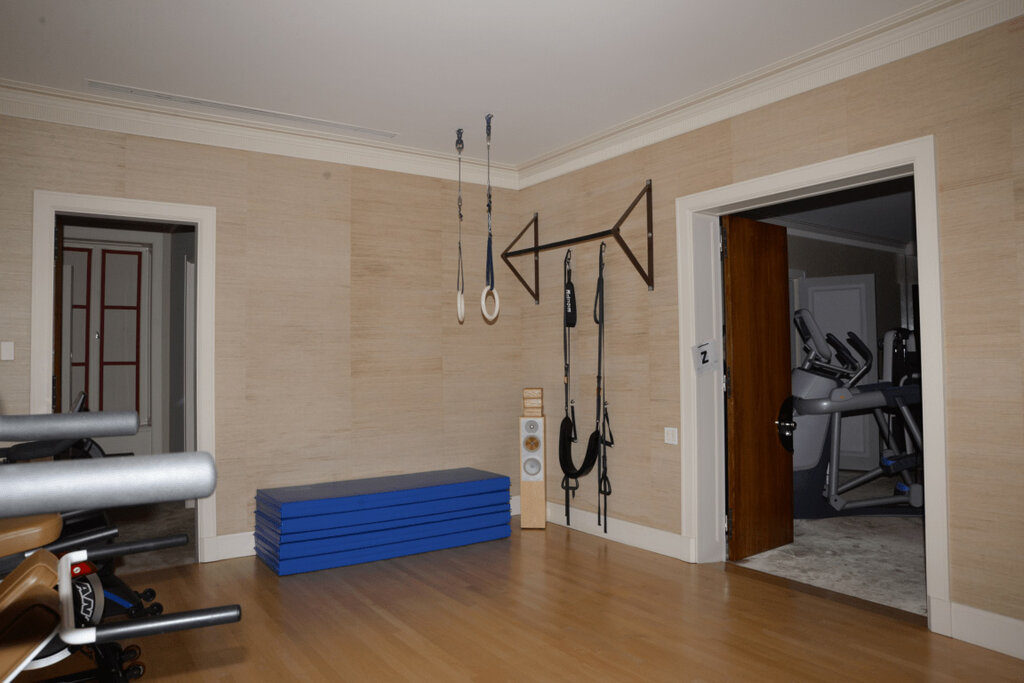
Finally, map your utilities. Where are the electrical outlets? You don’t want to run extension cords across your workout area. How is the ventilation? Good airflow is crucial, so placing cardio equipment near a window or in the path of a fan is a smart move. Check the lighting, too. You need bright, even light to maintain proper form and stay safe, especially when lifting heavy.
Carefully planning your layout ensures your gym is a functional sanctuary, not a cluttered obstacle course.
Now, let's check your understanding of these foundational planning steps.
According to the text, what is the primary reason for placing heavy gym equipment near a load-bearing wall?
If a person is 1.9 metres tall and their arms extend 0.6 metres overhead when performing an exercise, what is the minimum recommended ceiling height for their home gym?
With your space assessed and your layout planned, you've built the essential foundation for a safe and effective home gym.