Build Your Own Garden Shed
Planning and Permits
Before You Break Ground
The most important part of building a shed happens before you lift a single hammer. Proper planning saves time, money, and major headaches down the road. It’s the difference between a sturdy, useful structure and a project you regret. We'll walk through the three key planning steps: checking regulations, picking a location, and finalizing your design.
Check Local Rules
Before you get too excited, you need to play detective. Every town, city, or county has its own set of rules for construction, known as building codes. These codes ensure that structures are safe.
For a small shed, like our 100-square-foot project, you might not need a building permit. Many areas have an exemption for small accessory structures, often between 100 and 200 square feet. But never assume. Always verify with your local building or planning department. Their website is the best place to start. Look for pages about accessory buildings, sheds, or permit requirements.
Don't forget about other possible restrictions. If you live in a neighborhood with a Homeowners Association (HOA), they have their own set of rules. HOAs can dictate the size, color, and even style of your shed. It’s crucial to get their approval before you start.
A quick phone call to your local planning office can save you from having to tear down a completed project. It’s worth the time.
Choose the Right Spot
Where you put your shed is just as important as how you build it. A bad location can cause problems with drainage, access, and even your neighbors.
First, think about a level surface. Building on a slope is much more difficult and requires more work for the foundation. You'll also need good access to the site to bring in materials. Consider the path from your driveway to the shed's location. Will a wheelbarrow fit? Can you carry lumber there easily?
Water is another key factor. Avoid placing your shed in a low-lying area where water collects after it rains. Poor drainage can damage the foundation and lead to rot. Look for a spot with a slight grade that allows water to run away from the structure.
Finally, you must respect property lines. Most municipalities have "setback" requirements, which dictate how far a structure must be from your property lines, your house, and other buildings. This ensures space for maintenance and emergency access.
You also need to be aware of any underground utility lines. Power, water, gas, and sewer lines can run through your yard. Most regions have a service you can call (like 811 in the United States) to have public utilities marked for free. Digging without checking is dangerous and can lead to costly repairs.
Finalize Your Design
With the rules understood and a site selected, you can finalize your shed's design. Our plan is for a 10'x10' shed with a simple concrete block foundation, a swing-out door, a small window, and a gable roof. This design is practical and relatively easy to build.
The concrete block foundation is a good choice because it's inexpensive and keeps the wooden structure off the ground, protecting it from moisture and pests. The gable roof is classic and effective at shedding rain and snow.
Think about the placement of the door and window. The swing-out door needs enough clearance to open fully without hitting a fence, a tree, or the side of your house. The window should be placed to catch the best natural light, depending on how you plan to use the space inside. Is it for general storage, or will you have a small workbench that needs light?
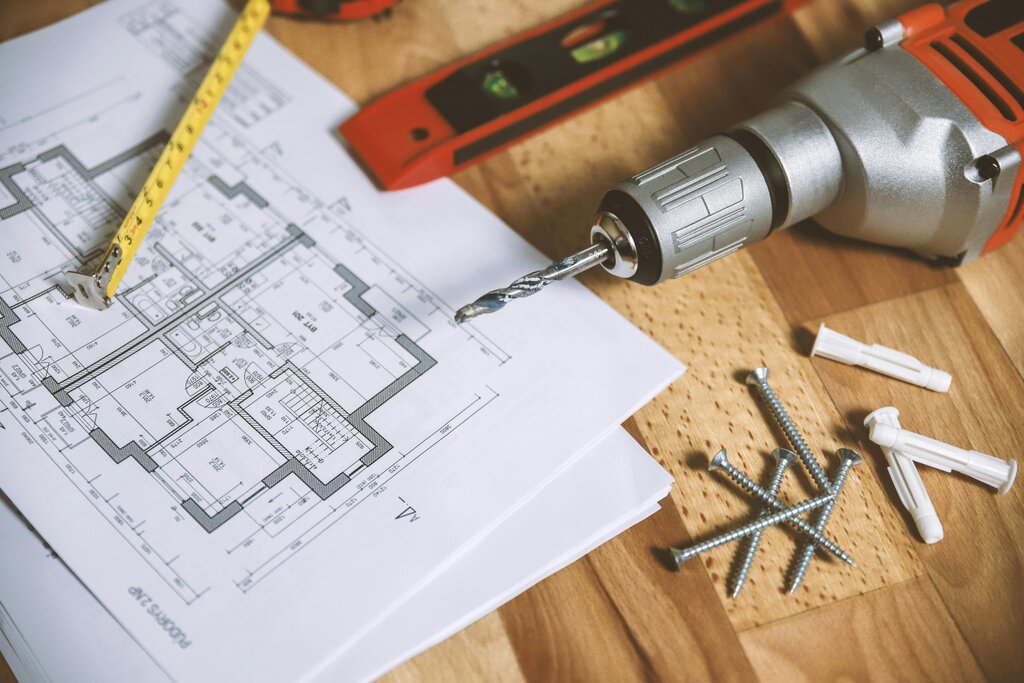
Drawing a simple sketch of your shed on your property plot can help you visualize everything. Mark the location, the door swing, and any nearby obstacles. This simple step confirms your plan is practical before you buy a single piece of lumber.
Building a shed isn’t about being a master carpenter; it’s about following a logical sequence of steps.
Now that the planning is complete, you're ready for the real work to begin. The next step is to prepare the site and build the foundation.