Build a Pi Zero MP3 Player
Raspberry Pi Zero 2 W Setup
Your First Headless Setup
The Raspberry Pi Zero 2 W is a tiny but powerful computer. Because it lacks standard video and Ethernet ports, the best way to set it up is 'headless'—without a monitor, keyboard, or mouse. You'll prepare everything on a microSD card, and once the Pi boots, you'll connect to it over your Wi-Fi network.
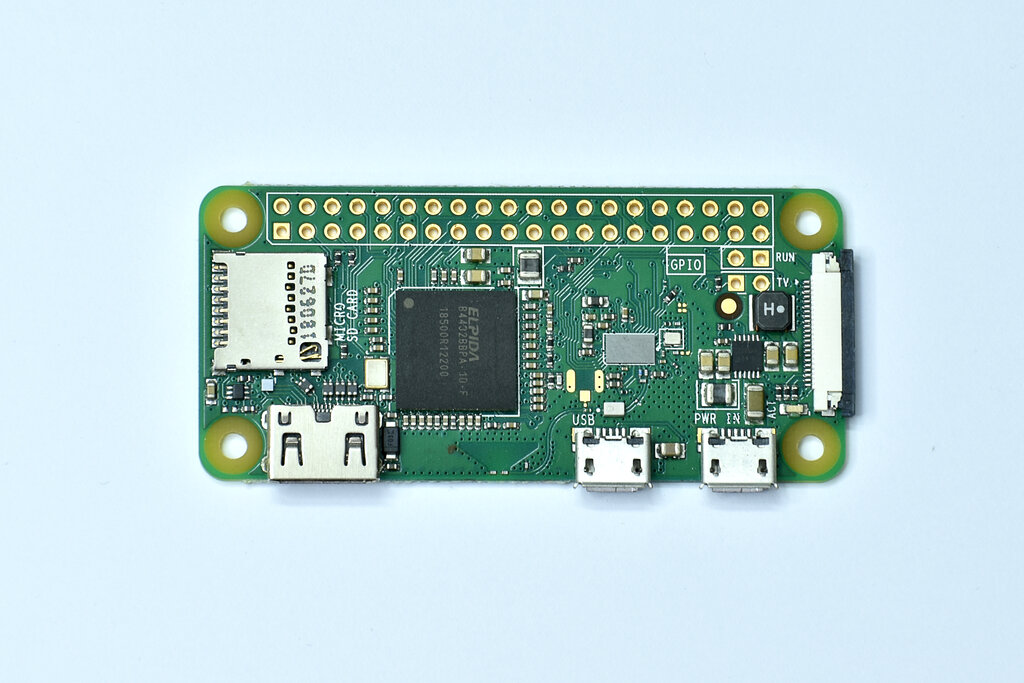
For this setup, you'll need your Pi Zero 2 W, a quality microSD card (at least 16 GB), a micro-USB power supply, and another computer with an SD card reader.
Install the Operating System
The easiest way to install Raspberry Pi OS is with the official Raspberry Pi Imager application, which you can download for free for Windows, macOS, or Linux. It handles downloading the OS and configuring it for a headless setup all at once.
Open the Imager and select your device (Raspberry Pi Zero 2 W) and the operating system. For a headless server, Raspberry Pi OS Lite (64-bit) is a great choice as it doesn't include a desktop environment, saving space and resources.
Before you write the OS to the card, there's one crucial step. After selecting your SD card, click the gear icon or 'Edit Settings' button to open the advanced options. This is where you'll pre-configure your Pi so it connects to your network and allows you to log in remotely from the very first boot.
| Setting | Recommendation | Why? |
|---|---|---|
| Set hostname | raspberrypi.local | Gives your Pi an easy-to-remember network address. |
| Enable SSH | Password authentication | This is what lets you log in remotely. |
| Set username and password | Choose something secure | You'll use this to log in via SSH. |
| Configure wireless LAN | Your Wi-Fi network name (SSID) and password | Allows the Pi Zero 2 W to connect to the internet. |
Once you've configured these settings, click 'Write' and wait for the Imager to finish. It will automatically format the card, copy the OS files, and apply your configurations.
Boot Up and Connect
Safely eject the microSD card from your computer and insert it into your Raspberry Pi Zero 2 W. Now, plug in the power supply. Give the Pi a minute or two to boot up, find your Wi-Fi network, and connect.
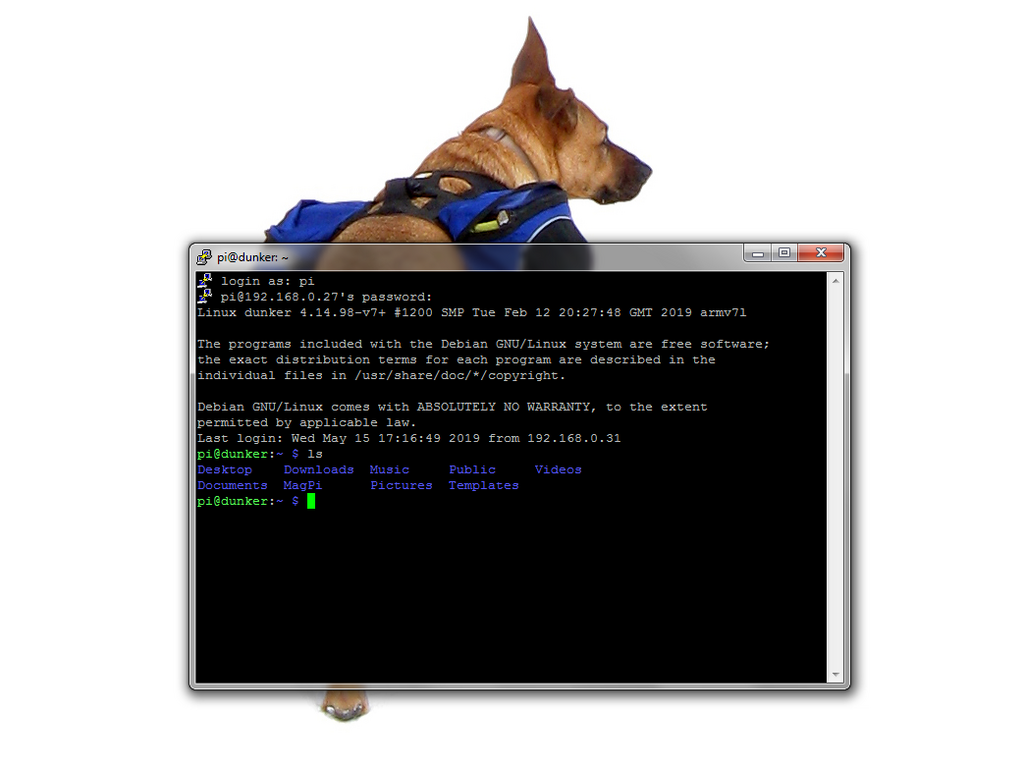
From your main computer, open a terminal (or PowerShell on Windows) and connect to the Pi using SSH. The command uses the username and hostname you configured in the Imager.
# Replace 'pi' and 'raspberrypi.local' if you chose different settings.
ssh pi@raspberrypi.local
The first time you connect, you'll see a security warning about the host's authenticity. Type yes to continue. Then, enter the password you set. You're in! You are now controlling your Raspberry Pi from its command line.
Update and Prepare Your System
The first thing you should always do on a new system is update the software. This ensures you have the latest security patches and features. Run these two commands, one after the other. The second one may take a while.
# Fetches the list of available package updates
sudo apt update

# Installs the updates
sudo apt full-upgrade -y
Once the updates are complete, your Raspberry Pi Zero 2 W is fully set up and ready for your projects. You can now install any other software you might need, such as Python libraries or server applications.
What does it mean to set up a Raspberry Pi in 'headless' mode?
Which official tool is recommended for writing the OS to the microSD card and configuring it for headless access all at once?
Your Pi is now a blank canvas, ready for you to start building.