Breadboarding Basics for Electronics
Introduction to Breadboards
Your Circuit Sandbox
When you're learning to build things with electronics, you need a place to experiment freely. You want to connect components, test ideas, and make changes without anything being permanent. This is where the breadboard comes in. It's a reusable base for building temporary circuits, letting you plug in components and wires without any soldering.
The breadboard is your sandbox, the easiest way to play around with circuits and try out new components and boards.
Think of it as a plug-and-play platform for your electronic creations. You can quickly assemble a circuit, see if it works, and just as quickly take it apart to try something new. This makes it an essential tool for learning and prototyping.
How It Works Inside
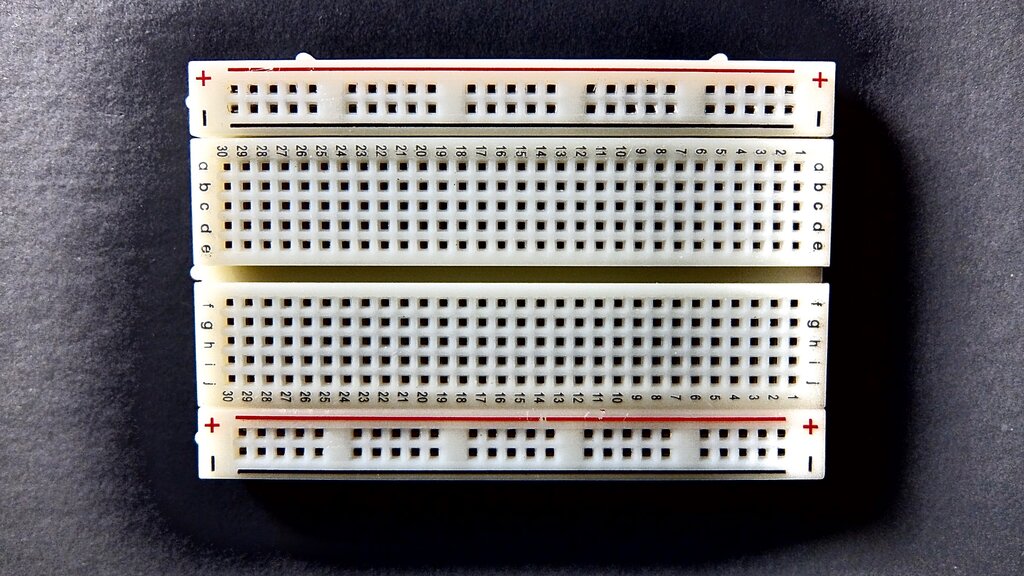
A breadboard looks like a plastic block with a grid of holes. The magic is hidden underneath. Inside the plastic housing are rows of small metal clips. When you push a component's leg or a wire into a hole, one of these clips grabs onto it, holding it in place and making an electrical connection.
These clips are arranged in a specific pattern to create connection points. The board is typically divided into two main areas:
Terminal Strips: These are the main areas in the middle. The holes are organized into short rows of five. Every clip in a single five-hole row is electrically connected. This means if you plug a wire into the first hole of a row, anything plugged into the other four holes of that same row is now connected to that wire. A central channel, or trench, runs down the middle of the board, separating the terminal strips. This channel is perfectly sized to straddle integrated circuits (ICs), giving you access to the pins on both sides.
Power Rails: Along the sides of the breadboard, you'll find long columns of holes marked with red (+) and blue (-) lines. All the holes in a single power rail column are connected together. These are used to provide a constant voltage and ground connection to your entire circuit, making it easy to power all your components.
Understanding this internal wiring is the key to using a breadboard effectively. You build your circuit by placing components and wires in the right rows to connect them together, following the path of your schematic diagram.
Why Use a Breadboard?
The biggest advantage of a breadboard is speed and flexibility. You can build and modify circuits in seconds. If a component is in the wrong place, you just pull it out and move it. This makes breadboards perfect for learning, testing new designs, and debugging problems without the hassle of soldering and desoldering.
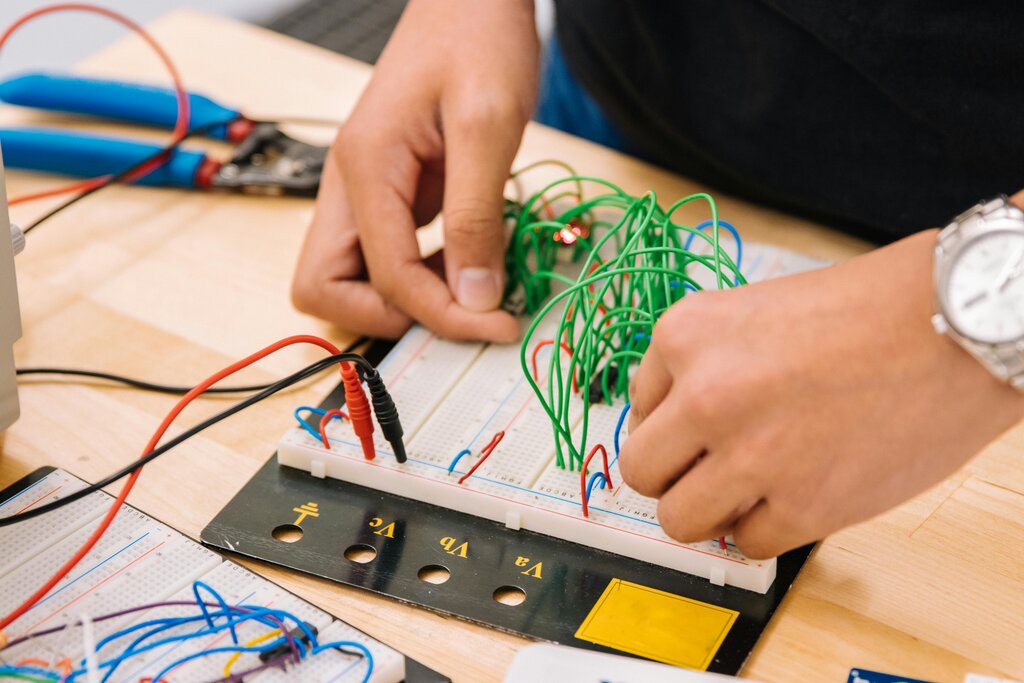
However, breadboards aren't perfect for every situation. The internal metal clips create small amounts of unwanted capacitance and inductance between connections. This is called parasitic capacitance. For most low-speed and beginner circuits, it's not a problem. But for high-frequency circuits, like those used in radio or high-speed digital communication, this parasitic capacitance can interfere with the signal and cause the circuit to fail. The long, loopy wires often used on breadboards can also act like tiny antennas, picking up noise from the environment.
Because of these limitations, breadboards are used for prototyping, not for final products. Once a design is tested and finalized on a breadboard, it's usually transferred to a more permanent solution, like a printed circuit board (PCB).
Ready to check your understanding?
What is the primary purpose of a breadboard in electronics?
Inside a breadboard, how are the holes within a single numbered row of the central terminal strips connected?
Now that you understand what a breadboard is and how it works, you're ready to start building your own circuits.