Blender to Substance Painter UV Export
Introduction to UV Mapping
What is UV Mapping?
Imagine trying to gift wrap a basketball. You'd start with a flat, rectangular piece of paper. To cover the ball, you'd have to cut, fold, and tape the paper, trying to make it fit the curved surface. UV mapping is like that process, but in reverse. You're taking a 3D object and figuring out the best way to flatten its surface onto a 2D plane.
This 2D plane is called a UV map. In 3D modeling, we use X, Y, and Z to define coordinates in three-dimensional space. For a 2D plane, we use U and V. These letters were chosen simply to avoid confusion with X and Y. The UV map acts as a guide, telling the 3D software exactly how to apply a flat 2D image (a texture) onto your 3D model.
UVs are your way of translating the surface of a 3D object into 2D terms.
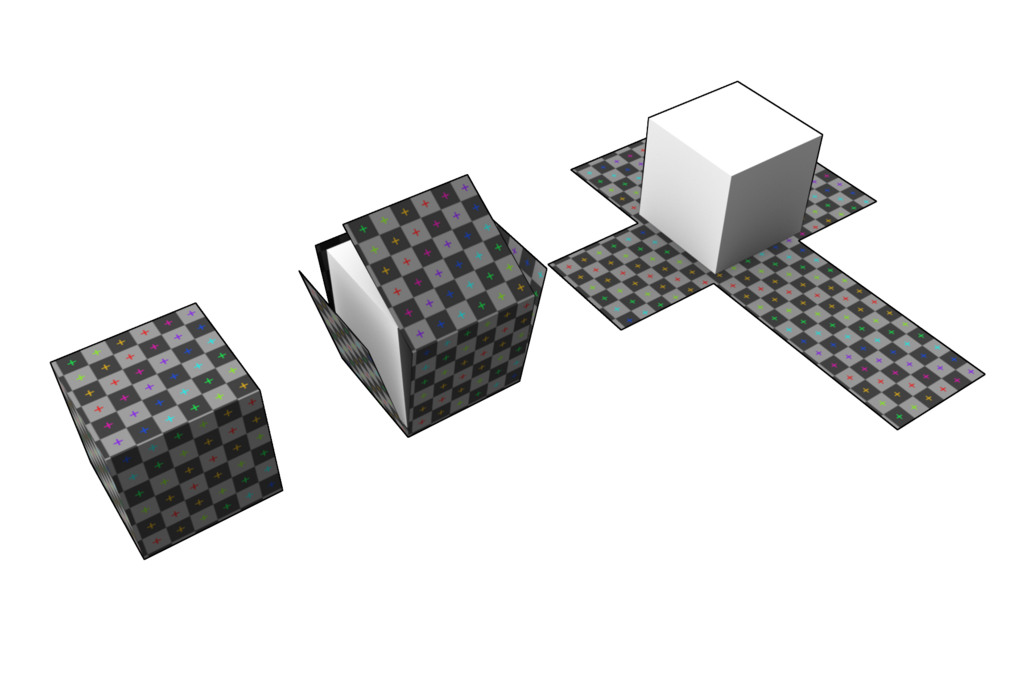
Without a proper UV map, applying a texture would be like trying to stick a square label on that basketball. The image would stretch, pinch, and distort in strange ways. A good UV map ensures your textures look clean and natural.
Unwrapping Your Model
The process of creating a UV map is called unwrapping. To unwrap a model, you need to tell your software where to make cuts. These cuts are called seams. Think of the seams on a t-shirt. They show where the flat pieces of fabric were stitched together to create a 3D garment. In 3D modeling, you place seams along the edges of your model to define how it will unfold.
Where you place your seams is a bit of an art. The goal is to hide them in less visible areas, just like a tailor would. For a character model, you might place seams along the inside of the arms or legs. For a coffee cup, a seam down the back of the handle would be a good choice.
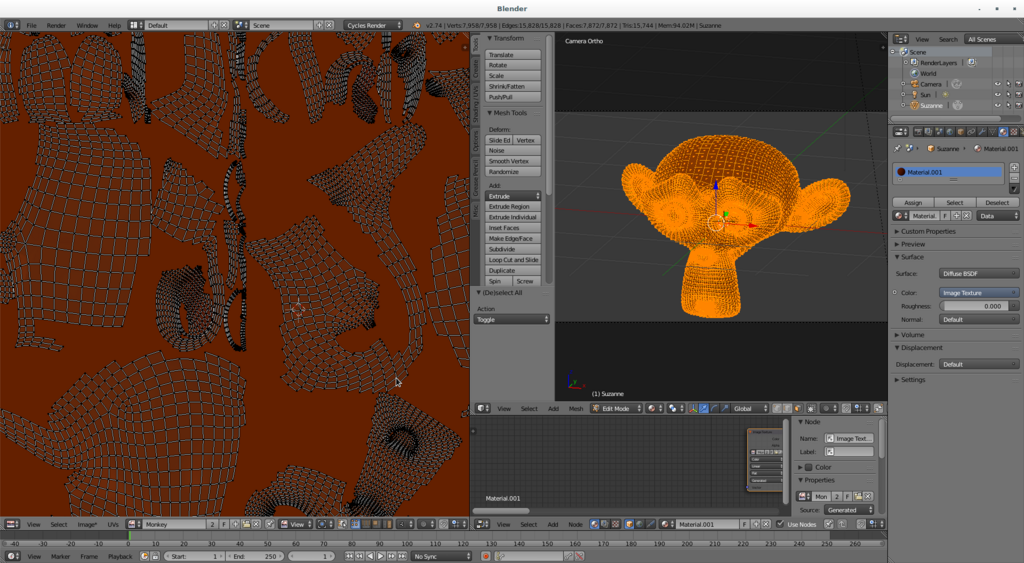
Blender offers several tools for unwrapping. For simple objects or quick results, Smart UV Project can automatically create seams and unwrap the model for you. It's fast but often creates a map with many small pieces, which can be difficult to texture.
For more control, you manually mark seams. In Edit Mode, you select the edges where you want to make cuts and mark them as seams. Then you use the Unwrap tool. This method requires more thought but produces a much cleaner and more organized UV map, which is essential for professional work.
Why Clean UVs Matter
A good UV map has two main qualities: minimal distortion and no overlapping parts. Distortion happens when the 2D UV map doesn't accurately represent the surface area of the 3D model. If a part of your UV map is stretched, the texture applied to that area will also look stretched. Blender's UV editor has tools to show you which areas are stretched or compressed.
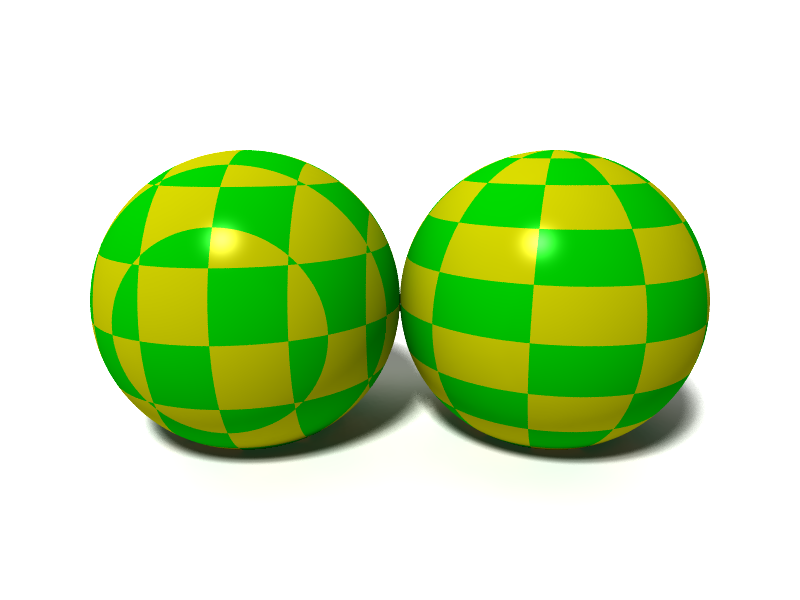
Even more critical is making sure none of your UV pieces, often called UV islands, overlap. Imagine two islands overlapping on your map. Any texture information painted in that overlapping area will appear on both parts of your 3D model at the same time. This is almost never what you want.
Non-overlapping UVs are essential for baking textures and for painting unique details onto your model in programs like Substance Painter.
When you unwrap a model, the UV islands are often jumbled together. You need to organize them efficiently within the square UV space, a process called packing. A good packing arrangement uses as much of the 2D space as possible. This maximizes the resolution of your texture, meaning you get more detail from the same size image file.
What is the primary purpose of UV mapping?
In the context of 2D texture coordinates, why are the letters U and V used?
Understanding these core principles is the first step toward mastering the texturing workflow. A well-executed UV map is the invisible foundation for a great-looking 3D model.