Beginner Piano Fundamentals
Piano Basics
Getting to Know the Keyboard
Let's start by looking at the piano keyboard. It might seem like a long, intimidating stretch of keys, but there's a simple, repeating pattern that makes it easy to navigate. The first thing you'll notice is the two colors: white keys and black keys.
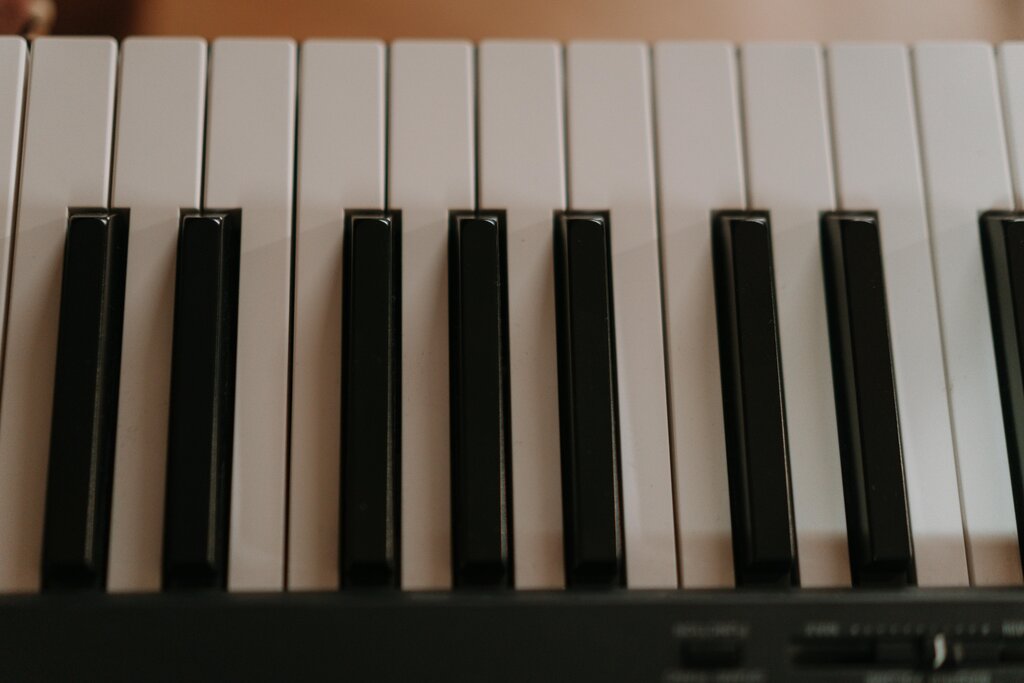
The black keys are grouped in sets of two and three. This pattern is your most important landmark. Every white key immediately to the left of a group of two black keys is called C. Go ahead and find all the C's on a keyboard. You'll see the same pattern repeats all the way up and down.
Once you find C, the rest of the white keys are named alphabetically. Moving to the right from C, the notes are D, E, F, G, A, and B. After B, the pattern starts over with the next C.
The distance from one C to the next C is called an octave. An octave contains eight white keys and five black keys, for a total of 12 unique notes. The full piano keyboard is just this same 12-note pattern repeated over and over.
Your Setup
Before you play a single note, it's crucial to sit correctly. Good posture isn't just about looking professional; it allows you to play comfortably for longer periods and helps prevent strain or injury. The goal is to be balanced and relaxed.
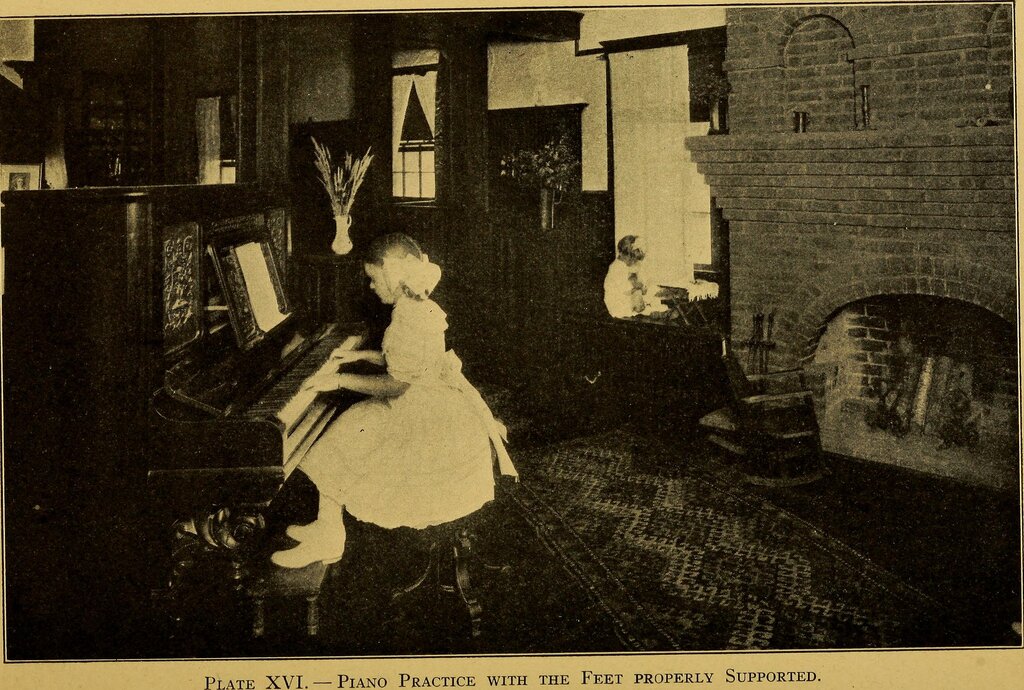
First, adjust your bench height. You should be high enough that your forearms are parallel to the floor when your hands are on the keys. If your wrists are bent up or down, you're at the wrong height.
Next, set your distance. Sit far enough back that your elbows are slightly in front of your body, not tucked in at your sides. This gives your arms freedom to move up and down the keyboard.
Finally, check your alignment. Sit tall with a straight, relaxed back, centered in front of the middle of the piano. Your feet should be flat on the floor, one slightly forward for balance. If your feet don't reach, use a footstool.
Posture Checklist:
- Forearms parallel to the floor.
- Elbows slightly in front of your torso.
- Back straight and shoulders relaxed.
- Feet flat on the floor.
Hand and Finger Position
Just as with your body, your hands should be relaxed and free of tension. A stiff hand can't move quickly or gracefully across the keys. The ideal hand shape is natural and curved.
Imagine holding a small ball under your palm as you play—that’s the ideal hand posture for piano playing.
Let your hands hang loosely at your sides, then bring them up to the keyboard, keeping that same relaxed, natural curve. Your fingers should be curved gently, with the fingertips making contact with the keys. Avoid letting your fingers collapse or flatten out.
Your wrists should be level, not bent up or down. Think of a straight line running from your elbow, through your wrist, to your knuckles.
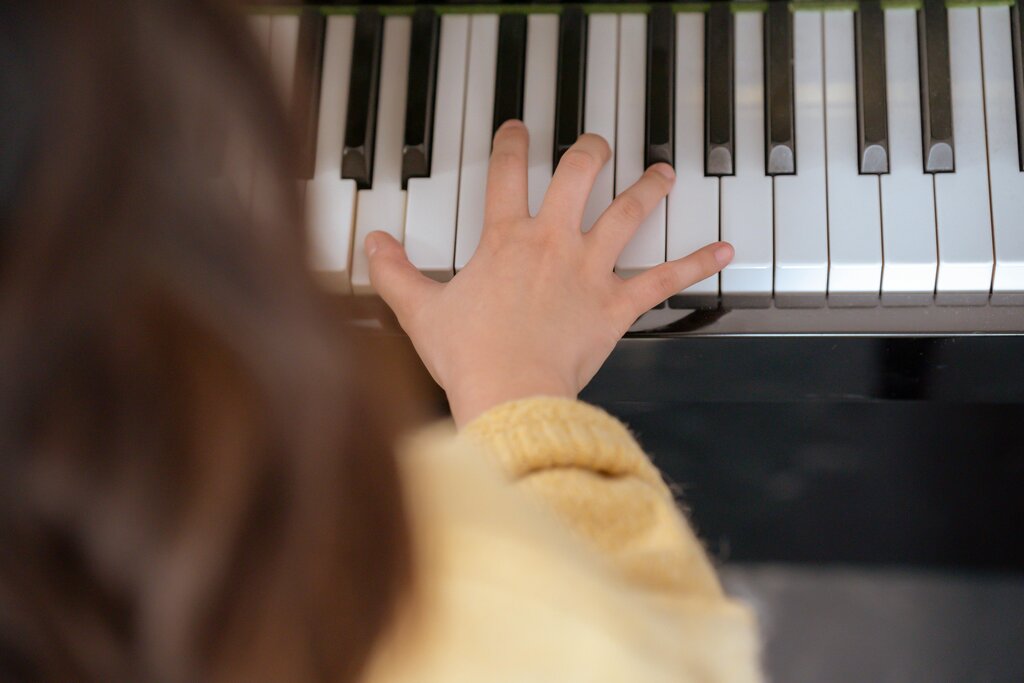
Musicians assign a number to each finger to make instructions clearer. It's a simple system:
- 1 = Thumb
- 2 = Index finger
- 3 = Middle finger
- 4 = Ring finger
- 5 = Pinky finger
This numbering is the same for both the left and right hands. For now, just get comfortable with the numbers and the feeling of a relaxed hand shape on the keys.
Let's check your understanding of these foundational concepts.
How can you identify the note C on a piano keyboard?
What is the correct alphabetical order of the white keys starting from C?
Getting these fundamentals right from the start will make your entire piano journey smoother and more enjoyable. With the keyboard layout, posture, and hand position in place, you've built a solid foundation for everything that comes next.