Beginner Piano Fundamentals
Piano Basics
The Keyboard Layout
Take a look at a piano keyboard. You'll notice a repeating pattern of white and black keys. The black keys are grouped into sets of two and three. This pattern is your map to finding any note.

The white keys are named after the first seven letters of the alphabet: A, B, C, D, E, F, and G. After G, the pattern starts over again with A.
To find any specific white key, use the black keys as landmarks. For example, the note C is always the white key immediately to the left of a group of two black keys. The note F is always to the left of a group of three black keys.
The black keys are called sharps (♯) and flats (♭). Each one can be named in two ways. For instance, the black key between C and D is called C-sharp or D-flat. We will focus on the white keys for now.
Posture at the Piano
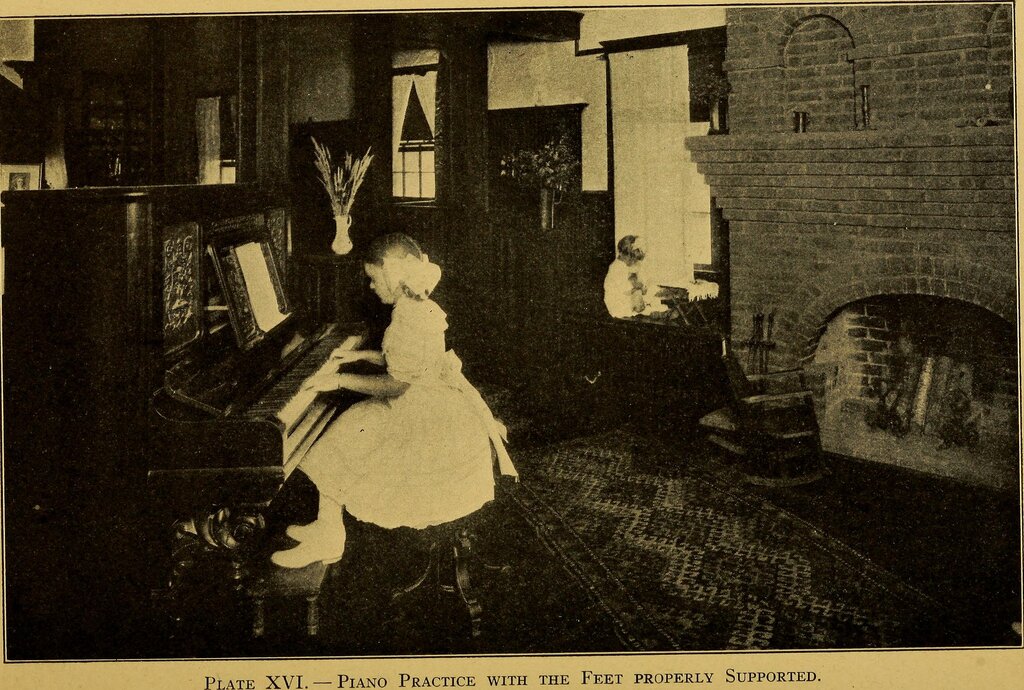
How you sit at the piano affects everything from your comfort to your ability to play smoothly. Good posture prevents strain and gives your arms the freedom they need to move.
Think of your posture as the foundation of your piano technique. A strong foundation makes everything else easier.
First, center yourself on the bench with the middle of the keyboard. You shouldn't have to lean left or right to reach the low or high notes.
Adjust the bench height so your forearms are parallel to the floor when your hands are on the keys. Your elbows should be slightly in front of your body. Sit on the front half of the bench with a straight, relaxed back, and place your feet flat on the floor. If your feet don't reach, use a small footstool.
Hand Position and Finger Numbers
To make instructions clear, pianists number their fingers. It's the same for both hands: your thumb is 1, index finger is 2, middle finger is 3, ring finger is 4, and pinky is 5.
Your hand shape is just as important as your posture. Let your hands hang loosely at your sides, and notice the natural curve of your fingers. That's the shape you want to maintain at the keyboard.
Imagine you are holding a small ball in your palm. Your fingers should be curved, with the tips of your fingers making contact with the keys. Your wrist should be level and relaxed, not bent up or down.
The final piece of the puzzle is finding a specific note to anchor yourself. This note is called Middle C.
Middle C is the central reference point on the piano keyboard. For beginners, it's home base.
To find Middle C, locate the group of two black keys closest to the center of your piano. Middle C is the white key just to the left of them. On most pianos, it's also near the brand name printed on the fallboard (the part that covers the keys).
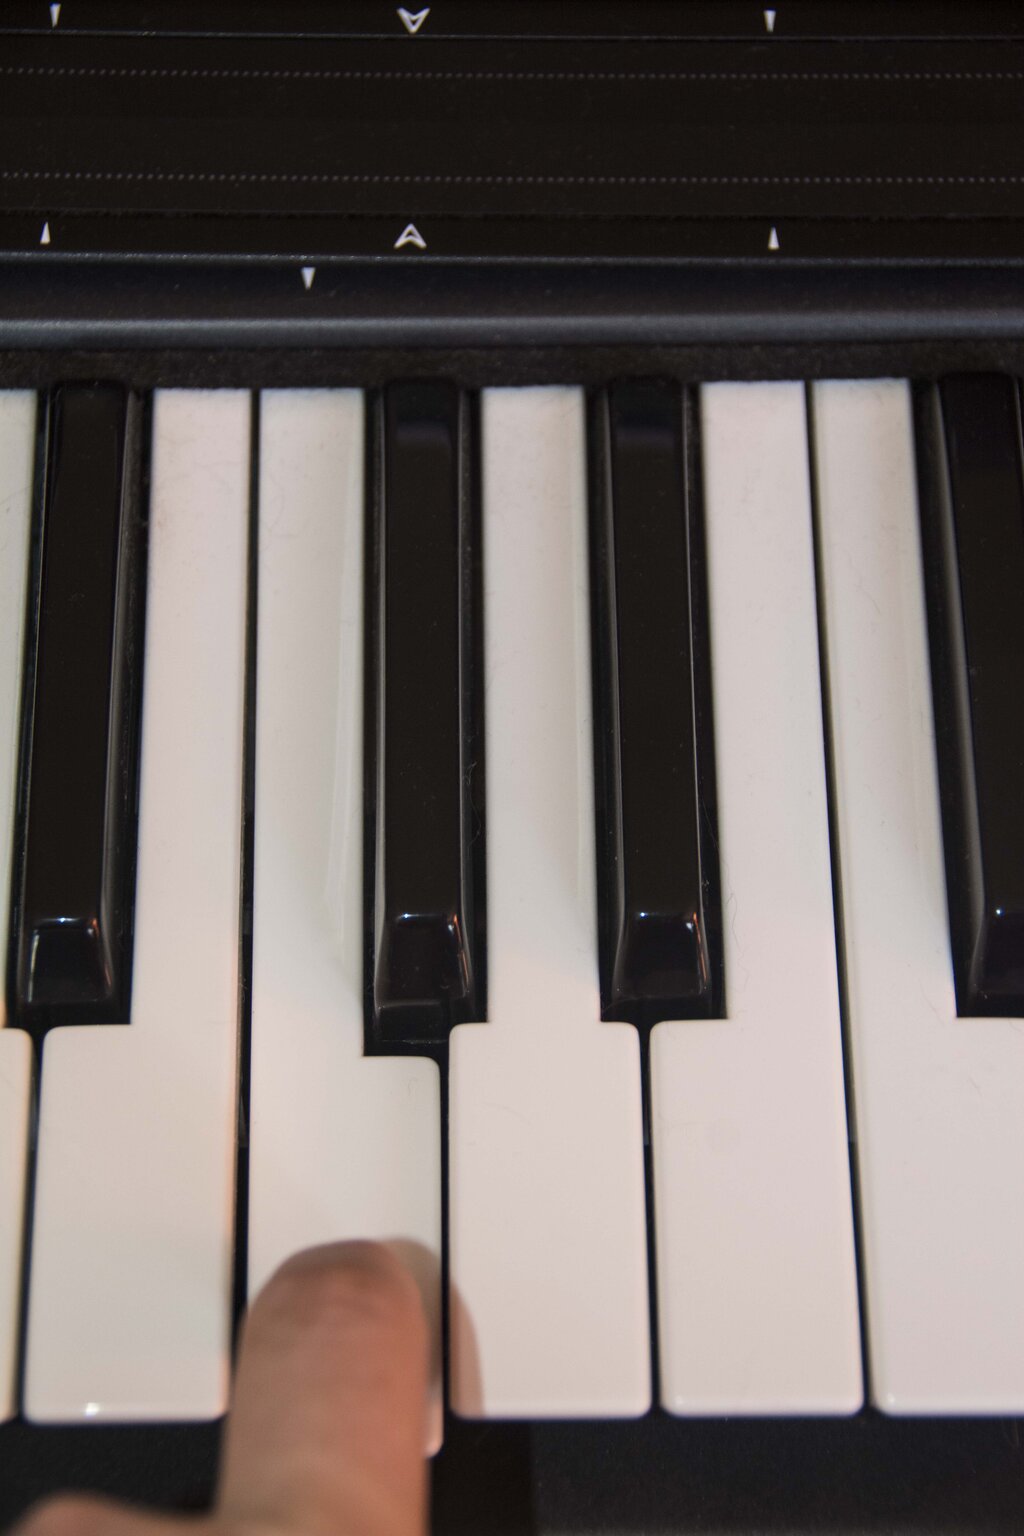
Now, try placing your right-hand thumb (finger 1) on Middle C. Rest your other fingers on the next four white keys to the right: D, E, F, and G. This is a foundational hand position for many beginner pieces. Do the same with your left hand, placing your pinky (finger 5) on the C below Middle C.
Getting comfortable with the keyboard layout, your posture, and your hand position sets you up for success. These fundamentals allow you to play with ease and expression as you progress.
How can you identify the note 'F' on a piano keyboard?
According to standard piano finger numbering, which finger is designated as number 1?