Beginner Piano Essentials
Piano Basics
Your Setup for Success
Before you play a single note, let's get you sitting comfortably and correctly. How you sit at the piano affects everything from your comfort to your control over the keys. It's the foundation of good technique.
First, find the center of the piano. You can usually find the brand name (like Steinway or Yamaha) printed right in the middle. Sit directly in front of this center point. Adjust your bench so you're not too close and not too far. A good rule of thumb is to sit far enough back that your arms can move freely, with a slight bend in your elbows when your hands are on the keys.
The height of the bench is just as important. Your forearms should be roughly parallel to the floor when your fingers are resting on the white keys. If you're too high, you'll press down awkwardly. If you're too low, you'll strain your wrists. Finally, place your feet flat on the floor, about shoulder-width apart. This gives you a stable base to play from.
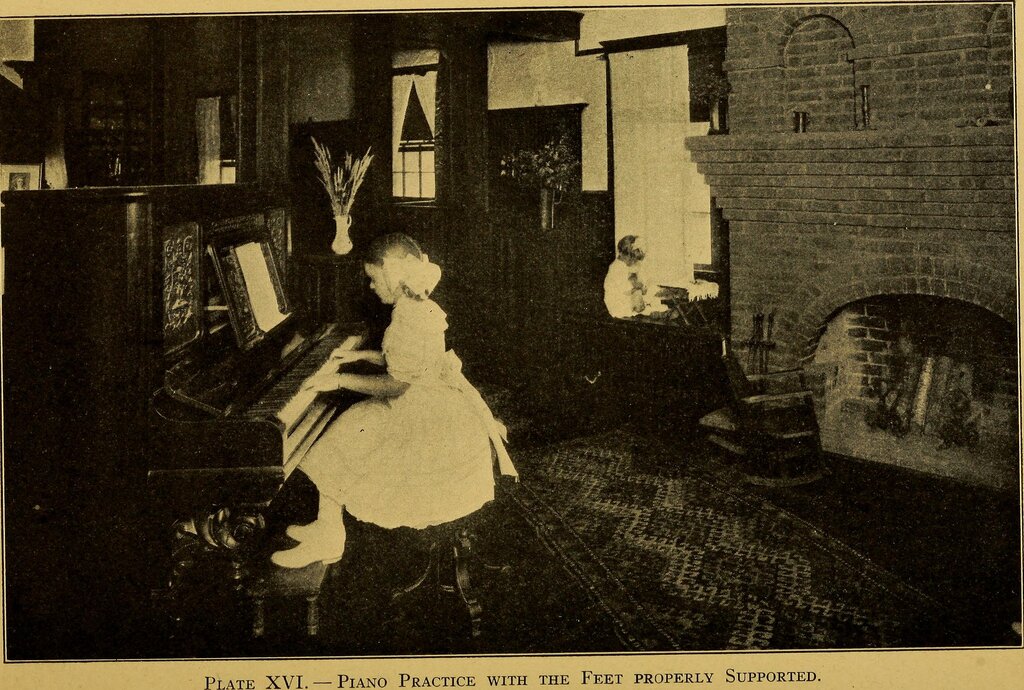
Why all the fuss about posture? A relaxed, stable posture prevents fatigue and injury. It also allows you to use the natural weight of your arms to play, giving you a richer, more controlled sound without pounding on the keys.
Navigating the Keyboard
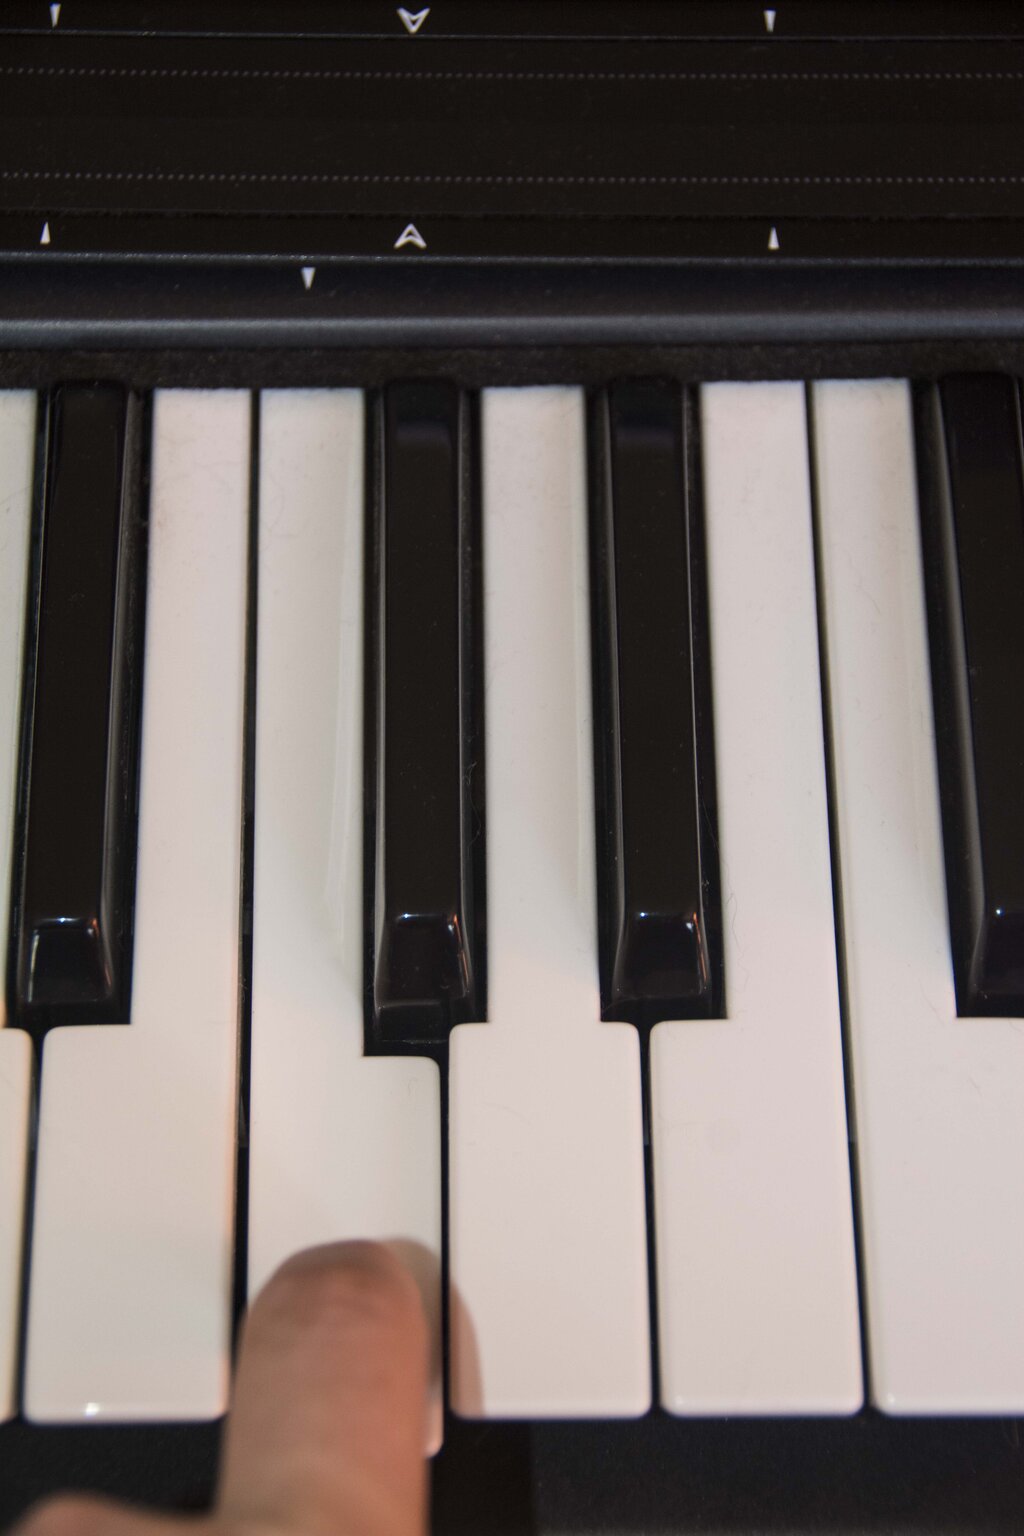
The 88 keys of a piano can look intimidating, but they follow a simple, repeating pattern. The key to navigating is to look at the black keys. Notice how they are grouped into sets of two and three. This pattern repeats all the way up and down the keyboard.
Once you see this pattern, finding the white keys is easy. The white keys are named after the first seven letters of the alphabet: A, B, C, D, E, F, G. This sequence repeats over and over.
The note C is always the white key just to the left of the group of two black keys. The note F is always just to the left of the group of three black keys. With these two landmarks, you can name any key on the piano.
Find all the C's on your piano. Then find all the F's. This simple exercise will help you master the keyboard layout.
The most important landmark is Middle C. It's the C located closest to the center of the piano. This note is your primary anchor point when you start playing. It helps you find your bearings.
Hand Shape and Finger Numbers
Just as with posture, your hand position is crucial. You want a relaxed, natural shape. Imagine you're holding a ball. Your fingers should be gently curved, and your wrist should be level, not bent up or down. Your knuckles should form a gentle arch. This position allows your fingers to move efficiently and without tension.
The basic hand shape for piano resembles a loose “C”:Curved fingers: Fingers should be naturally curved as if holding a small ball, not flat or claw-like.Relaxed wrist: Slightly higher than the knuckles, but not excessively raised.
In piano, we number our fingers to make instructions clear and simple. It's the same for both hands. Your thumb is finger 1, your index finger is 2, middle finger is 3, ring finger is 4, and your pinky is 5.
| Finger | Number |
|---|---|
| Thumb | 1 |
| Index | 2 |
| Middle | 3 |
| Ring | 4 |
| Pinky | 5 |
Try this: Place your right hand on the keys so your thumb (1) is on Middle C. Let your other fingers fall naturally on the next four white keys. Your hand should cover C, D, E, F, and G. This is a common starting position, often called the C position.
First Finger Exercises
Now, let's get your fingers moving. These simple exercises are not about making music yet; they're about building strength, independence, and getting comfortable with the keys. The goal is to play each note evenly and with a relaxed hand.
Keep your right hand in the C position (thumb on Middle C). Press down and release each key one at a time, slowly and deliberately.
- Play up from your thumb to your pinky: 1, 2, 3, 4, 5.
- Play down from your pinky to your thumb: 5, 4, 3, 2, 1.
Listen to the sound. Try to make each note sound the same in volume. Make sure you are only moving the finger playing the note, keeping the rest of your hand calm and still. Do this a few times with your right hand, then try it with your left hand. For the left hand, place your pinky (5) on the C below Middle C.
Focus on clarity, not speed. Slow, controlled movements build a strong foundation.
Here's another pattern to try with each hand, one at a time:
- Play 1-3-5-3-1 (thumb-middle-pinky-middle-thumb).
- Play 1-2-3-4-5-4-3-2-1.
These simple drills will start to build the muscle memory and coordination you need. Do them for just a few minutes each day. They are the first steps on your journey to playing the piano.
Time to review what we've covered.
Let's check your understanding with a few questions.
When sitting at the piano, what should be the approximate position of your forearms?
How can you identify the white key for the note 'C' on the piano?
You've now got the physical fundamentals down. This foundation of posture and hand position will support you as you learn to play your first pieces.