Bedroom Pop Song Production
GarageBand Basics
Your Personal Recording Studio
GarageBand is Apple's free Digital Audio Workstation, or DAW. Think of it as a complete recording studio packed into your Mac, iPad, or iPhone. It has everything you need to record your voice, play virtual instruments, and arrange your ideas into a finished song or podcast.
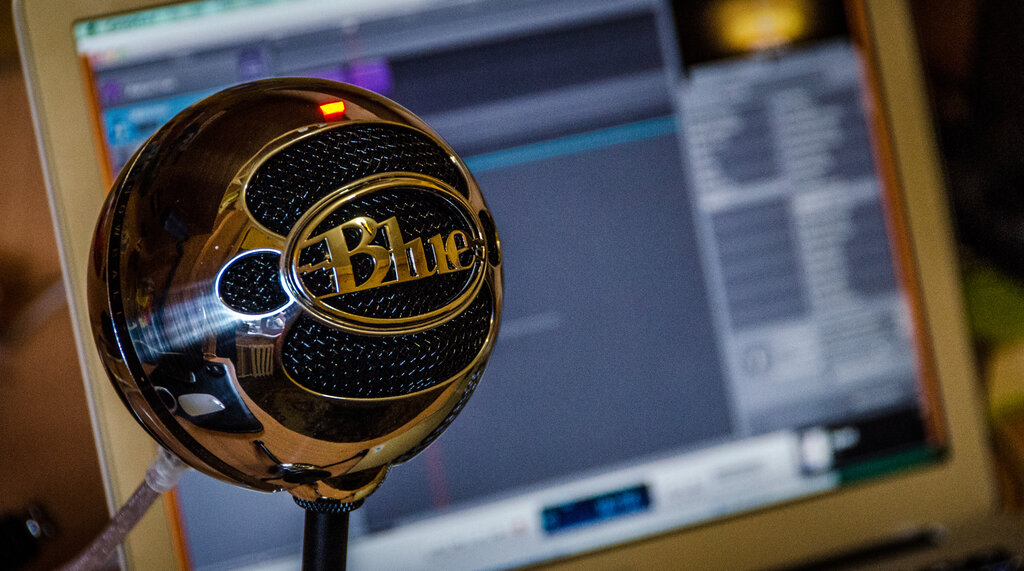
Because it's designed by Apple, it’s known for being incredibly user-friendly, making it a perfect starting point for anyone new to audio production. You can create music without knowing how to play an instrument, or you can plug in a microphone or guitar and start recording right away.
Creating Your First Project
When you first open GarageBand, it will ask you to choose a project type. This is your first creative decision.
Open GarageBand and choose Empty Project.
Starting with an empty project gives you a blank canvas. From there, you'll be prompted to create your first track. You have a few main options:
- Software Instrument: This lets you play and record virtual instruments, like pianos, synthesizers, and strings, using your computer keyboard or a connected MIDI controller.
- Audio: Choose this to record sound from a microphone (like your voice) or an electric guitar plugged into your computer.
- Drummer: This adds a virtual drummer to your project. You can choose from different drummers and styles, and they'll automatically create a beat that fits your song.
Navigating the Workspace
After creating a track, you'll land in the main workspace. It might look complex at first, but it's organized into a few key areas.
Let's break these down:
-
Control Bar: At the very top, you'll find the transport controls: play, stop, and record buttons. It also displays the project's tempo (speed), time signature, and key.
-
Tracks Area: This is the main part of the window. Each instrument or recording lives on its own track, stacked vertically. This is where you'll arrange all the different parts of your song.
-
Timeline: Running horizontally above the tracks, the timeline is marked with bars and beats, like a ruler for your music. You use it to navigate to different parts of your song.
-
Library / Inspector: This panel, usually on the left, is where you choose instruments and sounds from GarageBand's extensive library. It also lets you tweak settings for the currently selected track.
Don't worry about memorizing everything at once. The best way to learn is by clicking around and exploring what each button does.
Essential Tools
GarageBand has many tools, but you only need to know a few to get started. In the top left of the Control Bar, you'll see a few important buttons.
| Button | Name | What It Does |
|---|---|---|
| 🎹 | Library | Opens and closes the sound Library to pick instruments. |
| 🎛️ | Smart Controls | Shows a simplified set of knobs to easily change a sound. |
| ✂️ | Editor | Opens the audio or MIDI editor to fine-tune your recordings. |
| ➕ | Add Track | Lets you add a new track to your project. |
Once you have some audio or MIDI recorded in the Tracks Area, you can move it around by clicking and dragging. You can also loop a region by hovering over its top-right corner and dragging the loop icon that appears. This is great for repeating a drum beat or a bass line.
Saving your work is simple. GarageBand automatically saves your progress as you work. To create different versions or rename your project, just go to the File menu and use Save As.
Make sure to properly name your folders, subfolders, and GarageBand session files.
Keeping your projects organized from the start is a habit that will save you a lot of time later on.
What is a DAW, the category of software that GarageBand belongs to?
To record your voice for a podcast, which type of track should you create first?
Now that you're familiar with the basic layout and tools, you're ready to start making some noise.