AutoCAD Essentials for Beginners
AutoCAD Interface
Welcome to the Cockpit
Opening AutoCAD for the first time can feel like stepping into the cockpit of an airplane. There are buttons, panels, and readouts everywhere. But just like a pilot, you only need to focus on a few key controls to get started.
The main parts of the screen are your primary instruments. At the top, you'll find the Ribbon. This is where most of your tools are organized into tabs, like 'Home,' 'Insert,' and 'Annotate.' Below that is the vast, open Drawing Area, which is your digital canvas. At the bottom, you'll see two critical components: the Command Line and the Status Bar.
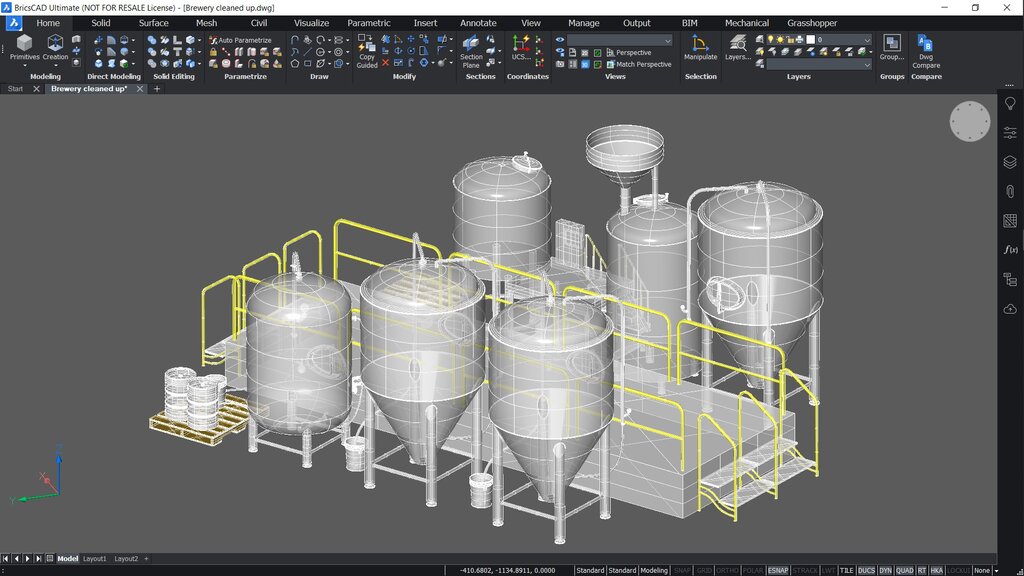
Think of it this way: the Ribbon is your toolbox, the Drawing Area is your workbench, and the Command Line is your direct assistant, ready to take instructions. The Status Bar gives you live feedback and lets you toggle helpful drawing aids on and off.
Navigating Your Canvas
Your most important navigation tools are Zoom and Pan. These let you move around your drawing without changing its actual size or location. You'll use them constantly.
The easiest way to navigate is with your mouse wheel:
- Zoom In/Out: Roll the wheel forward and backward.
- Pan: Click and hold the wheel down, then move your mouse. The cursor will change to a hand icon, allowing you to drag your view of the drawing around.
Mastering the mouse wheel for zooming and panning is the single most important habit for working quickly in AutoCAD.
You may also see a Navigation Bar docked on the side of your drawing area, which has dedicated Pan and Zoom buttons. There's also the ViewCube, a clickable cube that lets you switch between standard views (Top, Front, etc.), though this is more critical for 3D modeling.
The Command Line
The Command Line is arguably the most powerful feature in AutoCAD. Instead of hunting for a button in the Ribbon, you can simply type the name of the tool you want to use. AutoCAD veterans often work almost exclusively with the command line because it's so fast.
When you start typing, AutoCAD will suggest commands. You can press Enter or the spacebar to execute the selected command. After that, the command line will prompt you for the next step. For example, if you start the LINE command, it will ask for a starting point.
Command: LINE
Specify first point: (Click in the drawing area)
Specify next point or [Undo]: (Click a second point)
Specify next point or [Close/Undo]: (Press Enter to finish)
Pay close attention to the prompts. They guide you through exactly what information the tool needs to do its job. It’s like having a conversation with the software.
Setting Up Your Drawing
Before you draw anything, you need to set up your environment. Two of the most basic settings are units and limits.
First, you must tell AutoCAD what your drawing units represent. Are you drawing a tiny machine part in millimeters or a large building site in feet? This setting ensures your measurements are accurate. You can access it by typing UNITS into the command line and pressing Enter.
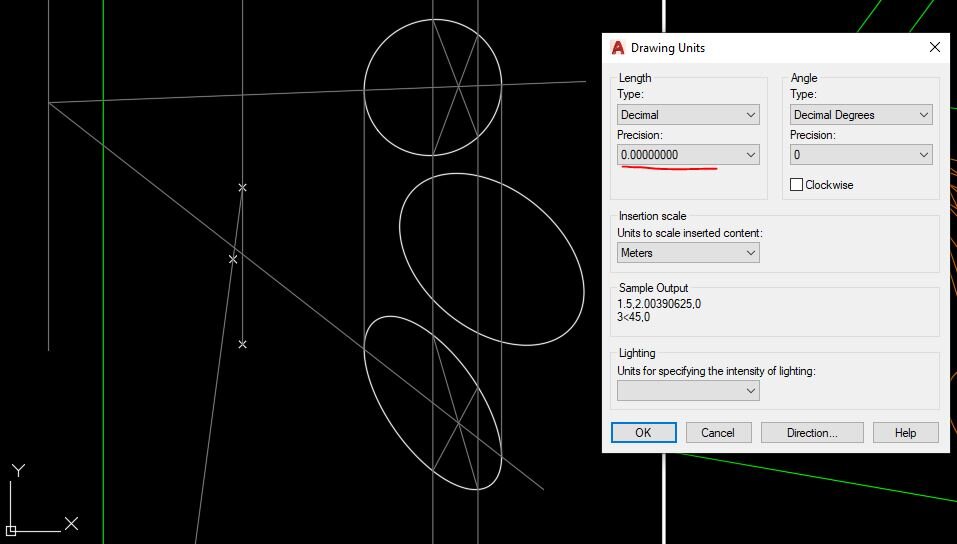
In the dialog box, you can set the format (like Decimal or Architectural) and the precision (how many decimal places to show).
Next, you should define your drawing Limits. This command sets the boundaries of your drawing area, like defining the edges of a virtual piece of paper. You set the coordinates for the lower-left and upper-right corners. This is helpful for controlling the area displayed when you 'Zoom All'. To set them, type LIMITS in the command line and follow the prompts.
Setting units and limits from the start is a professional habit that prevents scaling and printing problems later on.
Finally, the Status Bar at the very bottom right of the screen contains a row of icons. These are toggles for drawing aids. Clicking them turns features on or off. A few important ones are:
- Grid Display: Toggles a visual grid in your drawing area.
- Snap Mode: Makes your cursor 'snap' to the grid points for precise placement.
- Ortho Mode: Restricts your cursor movement to horizontal and vertical only.
Now that you're familiar with the layout and basic setup, you're ready to start drawing.