Artistic Photography Lighting Techniques
Understanding Light
The Behavior of Light
Light is the raw material of every photograph. Understanding how it works is like a painter understanding their paints. The most basic rule is that light travels in straight lines, called rays. When these rays hit an object, one of three things can happen: they can bounce off, get soaked up, or pass right through.
Think of light as millions of tiny particles flying through the air. When they hit something, they either reflect, absorb, or transmit.
Most of the time, it's a mix of all three. A red apple, for instance, absorbs all the colors of light except for red. It reflects the red light back to our eyes, which is why we see it as red. A window both reflects a little bit of light (you can see your reflection) and transmits most of it through. A black shirt absorbs most of the light that hits it, which is why it gets hot in the sun.
Hard Light and Soft Light
How light reflects determines its quality. The two main qualities you’ll work with are hard light and soft light. This is all about the type of reflection and the shadows it creates.
When light hits a smooth, shiny surface like a mirror or calm water, it bounces off in a single, predictable direction. This is called specular reflection. It creates sharp, high-contrast images and can cause bright, distracting highlights known as specular highlights.
When light hits a rough, matte surface like a concrete wall or a piece of paper, it scatters in many different directions. This is diffuse reflection. This scattering effect is what creates soft, gentle light with soft-edged shadows. Photographers love diffuse reflection. We use tools like softboxes and umbrellas to create a large, rough surface for light to bounce off of, softening it before it ever hits our subject.
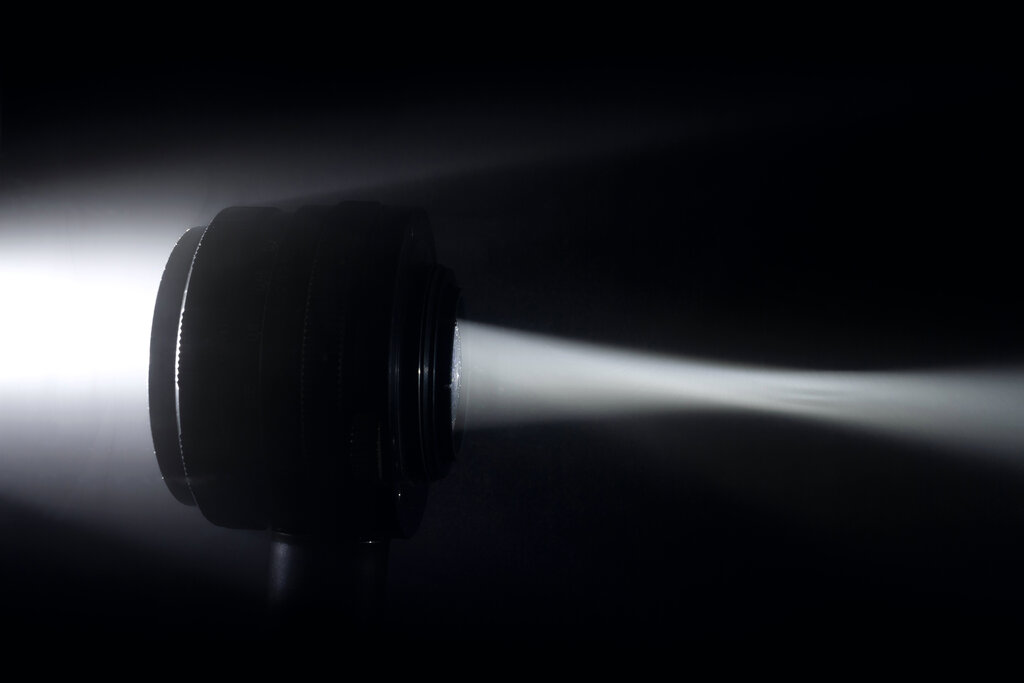
Similarly, when light transmits through an object, it can be changed. Light passing through a clear window is still hard light. But if it passes through a translucent material, like a frosted window or a sheer curtain, the light rays are scattered. The material diffuses the light, making it softer.
Hard light comes from a small or distant light source and creates sharp shadows. Soft light comes from a large or diffused light source and creates soft, gentle shadows.
The Color of Light
Light isn't just white; it has color. We don't always notice it because our brains are excellent at correcting what our eyes see. But a camera captures the light exactly as it is. This property of light is called color temperature, and it's measured on the Kelvin (K) scale.
Light is the single most important element in photography, and understanding it deeply is essential for creating images that look professional.
Think of a piece of metal being heated. It first glows red, then orange, yellow, white, and finally blue. The Kelvin scale works similarly. Lower Kelvin temperatures correspond to warmer, more orange light, while higher temperatures produce cooler, bluer light.
| Light Source | Approx. Color Temperature (K) | Color |
|---|---|---|
| Candlelight | 1900 K | Very Warm (Orange/Red) |
| Household Bulb (Tungsten) | 2700 K | Warm (Yellow) |
| Direct Sunlight (Midday) | 5500 K | Neutral (White) |
| Camera Flash | 5600 K | Neutral (White) |
| Cloudy Sky / Shade | 7000 K | Cool (Slightly Blue) |
| Clear Blue Sky | 10,000 K | Very Cool (Blue) |
Setting Your White Balance
Since your camera sees the true color of light, a white shirt might look orange under a tungsten bulb or blue in the shade. To fix this, we use the white balance setting. White balance tells your camera what color temperature to treat as neutral white. By knowing what white is, it can render all the other colors in the scene accurately.
Your camera has several white balance presets designed to counteract common color temperatures. For example:
- Tungsten (💡): Adds blue to counteract the warm, orange light from indoor lightbulbs.
- Daylight (☀️): Assumes neutral light from the sun.
- Cloudy (☁️): Adds a bit of warmth to counteract the cool, blue light of an overcast day.
- Shade (🏠): Adds even more warmth to compensate for the very blue light found in open shade.
Most cameras have an Auto White Balance (AWB) setting that does a decent job in mixed or changing light. However, for the most accurate and consistent colors, setting it manually is best. If you set your white balance to "Cloudy" on a sunny day, your photos will look extra warm. If you set it to "Tungsten" outside, your photos will look very blue. You can use this creatively to give your photos a specific mood.
Understanding how light behaves, reflects, and carries color is the foundation of photography. By mastering these concepts, you move from just taking pictures to intentionally creating images.