Angular and .NET Core Full-Stack Development
Setting Up Development Environment
Your Frontend Toolkit
Before you can write a single line of code for your web application, you need to set up your workshop. This is your development environment, a collection of essential tools that will help you build, manage, and test your project. We'll start with the tools for the frontend, which will be built with Angular.
First on the list is Node.js. While we'll be writing our frontend code in TypeScript (which is what Angular uses), Angular's tooling is built on top of Node.js. It acts as the runtime environment that executes the JavaScript code responsible for bundling, testing, and serving your application during development.
When you install Node.js, you also get npm, which stands for Node Package Manager. Think of npm as a massive library for developers. It allows you to easily download and manage third-party packages, which are pre-written pieces of code that add functionality to your project.
To get started, head to the official Node.js website and download the LTS (Long-Term Support) version. This is the most stable version and is recommended for most users. The installation is a straightforward process, just follow the on-screen instructions.
Once the installation is complete, you can verify that everything is working correctly. Open your command line interface (like Terminal on macOS or Command Prompt/PowerShell on Windows) and run these two commands:
# Check Node.js version
node -v

# Check npm version
npm -v
If you see version numbers printed for both, you're all set. Now you can install the Angular CLI (Command-Line Interface). This tool is a developer's best friend when working with Angular. It helps you create new projects, generate components, and run your application with simple commands.
Install the Angular CLI globally on your machine using npm:
npm install -g @angular/cli
The
-gflag tells npm to install the package globally, making thengcommand available from any directory in your command line.
To check that the Angular CLI was installed correctly, run:
ng --version
This command will display the Angular CLI version along with other helpful details about your environment.
Backend and Code Editor
With the frontend tools in place, let's turn to the backend and the editor where you'll write your code. For our backend, we'll use .NET Core, a powerful and cross-platform framework from Microsoft.
You'll need the .NET Core SDK (Software Development Kit). The SDK includes everything required to build and run .NET applications, including the command-line tools and the runtime. Go to the official .NET website, download the latest SDK for your operating system, and run the installer.
After installation, verify it by opening a new terminal window and running:
dotnet --version
Seeing a version number confirms that the .NET SDK is ready to go.
Now, for your code editor. We recommend Visual Studio Code (or VS Code), a free, lightweight, and highly extensible editor. It has fantastic support for TypeScript, C# (the language used for .NET), and countless other languages. It also features an integrated terminal, debugging tools, and Git integration right out of the box.
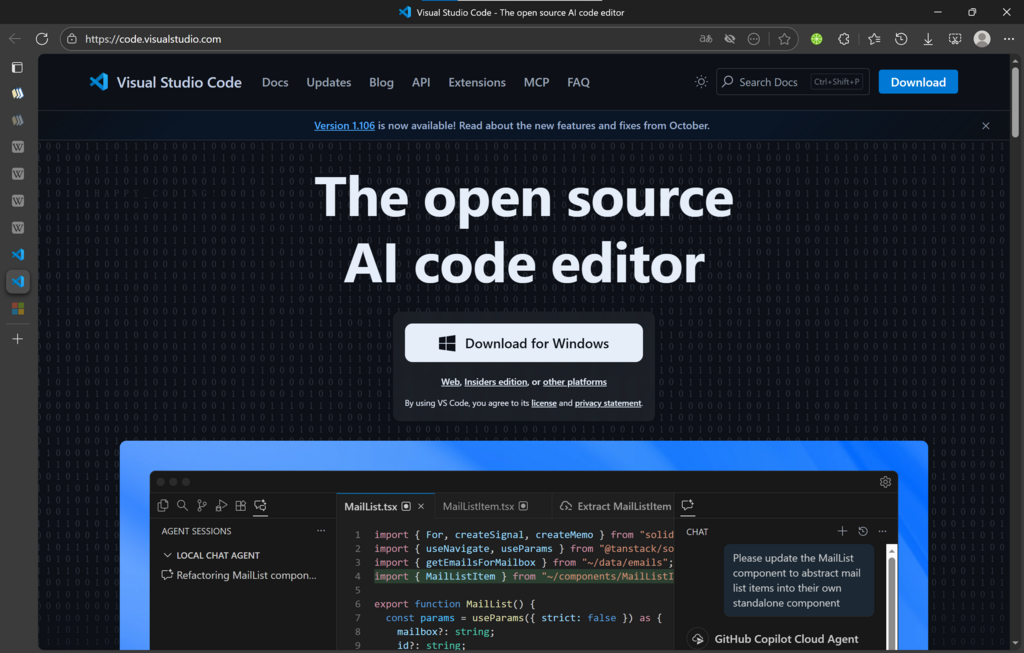
Once you have VS Code installed, consider adding a couple of key extensions from its marketplace to enhance your workflow. The "C#" extension from Microsoft is essential for .NET development, and "Angular Language Service" is incredibly helpful for working with Angular.
Keeping Track of Changes
The final piece of our setup is version control. Version control systems track every change you make to your code, allowing you to revert to previous versions, collaborate with others, and manage different features without conflicts. The industry standard for this is Git.
Download Git from its official website and run the installer. The default settings are usually fine for most users. To confirm the installation, use the command:
git --version
After installing Git, it’s a good practice to configure your user name and email address. These details will be attached to every commit you make. Run these commands in your terminal, replacing the placeholder text with your own information:
git config --global user.name "Your Name"
git config --global user.email "youremail@example.com"
Your development environment is now fully configured. You have all the necessary tools to build both the frontend and backend of your application, and a system to track your progress along the way.
What is the primary role of Node.js in an Angular development environment?
Which command installs the Angular CLI globally on your machine?
With your toolkit ready, you're prepared to start building.