Android Development Foundations
Environment Setup
Setting Up Your Workshop
Every project needs a starting point. For Android development, that point is setting up your digital workshop. The central piece of equipment is , the official integrated development environment (IDE) for building Android apps. It bundles everything you need into one package, making the setup process straightforward.
Head to the official Android Developer website to download and install Android Studio. The installer will also fetch the for you. Think of the SDK, or Software Development Kit, as your toolbox. It contains all the essential components like compilers, libraries, and system images that allow your code to become a functional app on an Android device.
Your First Project
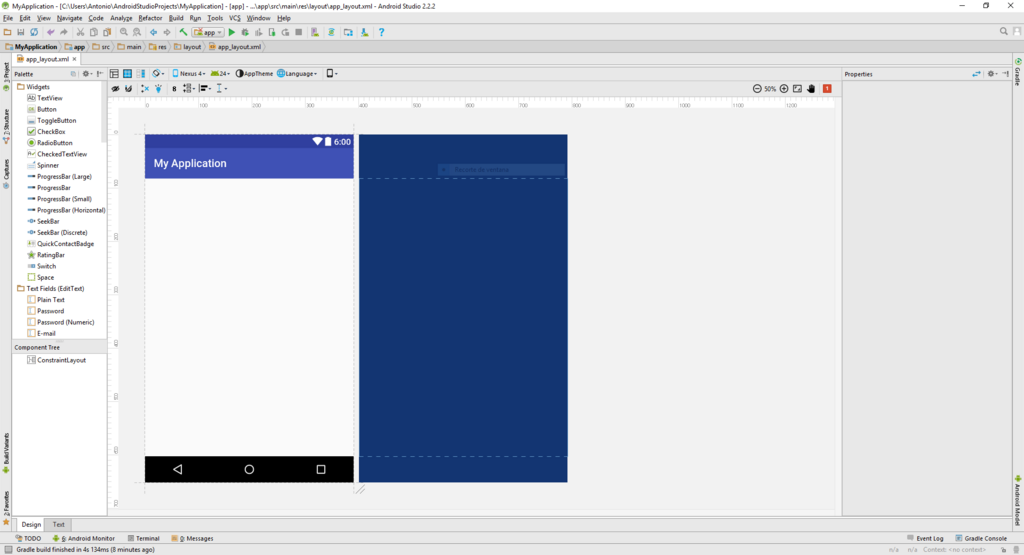
Once installed, launch Android Studio and select "New Project." You'll be presented with a variety of templates. For now, choose "Empty Views Activity." This gives you a minimal, clean slate to work from.
On the configuration screen, you'll set a name for your application, a package name (a unique identifier, usually in reverse domain name format like
com.example.myapp), and a save location. You'll also choose the programming language (we'll use Kotlin) and the Minimum SDK version. The minimum SDK determines the oldest Android version your app can run on.
After you click "Finish," Android Studio will set up your project. This can take a few moments as it downloads necessary files and runs a tool called Gradle to build the initial project structure.
Anatomy of an App
The project structure can seem daunting at first, but it's logically organised. The Project pane on the left shows you the files. Here are the key areas you'll work with:
| Directory | Purpose |
|---|---|
app/manifests | Contains AndroidManifest.xml, the app's configuration file. |
app/java | Holds your Kotlin (or Java) source code files. |
app/res | Contains all non-code resources like layouts, images, and strings. |
The AndroidManifest.xml file is particularly important. It's like the passport for your app, describing its identity and essential components to the Android operating system. It declares things like the app's icon, permissions it needs (like internet access), and the activities (screens) it contains.
<!-- app/manifests/AndroidManifest.xml -->
<manifest ...>
    <application
        android:allowBackup="true"
        android:icon="@mipmap/ic_launcher"
        android:label="@string/app_name"
        android:supportsRtl="true"
        android:theme="@style/Theme.MyApplication">
        <activity
            android:name=".MainActivity"
            android:exported="true">
            <intent-filter>
                <action android:name="android.intent.action.MAIN" />
                <category android:name="android.intent.category.LAUNCHER" />
            </intent-filter>
        </activity>
    </application>
</manifest>
Running Your App
Now for the exciting part: seeing your app run. You have two primary options: a virtual device (emulator) or a physical device.
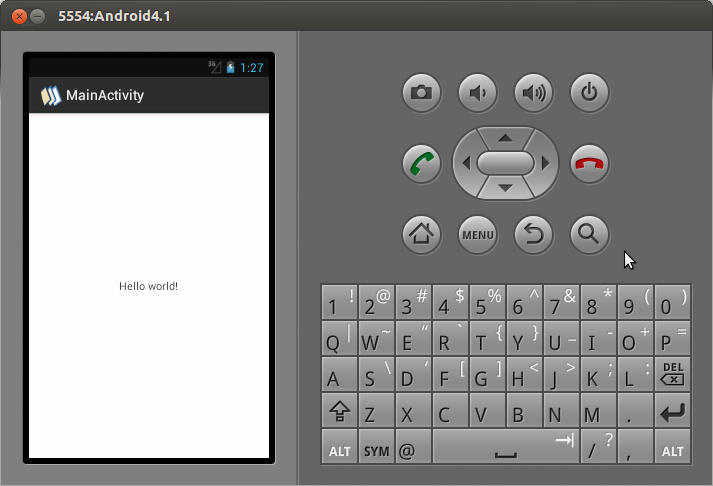
Running on an emulator is convenient for quick tests. In Android Studio, go to Tools > Device Manager. Here you can create a virtual device, choosing a phone model and Android version. Once created, select it from the dropdown menu in the main toolbar and click the green 'Run' button (a triangle icon). The emulator will launch, and after it boots up, your app will appear.
To run on a physical device, you'll need to enable a hidden setting on your phone called . To do this, go to your phone's Settings > About phone, and tap on the "Build number" seven times. This will unlock the Developer options menu.
Inside Developer options, find and enable "USB debugging." Now, connect your phone to your computer with a USB cable. Your device should appear in the same dropdown menu in Android Studio where the emulator was. Select it, press 'Run', and the app will be installed and launched on your phone.
What is the official Integrated Development Environment (IDE) for building Android apps?
Which file in an Android project is described as the app's "passport," declaring its identity, permissions, and components to the Android operating system?
With your environment configured, you're now ready to start building. Every complex app begins with these same foundational steps.