Android App Launch Tracking with PostHog and Meta
Android Development Basics
Setting Up Your Workspace
Before you can build an Android app, you need a place to write code and assemble your project. That place is Android Studio. It's the official Integrated Development Environment (IDE) for Android app development, which is a fancy way of saying it's a software suite that bundles all the essential tools into one place.
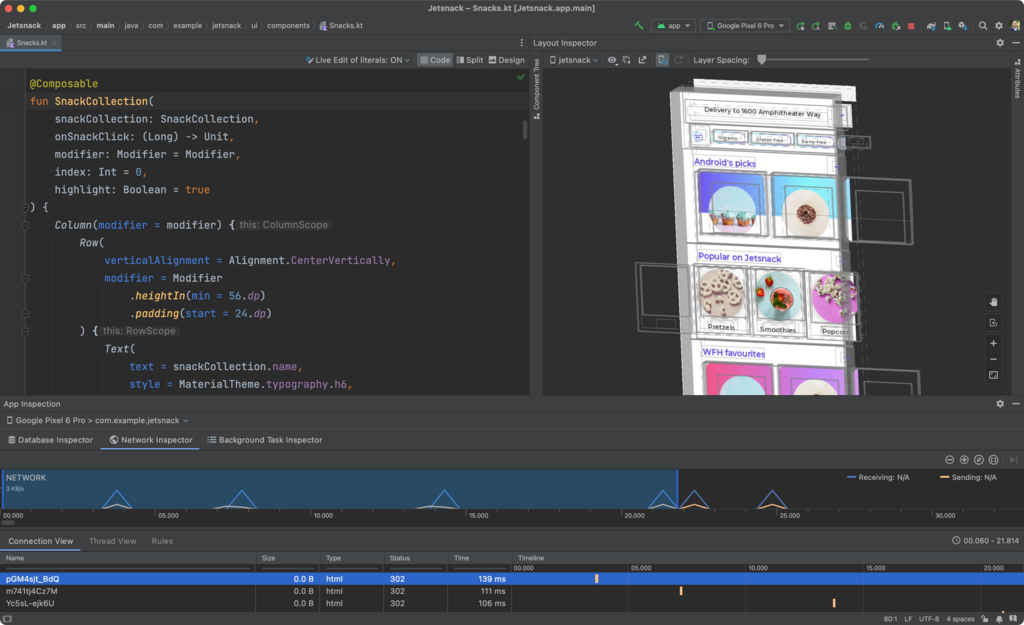
Think of it as your digital workshop. It includes a smart code editor that helps you write better code faster, tools for debugging to squash bugs, and an emulator to test your app on a virtual phone right on your computer.
Getting started is straightforward. You download Android Studio from the official Android developer website and run the installer. A setup wizard will guide you through the process, which includes installing the Android SDK (Software Development Kit). The SDK is a collection of libraries and tools required to build for the Android platform. Once the wizard is finished, you'll be ready to create your first project.
The App's Life Story
Every Android app has a lifecycle, much like a living thing. It's created, it runs, and eventually, it's destroyed. The Android operating system manages this lifecycle to ensure the device runs smoothly, conserving battery and memory by shutting down apps that aren't being used.
An app moves through different states, and each transition is marked by a specific event. As a developer, you can hook into these events to make your app behave correctly. For instance, you might want to save a user's progress when they get a phone call, or load data from the internet when the app first starts.
The key states are:
- onCreate(): The app is first created. This is where you do initial setup.
- onStart(): The app becomes visible to the user.
- onResume(): The app is on screen and the user can interact with it.
- onPause(): The app is partially obscured, like by a pop-up dialog or an incoming call.
- onStop(): The app is no longer visible on the screen.
- onDestroy(): The app is about to be destroyed, freeing up resources.
Understanding the lifecycle isn't just academic. It's crucial for building stable apps that don't lose user data or crash when the system needs to reclaim resources.
Building Blocks of the Screen
The user interface (UI) is everything the user sees and interacts with. In Android, the UI is built from a collection of components, often called "widgets" or "Views."
Think of them like LEGO bricks. You combine different pieces to build your screen. You can arrange them, style them, and define how they behave when a user taps or types. These components are defined in XML (eXtensible Markup Language) files, which provide a structured way to lay out your interface.
| Component | Description |
|---|---|
TextView | Displays static text. |
EditText | An input field for users to type in text. |
Button | A clickable button that triggers an action. |
ImageView | Displays an image, like a photo or an icon. |
RecyclerView | A powerful component for displaying long, scrollable lists of items. |
You start by dragging these components onto a visual layout editor in Android Studio or by writing the XML code directly. Then, in your app's code (written in a language like Kotlin or Java), you connect to these components to make them interactive. For example, you write code to specify what happens when a user clicks a particular Button.
Mastering these basic components is the first step toward creating intuitive and functional interfaces for your users.
With a development environment set up and a basic understanding of the app lifecycle and UI components, you have the foundational knowledge needed to start building and, eventually, analyzing your Android app.