Advanced Zapier Automation
Zapier Basics
Automating Your Work
Many of our daily tasks involve moving information between different apps. You might get an email with an attachment, download it, and then upload it to a cloud storage service. Or maybe you add a new contact to a spreadsheet and then have to manually add them to your email list. These small, repetitive tasks add up.
This is where automation tools come in. Zapier is a platform designed to connect your different web applications and automate these kinds of tasks for you, without needing to write any code.
Zapier is a no-code tool that moves your info between your web apps automatically, so you can focus on your most important work.
Think of it as a bridge between your apps. It watches for something to happen in one app and then automatically does something else in another app based on your instructions. These automated workflows are called Zaps.
The Anatomy of a Zap
Every Zap, no matter how simple or complex, is built from the same two basic components: a trigger and an action. Understanding these two concepts is the key to unlocking automation.
First, you need an event to kick things off. This is the trigger.
Trigger
noun
The event in an app that starts a Zap's workflow.
A trigger could be almost anything: receiving a new email, a new sale in your e-commerce store, a new entry in a database, or a new post on social media. It's the "if this happens..." part of the equation.
Once the trigger event occurs, Zapier performs an action. This is the task you want to happen automatically.
Action
noun
The event that a Zap performs after it is triggered.
The action is the "...then do that" part. For every trigger, there's a corresponding action. If the trigger is a new sale, the action might be to send a thank you email to the customer. If the trigger is a new calendar event, the action might be to create a to-do list item for it.
A simple Zap recipe: When I get a new email in Gmail with an attachment (Trigger), save that attachment to my Dropbox (Action).
Using the Zapier Interface
When you create a Zap, the editor guides you through this process step-by-step. You'll first be prompted to choose an app for your trigger and specify the exact event. For example, you'd select Gmail and then the "New Email" trigger.
After setting up the trigger, you'll do the same for the action. You'll choose the app where the action will take place, like Slack, and then select the specific action, such as "Send Channel Message."
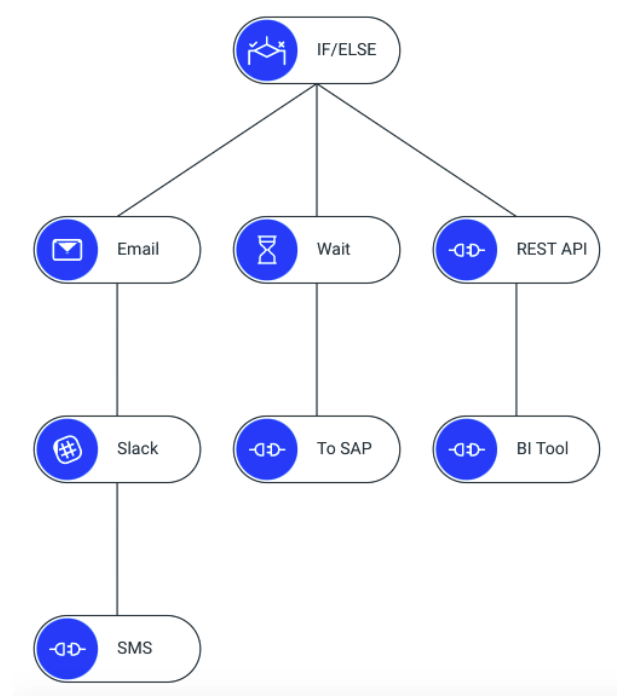
You can even pass information from the trigger step to the action step. For instance, you can take the subject line and sender's name from the new email (the trigger) and use them in the Slack message (the action). This allows you to create dynamic, personalized automations.
Let's review the key concepts.
Time to check your understanding.
In the context of Zapier, what is a "Zap"?
Every Zap is composed of which two fundamental components?
By combining triggers and actions, you can build simple automations that save you time and handle repetitive tasks, freeing you up to focus on more important work.