Advanced Tailoring of the Late 1700s Waistcoat
Period Fabric Preparation
Preparing the Foundation
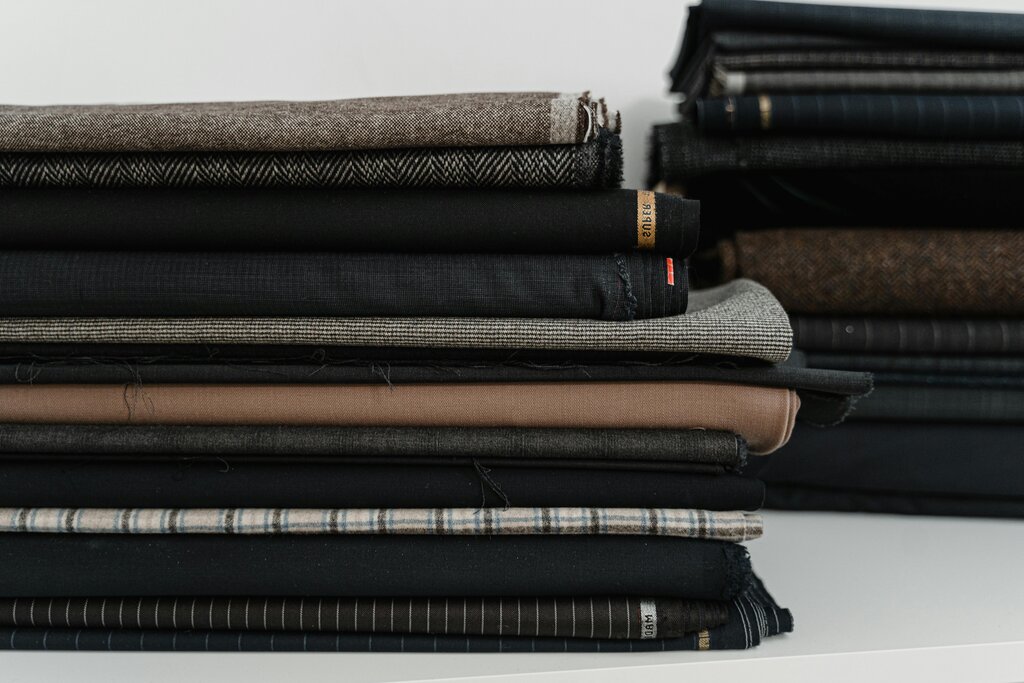
Before a single pattern piece is cut, the success of a late 18th-century waistcoat is determined by the preparation of its materials. Unlike modern fabrics with stable, predictable finishes, period-appropriate woolens and silks have a life of their own. They must be tamed before construction begins to prevent shrinking, warping, and sagging in the finished garment.
For broadcloth and other woolens, this process begins with a controlled shrinking. The goal is to pre-shrink the material so it won’t change shape after the waistcoat is assembled. A common method is to thoroughly dampen the wool with a spray bottle or wet cloth, roll it up, and let it rest for several hours. Afterward, press it dry with a hot iron, always moving with the grain. This step also provides a crucial opportunity to check and correct the grain alignment, ensuring the warp and weft threads are perfectly perpendicular. A garment cut off-grain will twist and hang improperly, a flaw no amount of tailoring can fix.
Building the Structure
The stiff, upright silhouette of the 1770s and 1780s was not achieved with fabric alone. It relied on a hidden internal structure, primarily built from horsehair canvas and linen buckram. These materials provide shape and support, particularly across the chest and shoulders, creating the smooth, proud front that was fashionable at the time.
Selecting the right horsehair canvas is a matter of balance. A medium-weight canvas is typically best for a waistcoat's chest piece. It should be stiff enough to smooth out the body's contours but flexible enough to move with the wearer. Too heavy, and the garment becomes a rigid shell. Too light, and it offers no support, defeating its purpose. The canvas is cut to shape and pad-stitched to the wool, a process that permanently marries the two layers and builds the desired convex shape over the chest.
Pad stitching not only joins the layers but also gives them three-dimensional form, gently sculpting the flat planes of the chest into the rounded shape dictated by fashion.
For areas requiring absolute crispness, such as the button stand or pocket welts, tailors turned to . This stiff, open-weave linen is treated with a sizing agent like gum arabic or glue. Before use, it's often dampened slightly to make it pliable. Once shaped and set into the garment, it dries to a firm, inflexible state. This provides the sharp, clean edges essential to a well-made garment and prevents key structural points from collapsing or stretching with wear.
Final Considerations
The final element in preparing for construction is thread. For structural hand-stitching in woolen garments, a strong linen thread is essential. It should be run over a block of beeswax before use. This simple action coats the thread, strengthening it, reducing tangles, and helping it glide smoothly through the dense layers of wool and canvas. For decorative elements or buttonholes, a silk twist provides both strength and a subtle sheen.
Properly preparing these materials is not a preliminary step, it is the first act of construction. By stabilizing the wool, selecting the correct interfacings, and choosing the right thread, you create a foundation upon which a durable, historically accurate, and beautiful garment can be built.
Now, let's test your understanding of these foundational techniques.
What is the primary reason for dampening and pressing wool broadcloth before cutting out the pattern pieces for an 18th-century waistcoat?
For which parts of a waistcoat would a tailor use linen buckram?
With your materials properly prepared, you are ready to begin the process of cutting and assembly.