Advanced SSD Data Recovery Forensics
Hardware Pass-through Optimization
Gaining Direct Hardware Access
In digital forensics, getting a clean, unaltered image of a drive is everything. When you're working with a Kali Linux virtual machine, simply plugging a USB drive into your host computer isn't enough. The host operating system and VMware's own virtualization layer can get in the way, preventing the direct, low-level access needed for forensic tools.
Standard USB connections in a VM are emulated. This means the guest OS (your Kali machine) doesn't see the real hardware; it sees a generic, virtual version of it. This is fine for a mouse or a simple flash drive, but it's a roadblock for forensic work. Emulation can block commands needed to check a drive's firmware or its TRIM status. Worse, your host OS might automatically mount the drive and write data to it without you even knowing, compromising the evidence.
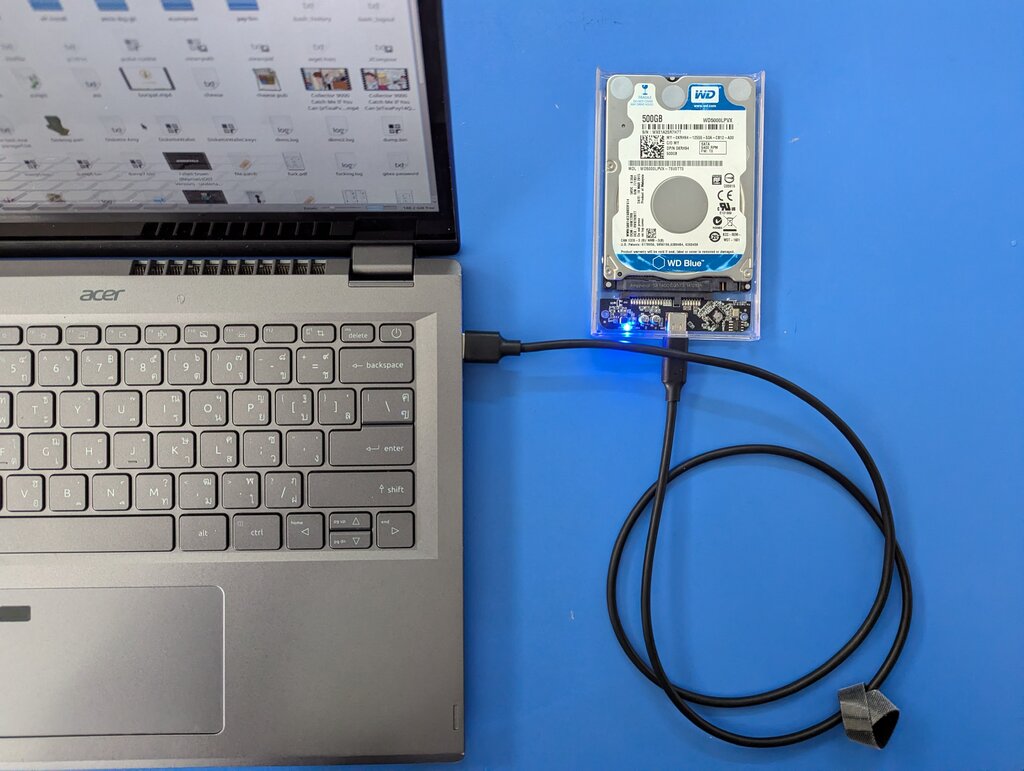
To get around this, we need to configure hardware pass-through. This creates a direct pipeline from the physical USB port to your virtual machine, bypassing the host's interference. Your Kali VM will see the SSD as if it were physically plugged into it.
Configuring VMware for Pass-through
Our first step is to ensure VMware's USB Arbitrator Service is running correctly. This service is responsible for managing which device—the host or a guest VM—gets control of a USB device when it's plugged in. On Windows, you can check this in services.msc. On macOS and Linux, it's typically handled by a background daemon that's enabled by default.
Next, we need to modify the virtual machine's configuration file, which has a .vmx extension. This file contains all the settings for your VM, including its virtual hardware. Make sure the VM is powered off completely—not just suspended—before editing this file.
# Add these lines to your .vmx file
usb.present = "TRUE"
ehci.present = "TRUE"
usb.generic.allowHID = "TRUE"
usb.generic.allowLastHID = "TRUE"
usb.quirks.device0 = "0xVVVV:0xPPPP skip-reset,skip-refresh,skip-probe"
usb.xhci.present = "TRUE"
The most important lines here are the last two. usb.xhci.present = "TRUE" enables support for USB 3.0/3.1 speeds, which is crucial for imaging large drives quickly. The usb.quirks line can be a powerful tool for forcing a connection to a problematic device, but for now, the first four and the last line are our main focus. The 0xVVVV:0xPPPP values correspond to the vendor and product ID of a specific device, allowing for fine-grained control.
Avoid using slow spinning hard drives (HDDs) for your VMs and containers whenever possible, opting for Solid State Drives (SSDs) or, ideally, NVMe drives.
With the .vmx file updated, you can now manage the connection. When you plug in the target SSD, your host OS may still try to claim it. You need to explicitly disconnect it from the host and connect it to the guest. In the VMware menu, this is usually found under "VM > Removable Devices." You'll see your SSD listed; selecting "Connect (Disconnect from Host)" is the key. This action tells the USB Arbitrator to hand exclusive control over to your Kali Linux VM.
Verifying the Connection
Once the drive is connected to your Kali VM, you need to verify that the system sees it as a raw block device. This is where you can turn to the terminal. The lsblk (list block devices) command gives a clean overview of all storage devices attached to the system.
# List all block devices
lsblk

# Example Output:
# NAME   MAJ:MIN RM   SIZE RO TYPE MOUNTPOINT
# sda      8:0    0    50G  0 disk
# ├─sda1   8:1    0    49G  0 part /
# └─sda2   8:2    0   976M  0 part [SWAP]
# sdb      8:16   0 238.5G  0 disk
# └─sdb1   8:17   0 238.5G  0 part
In this example, sda is the VM's primary hard disk. The new device, sdb, is our target SSD. It's crucial that it does not have a MOUNTPOINT. If it does, it means the OS has automatically mounted it, which you want to avoid. You can also use fdisk -l for a more detailed view, which includes the disk label and partition table type.
# Get detailed disk information
sudo fdisk -l /dev/sdb

# Example Output:
# Disk /dev/sdb: 238.5 GiB, 256060514304 bytes, 500118192 sectors
# Disk model: My Passport 25E2
# Units: sectors of 1 * 512 = 512 bytes
# ...
Seeing the correct disk model and size confirms that your Kali VM has the direct hardware access it needs. Now you're ready to proceed with forensic imaging, confident that the evidence drive is isolated and unaltered.
Let's test your understanding of these critical setup steps.
Why is a standard, emulated USB connection in a virtual machine unsuitable for forensic work?
What is the role of the USB Arbitrator Service in the context of connecting a drive to a VM for forensic imaging?