Advanced Revit Rendering Mastery
Optimize Render Settings
Beyond the 'Render' Button
You already know how to create a view, position the camera, and hit the render button. But the magic of a truly photorealistic image lies in what happens next: fine-tuning the settings to command the software how to think about light, quality, and time. Mastering these settings is the difference between a decent preview and a stunning, client-ready visualization.
At the heart of this process is the render engine. Think of it as the brain of the operation. Revit primarily uses the Autodesk Raytracer, an engine built on sophisticated algorithms that simulate how light behaves in the real world. Understanding these core concepts is the first step to taking control of your output.
How Revit Sees Light
To create a realistic image, the render engine has to calculate the path of light as it travels from a source, bounces off surfaces, and eventually reaches the camera. The two most important concepts governing this are and global illumination.
Ray tracing works by casting rays from the camera into the scene for every single pixel in your final image. When a ray hits an object, the engine calculates the color and brightness at that point based on the material and any light sources hitting it directly. If the surface is reflective or transparent, the ray bounces or passes through, continuing its journey until it hits another surface or flies off into space.
Global illumination takes this a step further. It doesn't just calculate light coming directly from a source; it also calculates the light that bounces off other objects in the scene. This is how you get subtle, realistic effects like soft shadows and color bleeding, where a bright red wall casts a faint red glow on an adjacent white ceiling.
The result is a scene that feels grounded and real. Without global illumination, interiors often look flat and unnaturally dark in the corners, because the render engine isn't accounting for the way light fills a space by bouncing around.
Presets vs. Custom Settings
Revit gives you a simple starting point with its quality presets: Draft, Medium, High, and Best. These are bundles of pre-configured settings that offer a quick way to control the render quality. Think of them as automatic modes on a camera.
| Preset | Speed | Noise Level | Light Accuracy | Best Use Case |
|---|---|---|---|---|
| Draft | Very Fast | High | Low | Quick massing or shadow checks. |
| Medium | Fast | Moderate | Moderate | Early design development, internal reviews. |
| High | Slow | Low | High | Good for most final renders. |
| Best | Very Slow | Very Low | Very High | Final marketing shots, competitions. |
While presets are useful, relying on them is like only ever using the 'Auto' setting on a DSLR camera. To unlock an engine's full potential, you need to switch to manual and create a custom setup. This allows you to fine-tune individual parameters, like the number of reflections and refractions, or the specific method of used to smooth out jagged edges. True optimization happens here, letting you allocate processing power exactly where it’s needed most for a specific scene.
Use presets for quick checks and iterative design. Switch to custom settings for final, high-quality deliverables.
The Quality-Time Trade-off
Every render is a negotiation between quality and time. Pushing every setting to its maximum value will produce a beautiful image, but it might take days to render a single frame. The art of optimization is knowing which settings give you the biggest visual impact for the smallest cost in time.
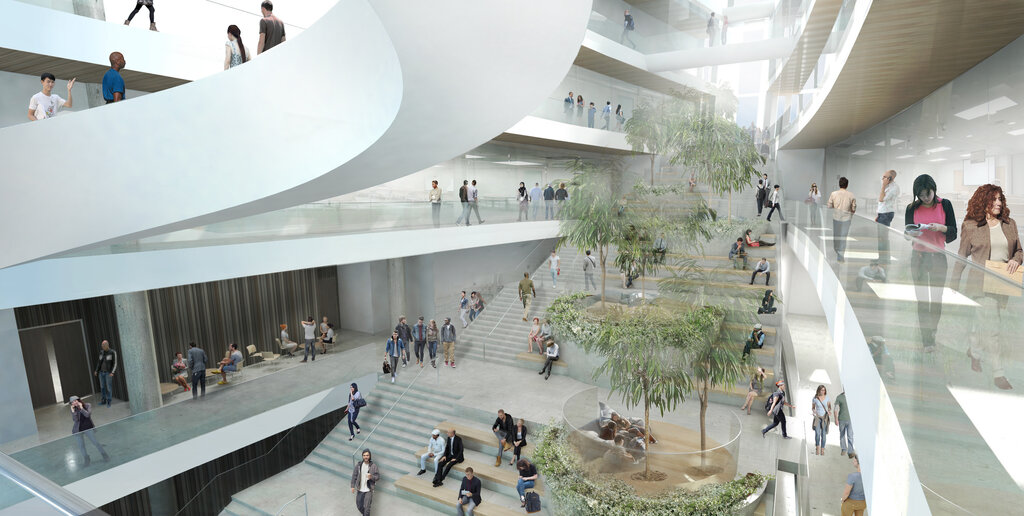
Reflections and refractions are prime examples. These settings control how many times a ray of light can bounce off reflective surfaces (like mirrors or polished floors) or bend through transparent ones (like glass). A value of 1 for reflections means a ray will only bounce once. A value of 8 means it can bounce up to eight times, creating complex, inter-reflected details. While higher values add incredible realism to scenes with lots of glass or metal, each additional bounce multiplies the calculations needed, dramatically increasing render time.
For most architectural interiors, reflection and refraction values between 3 and 6 are a good sweet spot. Anything higher often has diminishing returns.
Another critical area for optimization is and anti-aliasing. Image noise appears as a grainy or speckled pattern, especially in shadows or areas with complex lighting. Increasing the render quality setting helps reduce this by performing more calculations, but it's a brute-force method. A smarter approach is to use a moderate quality setting combined with a denoiser. Revit's built-in denoiser uses AI to intelligently analyze the rendered image and smooth out noise after the main rendering pass is complete. This can often achieve a clean result in a fraction of the time it would take to eliminate noise through raw render quality alone.
Finally, don't forget one of the simplest but most powerful optimization tools: the render region. When you're just tweaking the material on a single chair or adjusting the lighting on one wall, there's no need to re-render the entire image. By drawing a render region around the specific area you're working on, you can see the results of your changes in seconds instead of minutes. Use it constantly during your look development process to iterate quickly.
Ready to test your knowledge on these advanced concepts?
What is the primary role of 'Global Illumination' in the rendering process?
When is it most effective to switch from a quality preset (like 'High') to a custom render setup?
By moving beyond presets and strategically adjusting these settings, you gain precise control over your renderings. This allows you to produce higher quality work more efficiently, tailoring your approach to the specific needs of each project and scene.