Advanced Epoxy Woodturning Techniques
Introduction to Epoxy Woodturning
A New Dimension in Woodturning
As a woodturner, you have a deep appreciation for the natural beauty of wood. You know how to read the grain, shape a curve, and bring a raw block to life. But what if you could take that artistry a step further? Epoxy resin opens up a world of creative possibilities, allowing you to stabilize fragile wood, add vibrant color, and create stunning hybrid pieces that blend natural material with modern chemistry.
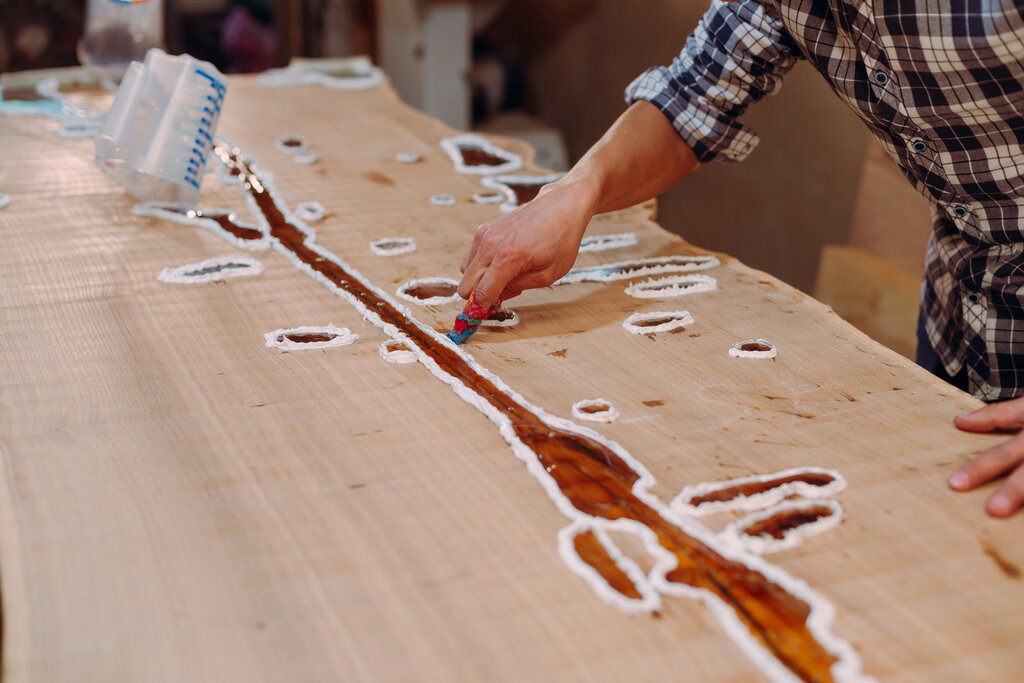
Working with epoxy isn't about replacing the wood, but enhancing it. It allows you to save pieces of wood that might otherwise be unusable—punky burls, cracked blanks, or wood with interesting voids. By filling these imperfections with resin, you not only strengthen the material but also turn flaws into features.
Understanding Epoxy Resin
At its core, epoxy is a two-part system: a resin and a hardener. When mixed together in the correct ratio, they trigger a chemical reaction that causes the liquid to cure, or harden, into a solid, durable plastic. This process generates heat, which is an important factor to manage in your projects.
Not all epoxies are the same. For woodturning, you'll primarily encounter two types:
| Resin Type | Key Characteristics | Best For... |
|---|---|---|
| Casting Resin | Low viscosity (thin), longer cure time, low heat buildup. | Deep pours, filling large voids, creating hybrid wood/resin blanks. |
| Coating Resin | High viscosity (thick), shorter cure time, self-leveling. | Sealing wood, applying a glossy top coat, small crack fills. |
Choosing the right type is crucial. Using a thick coating resin for a deep pour can cause it to overheat, crack, or cure improperly. Conversely, a thin casting resin won’t build up quickly enough for a durable top coat. Always check the manufacturer's specifications for maximum pour depth and recommended use.
Wood and Epoxy a Perfect Match
The compatibility between wood and epoxy is excellent, but success depends on preparation. The most important rule is that your wood must be completely dry. Any moisture present can interfere with the curing process, resulting in a cloudy or soft finish. Using a moisture meter is highly recommended to ensure your wood is below 12% moisture content.
Most woods bond well with epoxy. For oily woods like teak or cocobolo, a light sanding and wiping the surface with denatured alcohol or acetone right before applying resin will improve adhesion.
The benefits of this combination are both practical and artistic. You can salvage beautiful but unstable wood, create bold color contrasts by adding pigments to the resin, and craft unique pieces that are impossible to make with wood alone. The smooth, glass-like finish of polished resin next to the warm, natural grain of wood creates a dynamic and visually appealing contrast.
Safety First
Before you mix your first batch of epoxy, it's essential to understand the safety requirements. The chemicals in liquid epoxy can cause skin irritation and allergic reactions, and the fumes can be harmful to your respiratory system. Always work in a well-ventilated area and use the correct Personal Protective Equipment (PPE).
Key PPE for Epoxy Work:
- Nitrile Gloves: Protect your skin from direct contact. Avoid latex gloves, as they can break down.
- Safety Glasses: Shield your eyes from splashes.
- Respirator: A respirator with organic vapor cartridges is essential to protect your lungs from fumes. A simple dust mask is not sufficient.
Read the Safety Data Sheet (SDS) for any epoxy product you use. It contains specific information about potential hazards and handling instructions. By taking these precautions, you can safely explore the exciting new possibilities that epoxy brings to your workshop.