Adobe Premiere Pro Video Editing Basics
Getting Started
Meet Your New Editing Suite
Opening Premiere Pro for the first time can feel like stepping into the cockpit of an airplane. There are buttons, panels, and timelines everywhere. But don't worry. Every professional editor started right where you are. We'll break it down into simple, manageable pieces.
Think of it less like a cockpit and more like a well-organized kitchen. Each tool has a purpose, and soon you'll know exactly where to find the right knife or cutting board for the job.
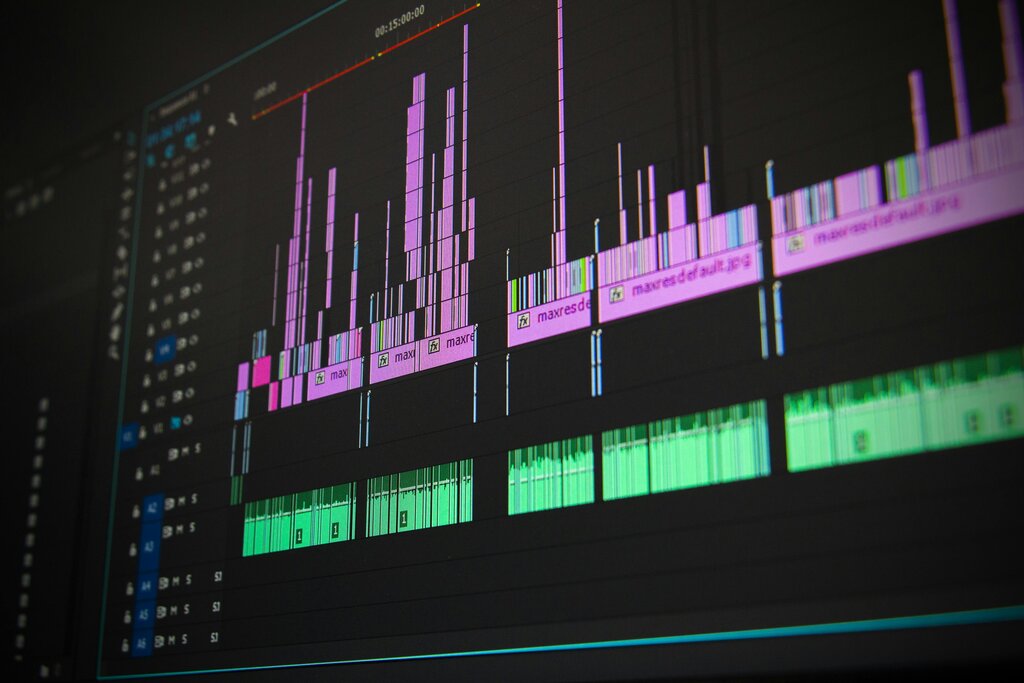
Arranging Your Workspace
The entire layout of Premiere Pro is customizable. This arrangement of panels is called a Workspace. Premiere Pro comes with several preset workspaces tailored for different tasks, like Assembly, Editing, Color, and Audio. You can switch between them at any time from the top menu bar.
For now, let's stick with the default 'Editing' workspace. It's designed to give you easy access to the most common tools you'll need. As you get more comfortable, you can move, resize, or close panels to create a custom workspace that fits your personal workflow. You can even save your custom layouts.
If you only learn one beginner term for Premiere Pro, make sure it’s Workspaces.
The Editing workspace is built around four key panels. Understanding what each one does is the first step to mastering the software.
Here's a breakdown:
- Project Panel: This is your library. All your media files—video clips, audio files, images—will live here after you import them. You'll organize everything in this panel.
- Source Monitor: This is your preview window for individual clips. Before you add a clip to your video, you can watch it here and select the exact portion you want to use.
- Program Monitor: This window shows your actual edited video. As you add clips to the timeline, you'll see the result here. It's your final output view.
- Timeline: This is where the magic happens. You'll drag clips from the Project Panel or Source Monitor onto the Timeline to build your video sequence. You arrange, trim, and layer your clips here.
Setting Up Your First Project
Before you can import any media, you need to create a project. A Premiere Pro project file contains all your editing decisions, references to your media files, and sequences. It's the master blueprint for your video.
When you launch Premiere Pro, you'll see an option to create a 'New Project'. Clicking this opens the Project Settings window.
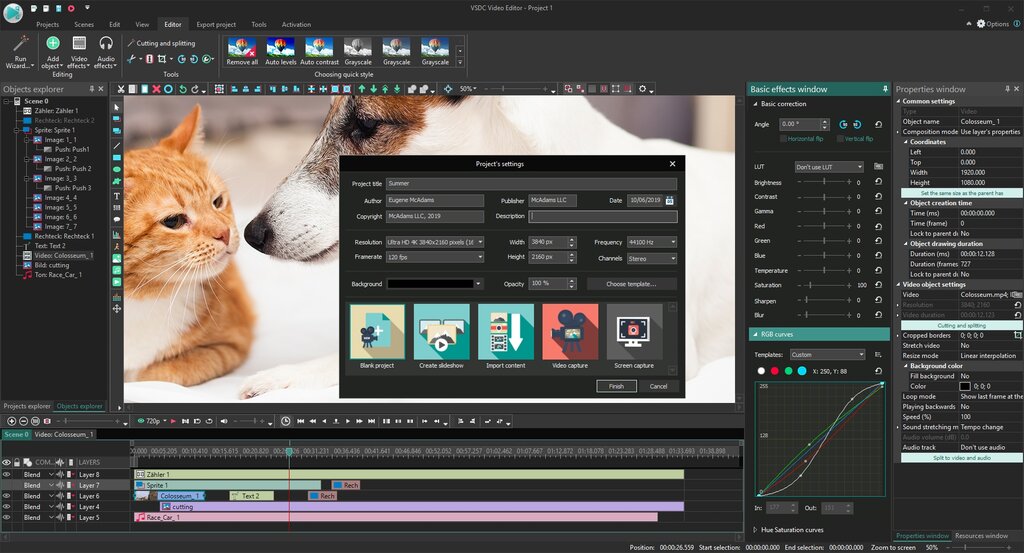
For your first project, you only need to worry about two things:
- Project Name: Give your project a clear, descriptive name. 'My First Edit' is a great start.
- Project Location: Choose where on your computer to save the project file. It’s a good practice to create a main folder for your entire video project and save the Premiere Pro file inside it.
Keeping your files organized from the very beginning will save you a lot of headaches later. A simple folder structure could include subfolders for 'Video', 'Audio', 'Graphics', and 'Project Files'. Once your project is created and your workspace is set, you're ready to start importing your media and building your story.
Let's check your understanding of these foundational concepts.
What is the primary function of the 'Project Panel' in Premiere Pro?
In Premiere Pro, the arrangement and layout of all the panels on your screen is called a ______.
Now that you're familiar with the layout and how to start a project, you have the foundation needed to begin editing.