Adobe Premiere Pro Mastery
Introduction to Premiere Pro
Welcome to Premiere Pro
Adobe Premiere Pro is a powerful tool for editing video. Professionals use it to create everything from YouTube videos to Hollywood films. At first glance, the interface can look intimidating, with its many panels and buttons. But once you understand how the main pieces fit together, it becomes much more approachable.
When learning how to use Premiere Pro, starting with the fundamentals is a good idea.
Think of Premiere Pro as a digital workshop. You have a place for your raw materials, a workbench for assembling them, and a window to view your finished product. These areas are called panels, and they make up your workspace.
The Four Main Panels
The default editing workspace in Premiere Pro is organized into four primary panels. Each one has a specific job. Understanding the role of each panel is the first step to editing efficiently.
Let's break down what each panel does.
1. The Project Panel This is your library. It’s where you import and organize all your assets: video clips, audio files, images, and graphics. Keeping this panel tidy from the start will save you a lot of headaches later. You can create folders (called "bins") to group related files together, just like on your computer's desktop.
2. The Source Monitor This is your preview window for individual clips. Before you add a clip to your final video, you can open it here to watch it. You can set in-points and out-points to select only the best part of a shot, which helps keep your timeline clean.
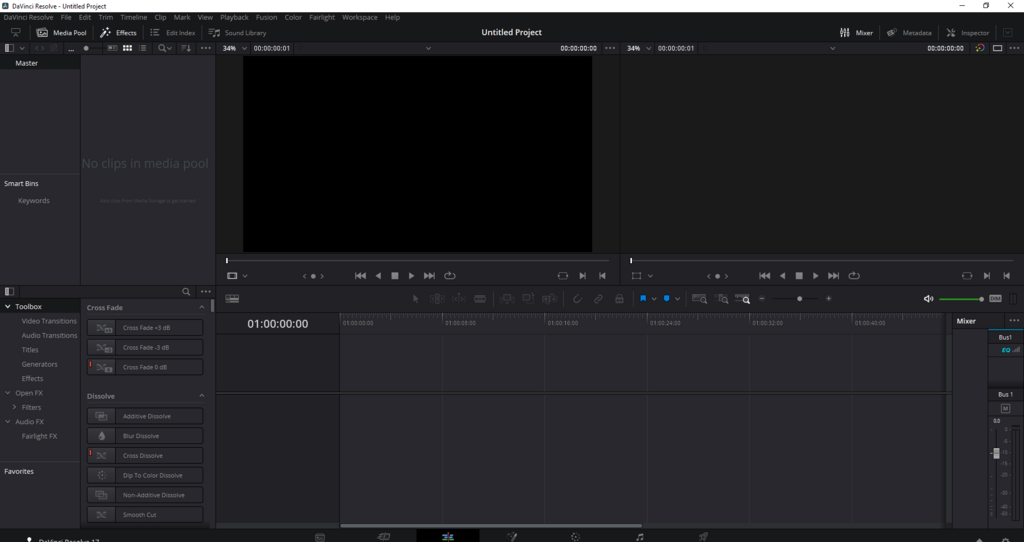
3. The Timeline Panel This is where the magic happens. The timeline is where you build your video sequence. You'll drag clips from the Project Panel or Source Monitor onto the timeline to arrange them in order. Here, you can trim clips, add transitions, and layer video and audio tracks.
4. The Program Monitor This monitor shows you the video that's on your timeline. As you arrange and edit clips in the timeline, the Program Monitor displays the result in real time. It’s your view of the final product as you create it.
Setting Up Your Project
Every video starts with a new project file. This file doesn't contain your video clips directly. Instead, it holds all the information about your edits and references the media files stored on your hard drive. When you first create a project, you need to tell Premiere Pro a few key things.
First, give your project a descriptive name and choose a location to save it. It's good practice to create a dedicated folder for each video project that contains the project file and all associated media.
Next, you'll create a Sequence. A sequence is the technical term for your timeline. Its settings determine the video's resolution and frame rate. Most of the time, you can create a sequence that automatically matches the properties of your primary video clips. However, it's good to know some common standards.
| Setting | Common Choice | What it means |
|---|---|---|
| Resolution | 1920x1080 (1080p) | Standard High Definition, great for web videos. |
| Resolution | 3840x2160 (4K) | Ultra High Definition, for very high-quality footage. |
| Frame Rate | 24 fps | Gives a cinematic, film-like look. |
| Frame Rate | 30 fps or 60 fps | Standard for TV broadcast and smooth online video. |
Once your project and sequence are set up, you're ready to import your media into the Project Panel and start building your story on the timeline. Take some time to simply click around these four panels to get a feel for them.
In Adobe Premiere Pro, which panel serves as your library for importing and organizing all your media assets like video, audio, and images?
Which panel displays the edited sequence as you are building it on the timeline?
With a grasp of the basic layout and project setup, you have the foundation needed to start editing.