Adobe Premiere Pro Essentials
Introduction to Premiere Pro
Meet Your Editing Software
Adobe Premiere Pro is a professional tool for editing video. It's used by filmmakers, YouTubers, and content creators to turn raw footage into polished stories. Think of it as a digital workshop where you can cut, arrange, and refine video clips, add sound and music, and apply visual effects.
It’s a powerful program, but you don't need to learn everything at once. We’ll start with the essentials.
When learning how to use Premiere Pro, starting with the fundamentals is a good idea.
Installation and Setup
To get started, you'll need an Adobe Creative Cloud subscription. Once you have an account, you can download and install Premiere Pro through the Creative Cloud desktop application.
After installation, the first thing you'll do is create a new project. When the startup screen appears, select New Project. You'll be prompted to give your project a name and choose where to save it on your computer. For now, those are the only settings you need to worry about. Name your project, pick a location, and click Create.
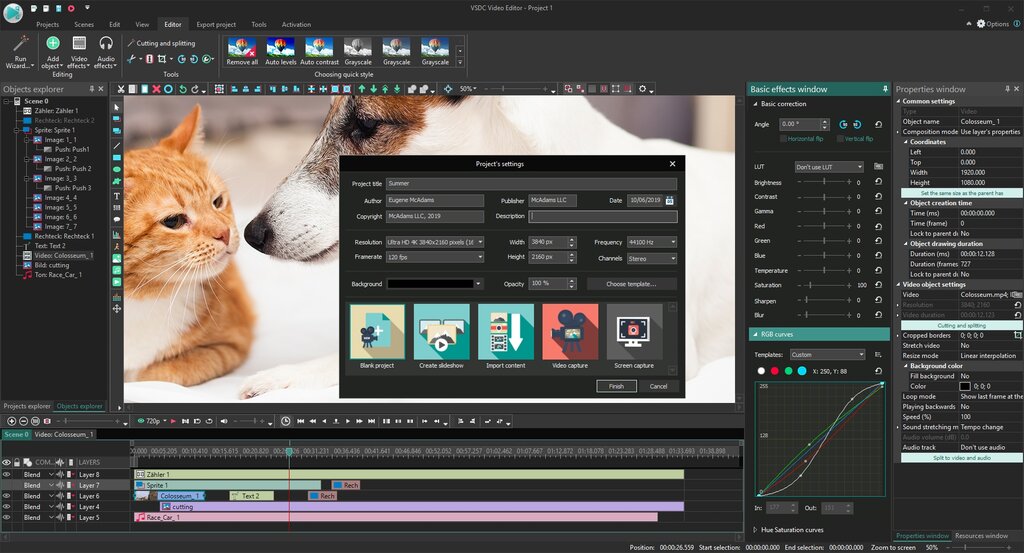
The Premiere Pro Workspace
When your new project opens, you'll see the main interface. It might look complex, but it's organized into several distinct panels, each with a specific job. This layout is called a workspace. Premiere Pro has default workspaces for different tasks like Assembly, Editing, Color, and Audio, but we'll focus on the standard 'Editing' workspace.
There are four main panels you'll use constantly. Let’s break them down.
1. Project Panel This is your library. Any video clips, audio files, images, or titles you import into your project will appear here. Think of it as the filing cabinet where you keep all your raw materials organized and ready to use.
2. Source Monitor When you double-click a clip in the Project panel, it opens in the Source Monitor. Here, you can watch the clip and select the exact portion you want to use. You can set 'in' and 'out' points to trim the fat before adding it to your main sequence. It’s for previewing your ingredients.
3. Program Monitor This panel shows you the video you're building on the timeline. It plays your sequence of clips, showing how your edits, transitions, and effects look together. This is your preview of the final product.
4. Timeline Panel This is where the magic happens. The Timeline is your main workspace for building your video. You drag clips from the Project panel or Source Monitor onto the timeline and arrange them in the order you want. You can trim them, move them around, and stack them in different video and audio tracks. It's the storyboard for your film.
Understanding how these four panels work together is the key to getting started in Premiere Pro. Your workflow will generally move from the Project panel (your files), to the Source Monitor (previewing), to the Timeline (building), while you watch the result in the Program Monitor.
Ready to check your understanding?
What is the primary function of the Timeline panel in Premiere Pro?
When you first open Premiere Pro, what is the first step to starting a new edit?
Now that you know your way around the basic workspace, you're ready to start bringing your clips in and making your first cuts.