Adobe InDesign Fundamentals
Introduction to InDesign
Getting Started with InDesign
Think of designing a page like arranging furniture in a room. You have different pieces—sofas, tables, lamps—that you need to place thoughtfully to create a functional and appealing space. Adobe InDesign is the digital equivalent of that room for designers. It's a powerful tool for laying out text, images, and other graphics on a page.
Adobe describes InDesign as "industry-leading layout and page design software" for both print and digital.
Whether you're creating a multi-page magazine, a business brochure, an ebook, or a simple flyer, InDesign gives you precise control over every element. It’s built for documents that combine text and visuals, ensuring everything looks sharp and professional, both on a screen and in print.
Your Workspace
Opening InDesign for the first time can feel a bit overwhelming, but the layout is quite logical. Let's break it down.
In the center, you have the Document Window, which is where your actual page or design will be. At the very top is the Menu Bar (File, Edit, Layout, etc.), just like in most other applications.
On the left side, you'll find the Tools Panel. This is your toolbox, containing everything you need to create and manipulate objects. On the right, you'll see a collection of Panels. These give you options for whatever you're working on. The most common ones are the Properties, Pages, and Layers panels, which help you manage your document's structure and appearance.
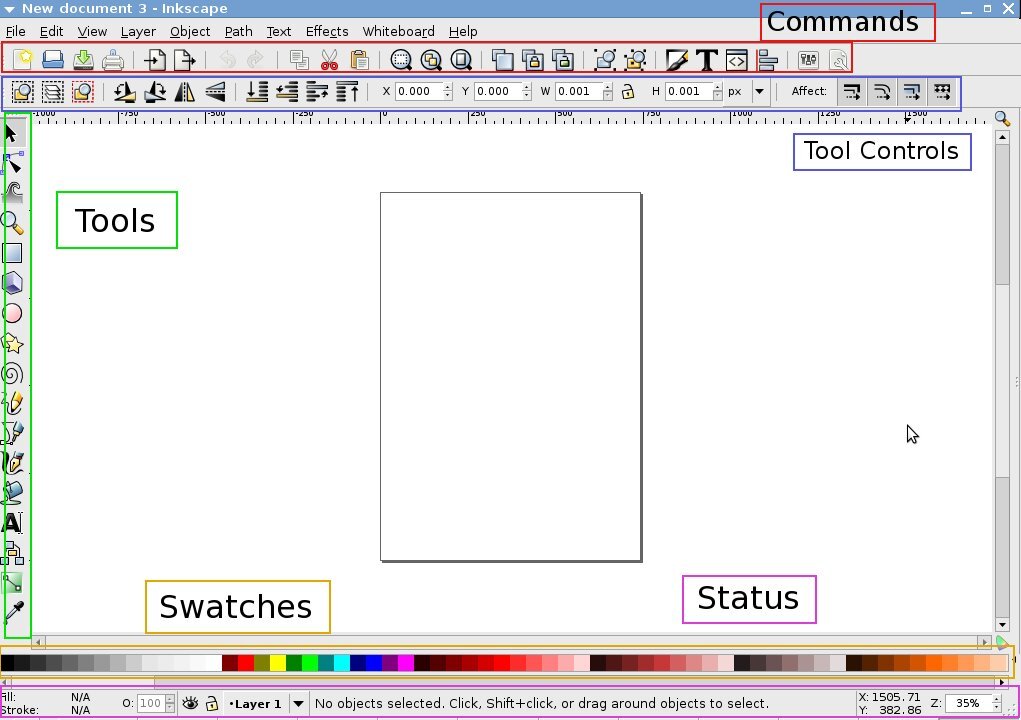
You don't need to know every tool and panel right away. For now, just get familiar with the two most important tools in the Tools Panel:
- Selection Tool (V): The solid black arrow. Use this to select, move, and resize entire objects, like text boxes or images.
- Type Tool (T): The 'T' icon. Use this to create text boxes and type text.
Creating Your First Document
Let's create a new document. Go to File > New > Document. This opens the New Document window, where you'll set the foundation for your project.
First, choose your Intent. Are you designing for Print or Web? This choice affects things like color mode and measurement units. For a flyer, you'd choose Print. For a web banner, you'd choose Web.
Next, you'll set the Page Size. You can pick a standard size like Letter or A4, or enter custom dimensions. Then, you'll see options for Margins and Bleed.
Margins create a buffer of empty space around the edges of your page. This prevents text from looking cramped and running too close to the edge. It's the "safe area" for your content.
Bleed is extra space added outside the page edge. If you have an image or color block that you want to go right to the very edge of the printed paper, you need to extend it into the bleed area. When the printer trims the paper to its final size, this ensures there are no accidental white slivers along the edge.
A good rule of thumb is to set a bleed of 0.125 inches (or 3 mm) for most print projects.
Finally, you can choose if your document uses Facing Pages. This is for documents like books or magazines where you see two pages side-by-side, like an open book. This two-page view is called a spread. For a single-page document like a poster, you would uncheck this box.
What is the primary purpose of Adobe InDesign?
You are designing a flyer and want an image to print all the way to the edge of the paper with no white border. Which setting in the New Document window should you use to achieve this?
Now that you're familiar with the workspace and how to set up a document, you have the building blocks to start designing.