Adobe Illustrator Fundamentals
Introduction to Illustrator
What is Illustrator?
Adobe Illustrator is a professional tool for creating vector graphics. Think of logos, icons, and illustrations that need to look sharp at any size. Unlike photographs, which are made of pixels, vector graphics are built from mathematical equations.
This means you can scale a vector logo to fit on a business card or a billboard, and it will never get blurry or pixelated. A photo, which is a raster image, would lose quality as it gets bigger.
This scalability is the superpower of vector graphics. Illustrator gives you the tools to draw and manipulate these shapes with precision, making it essential for graphic designers, illustrators, and anyone creating digital artwork.
Exploring the Workspace
Opening Illustrator for the first time can feel a bit overwhelming, but the layout is quite logical. Let's break down the main areas you'll be working with.
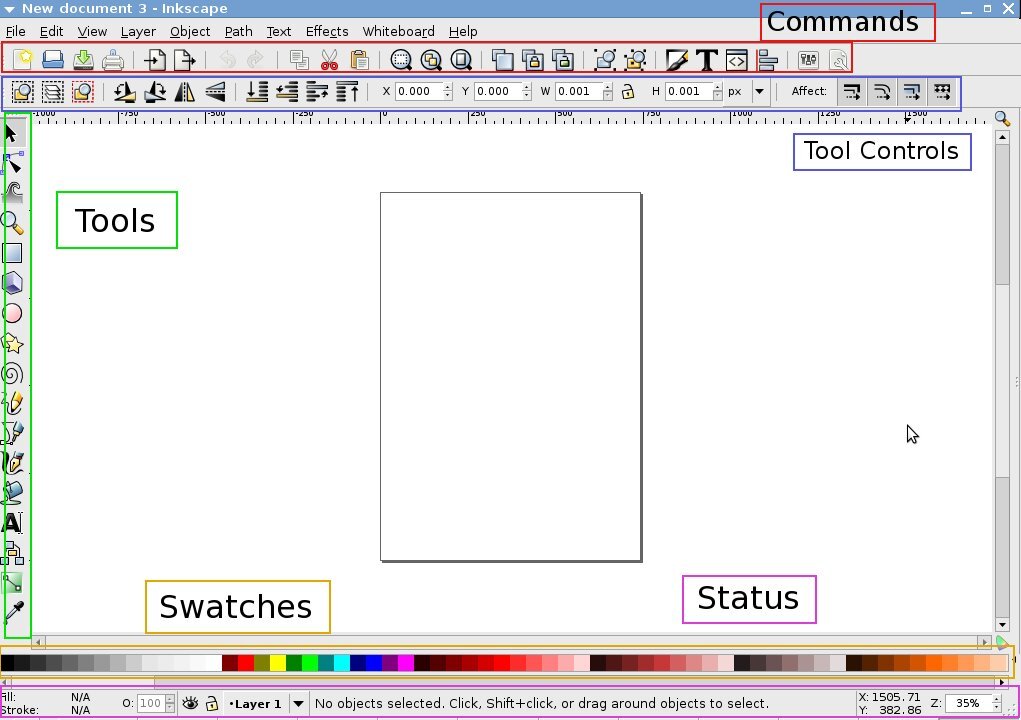
The main window is organized into a few key sections:
- Menu Bar: At the very top (File, Edit, Object...), this contains all of Illustrator's commands and options.
- Tools Panel: This is your primary toolbox, usually docked on the left. It holds all the tools for drawing, selecting, typing, and editing.
- Artboard: The large, blank white area in the center is your canvas. This is where you'll create your artwork.
- Panels: To the right, you'll find a collection of panels (like Properties, Layers, and Color). These let you modify and control your artwork. You can open, close, and rearrange these to fit your workflow.
Tools and Panels in Action
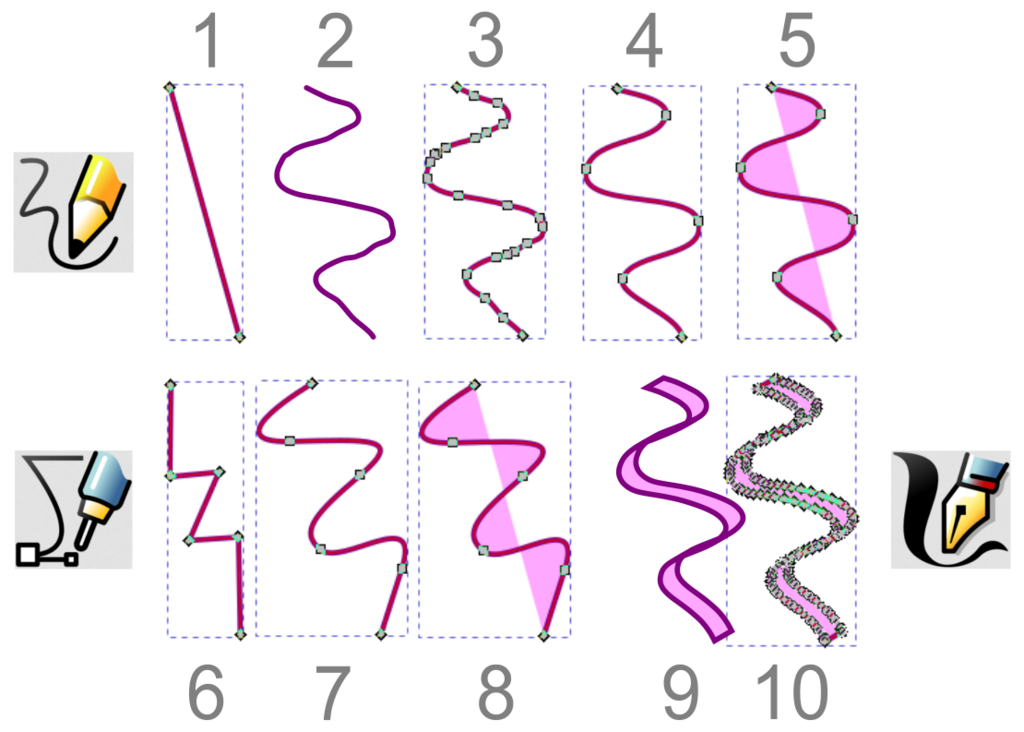
The Tools Panel is where the magic begins. You don't need to know every tool right away, but a few are fundamental. The Selection Tool (the black arrow) lets you select, move, and resize whole objects. The Direct Selection Tool (the white arrow) allows you to select and modify individual points or segments of a shape.
Shape tools like the Rectangle and Ellipse Tool are perfect for creating basic geometric forms. The famous Pen Tool gives you ultimate control for drawing custom, precise paths and curves.
Panels on the right side give you options related to what you're doing. For example, when you select an object, the Properties Panel will show you its specific attributes, like its color, stroke weight, and dimensions. The Layers Panel helps you organize your artwork by stacking objects on top of one another, much like sheets of clear plastic.
Starting Your First Document
To start creating, you first need a document. Go to File > New... to open the New Document window. Here, you'll define the basic settings for your artboard.
You'll see presets for different types of projects, like 'Mobile', 'Web', and 'Print'. For now, let's focus on the manual settings on the right.
- Name: Give your project a title.
- Dimensions: Set the width and height. You can choose your units, such as pixels, points, or inches. Pixels are standard for web and screen work, while inches or centimeters are common for print.
- Orientation: Choose between portrait (tall) or landscape (wide).
- Color Mode: This is an important one. Use RGB for designs that will be viewed on a screen (websites, social media). Use CMYK for anything that will be physically printed (posters, brochures).
Once you click 'Create', your new blank artboard will appear in the workspace, ready for you to begin.
Now that you've got the lay of the land, let's test your knowledge.
What is the primary advantage of vector graphics, like those created in Adobe Illustrator?
In the Adobe Illustrator interface, which area is the main canvas where you create your artwork?
Getting comfortable with the workspace is the first step to mastering Illustrator. In the next section, we'll start drawing some basic shapes.