Acrylic Pouring for Furniture and Flooring
Introduction to Acrylic Pouring
What is Acrylic Pouring?
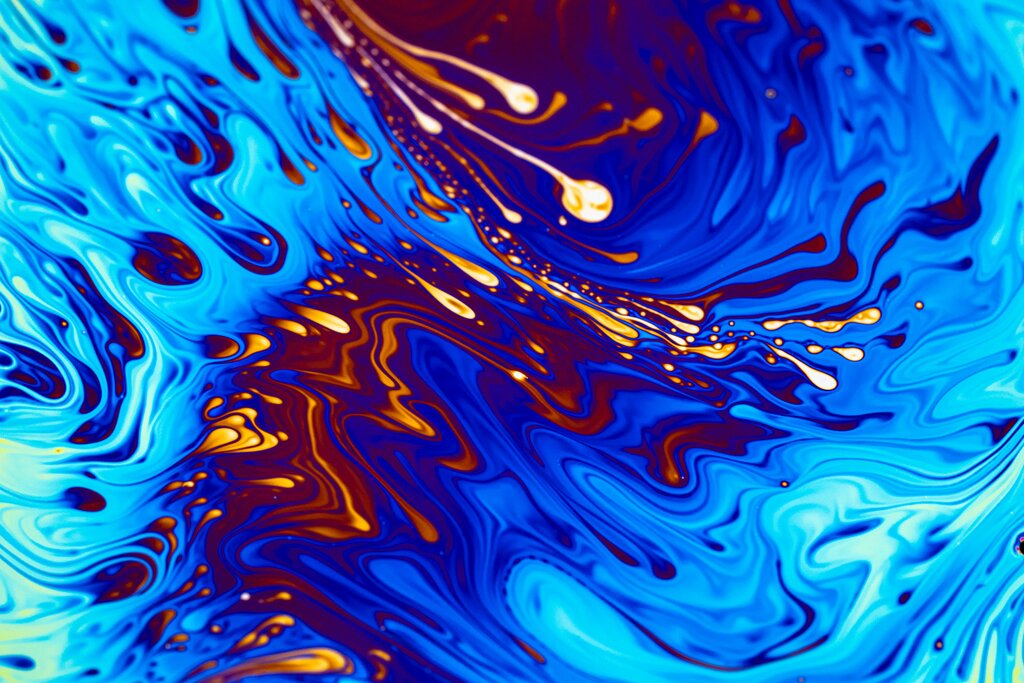
Acrylic pouring is a painting technique that creates fluid, abstract patterns. Instead of using brushes, you mix acrylic paint with a pouring medium to make it more liquid. Then, you pour this mixture onto a surface and tilt it, allowing the colors to flow and interact in unpredictable ways. The result is often a marbled, swirling design that's completely unique.
Also known as fluid art, this technique has exploded in popularity in recent years, largely thanks to social media. Artists and hobbyists alike share mesmerizing videos of colors blending and forming intricate patterns. While it looks complex, the basic principle is simple: let gravity and fluid dynamics do the work.
Beyond the Canvas
While most people start with canvases, the real magic of acrylic pouring shines on larger, functional surfaces like furniture and floors. Imagine a tabletop that looks like a slice of agate or a floor that mimics a flowing river. This is what makes the technique so appealing for home projects.
There are three main benefits to using this method for furniture and flooring:
- One-of-a-kind finish: No two pours are ever identical. You get a custom, artistic surface that can't be replicated with traditional paint or materials.
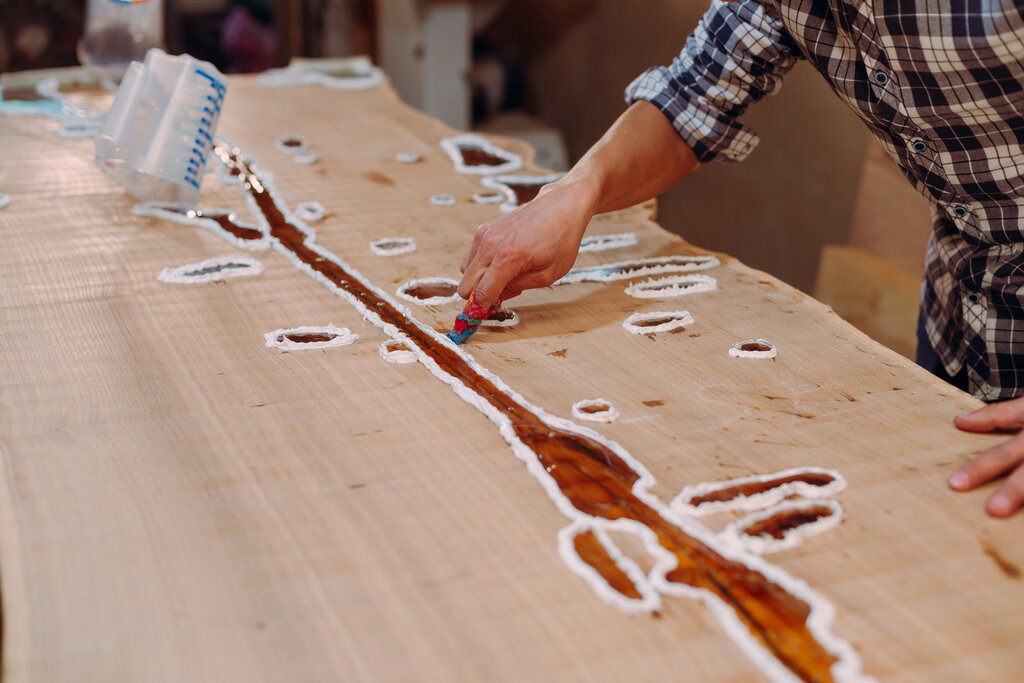
- Durability: Once the acrylic pour is cured and sealed with a protective topcoat like epoxy resin, it becomes incredibly tough. The surface is waterproof, scratch-resistant, and easy to clean, making it ideal for high-traffic areas like kitchen counters and floors.
- Seamless surface: When used for flooring, acrylic pouring creates a smooth, continuous surface with no grout lines or seams. This not only looks sleek and modern but also makes cleaning much easier.
Techniques for Large Surfaces
Several basic pouring techniques work well for big projects. They are all about how you apply the paint to the surface before tilting and letting it flow.
The consistency of your paint mixture is crucial. It should be thin enough to flow easily but not so thin that the colors become muddy. A good target is the consistency of warm honey.
Here are a few foundational methods:
Puddle Pour: This is the most straightforward technique. You simply pour different colors of your paint mixture onto the surface in separate pools, or "puddles." You can pour them next to each other or layer them on top of one another before tilting the surface to let them spread and blend.
Dirty Pour: For more complex and interwoven patterns, you can use the dirty pour. This involves layering all of your chosen colors into a single cup without stirring them. You then pour the entire cup of layered paints onto your surface, either by flipping the cup over or pouring in a steady stream. The colors mix as they come out of the cup, creating intricate cells and webbing.
Swipe: In this technique, you pour your colors onto the surface, often in stripes. Then, you take a flat tool—like a small piece of cardboard, a spatula, or a damp paper towel—and gently drag or "swipe" it across the paint. This pulls the top layers of color over the bottom ones, creating dramatic effects and revealing hidden hues.
Now that you understand the basics, let's review what we've covered.
What is the primary force used to create patterns in acrylic pouring?
Which pouring technique involves layering different colors into a single cup and then pouring them all at once?
These foundational concepts are the starting point for transforming everyday objects into unique pieces of art.