Acoustic Guitar for Worship
Guitar Basics
Get to Know Your Guitar
Before you can play a guitar, it helps to know its parts. Think of it like learning the names of your tools before starting a project. An acoustic guitar has three main sections: the headstock, the neck, and the body.
The headstock holds the tuning pegs. You turn these to tighten or loosen the strings, which changes their pitch. The strings run from the headstock, over the nut (a small grooved strip), and down the neck.
The front of the neck is the fretboard, which is embedded with metal strips called frets. When you press a string down against a fret, you change the note it plays. The big, hollow part of the guitar is the body. It acts like an amplifier, making the sound of the vibrating strings loud enough to hear. The sound projects out of the soundhole. Finally, the strings are anchored to the bridge on the body, passing over a thin strip called the saddle.
Think of it this way: your right hand creates the sound (by strumming), and your left hand chooses the notes (by pressing on the frets).
Keeping Your Guitar in Tune
Guitars don't stay in tune forever. New strings stretch, temperature changes affect the wood, and regular playing can knock things out of whack. A fresh set of strings will make your guitar sound bright and clear. You'll know it's time to change them when they look dirty, feel rough, or have trouble staying in tune.
Changing strings seems tricky at first, but it's a simple process you'll get used to.
| Step | Action |
|---|---|
| 1. Unwind the Old String | Pick a string to start with (usually the thickest or thinnest). Turn its tuning peg to loosen it completely. |
| 2. Remove the String | Once loose, unwrap the string from the tuning post. Then, gently pull the bridge pin out of the bridge to free the other end. A coin or string winder can help pry the pin up. |
| 3. Insert the New String | Take the new string and place the ball end into the hole in the bridge. Push the bridge pin back in firmly to secure it. |
| 4. Attach to the Headstock | Thread the other end of the string through the hole in the corresponding tuning post. Leave a few inches of slack. |
| 5. Wind and Tune | Begin turning the tuning peg to tighten the string. Make sure the string winds neatly around the post. Use a tuner to bring it up to the correct pitch. |
| 6. Trim the Excess | Once the string is in tune, use wire cutters to snip off the excess length at the tuning peg. |
| 7. Repeat | Do this for all six strings. It's a good idea to stretch the new strings gently by pulling them up from the fretboard to help them settle in faster. |

Your First Chords
A chord is just a group of notes played at the same time. Most of the songs you love are built from a series of chords. As a beginner, your main goal is to learn a few basic chord shapes and how to switch between them smoothly. We'll start with three of the most common chords in popular music: G, C, and D.
To read chord diagrams, imagine the guitar is standing up in front of you. The vertical lines are the strings (thickest on the left), and the horizontal lines are the frets. The dots show you where to place your fingers.
Here's how to form these chords:
- G Major: Place your middle finger on the 3rd fret of the thickest (6th) string. Put your index finger on the 2nd fret of the 5th string. Finally, place your ring finger on the 3rd fret of the thinnest (1st) string. Strum all six strings.
- C Major: Place your ring finger on the 3rd fret of the 5th string, your middle finger on the 2nd fret of the 4th string, and your index finger on the 1st fret of the 2nd string. Strum only the top five strings, avoiding the thickest one.
- D Major: Put your index finger on the 2nd fret of the 3rd string, your ring finger on the 3rd fret of the 2nd string, and your middle finger on the 2nd fret of the 1st string. Strum only the top four strings.
Don't worry if it feels awkward at first. Your fingertips will be sore, and your chords might sound muted. This is normal. The key is consistent practice. Try switching between G and C, then C and D. Go slowly. Your fingers will eventually build muscle memory and the calluses needed to play cleanly.
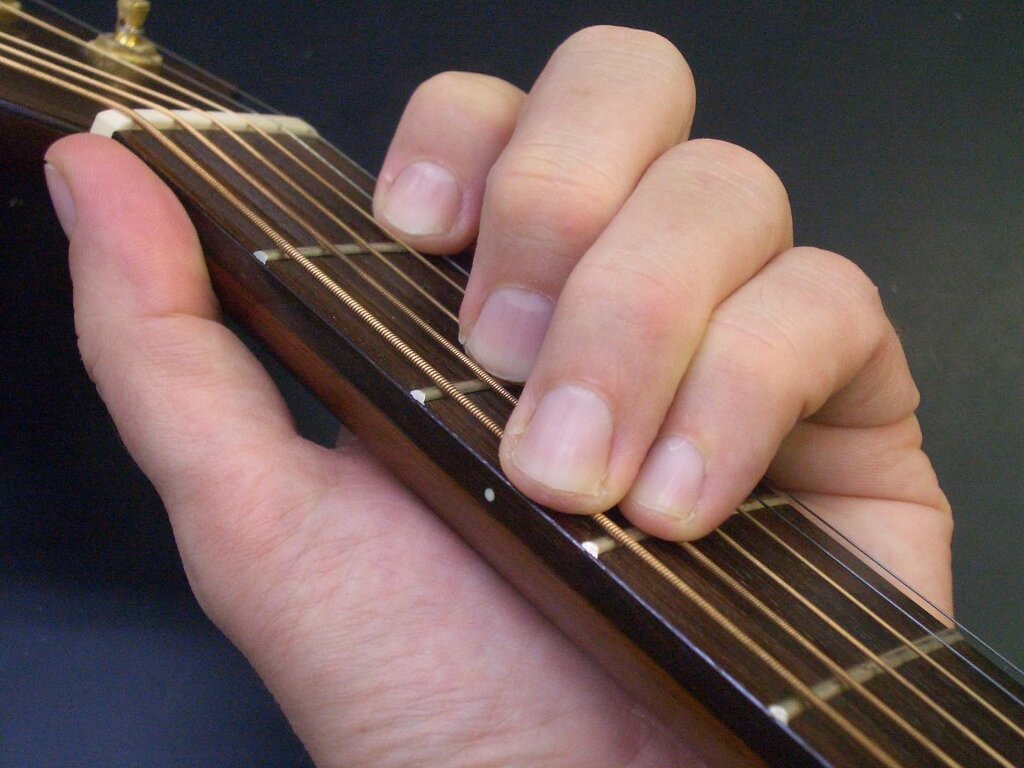
With just these three chords, you can play a surprising number of songs. Focus on making each chord ring out clearly before you worry about speed.
Ready to check your understanding?
What is the primary function of the body of an acoustic guitar?
When playing a C Major chord, which string should you try to avoid strumming?
Keep practicing these chords. In the next section, we'll learn some basic strumming patterns to bring them to life.