Ableton Live Music Production Essentials
Ableton Live Interface
Two Ways to Work
Ableton Live offers two main windows for making music: Session View and Arrangement View. Think of them as two different ways to approach the creative process. You can toggle between them using the Tab key on your keyboard or by clicking their respective icons in the top-right corner. Most producers flip back and forth between them constantly.
Ableton Live's Session View is a non-linear interface that lets musicians arrange clips, loops, and sounds to explore and inspire creativity.
The Session View is like a musical sketchpad. It's a grid where you can launch loops, samples, and musical ideas, called "clips," in any order you want. Each column represents a track, and you can fill the slots in that column with different clips. The rows are called "scenes," and you can launch an entire row of clips at once.
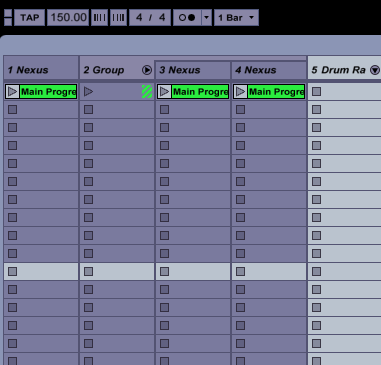
This non-linear setup is perfect for brainstorming, live performance, and jamming. You can mix and match different basslines, drum beats, and melodies on the fly without being locked into a fixed timeline. It’s all about experimentation.
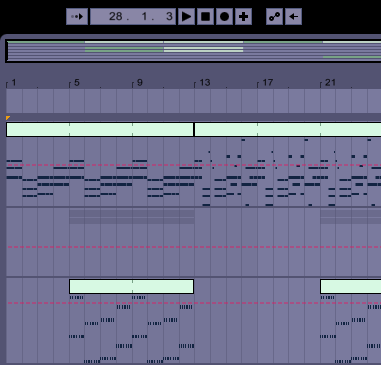
The Arrangement View is a more traditional music-making environment. It’s a linear timeline that moves from left to right, representing the start, middle, and end of your song.
Once you have ideas you like from the Session View, you can record them into the Arrangement View to build out a full track. Here, you'll arrange clips, automate changes over time, and finalize the structure of your composition.
Your Toolkit and Controls
No matter which view you're in, you'll need sounds, instruments, and effects. You’ll find all of these in the Browser, which is typically located on the left side of the screen.
The Browser is your library. It organizes all of Ableton Live's built-in content, your own samples, and any third-party plugins you've installed. You can simply drag and drop items from the Browser onto tracks to start using them.
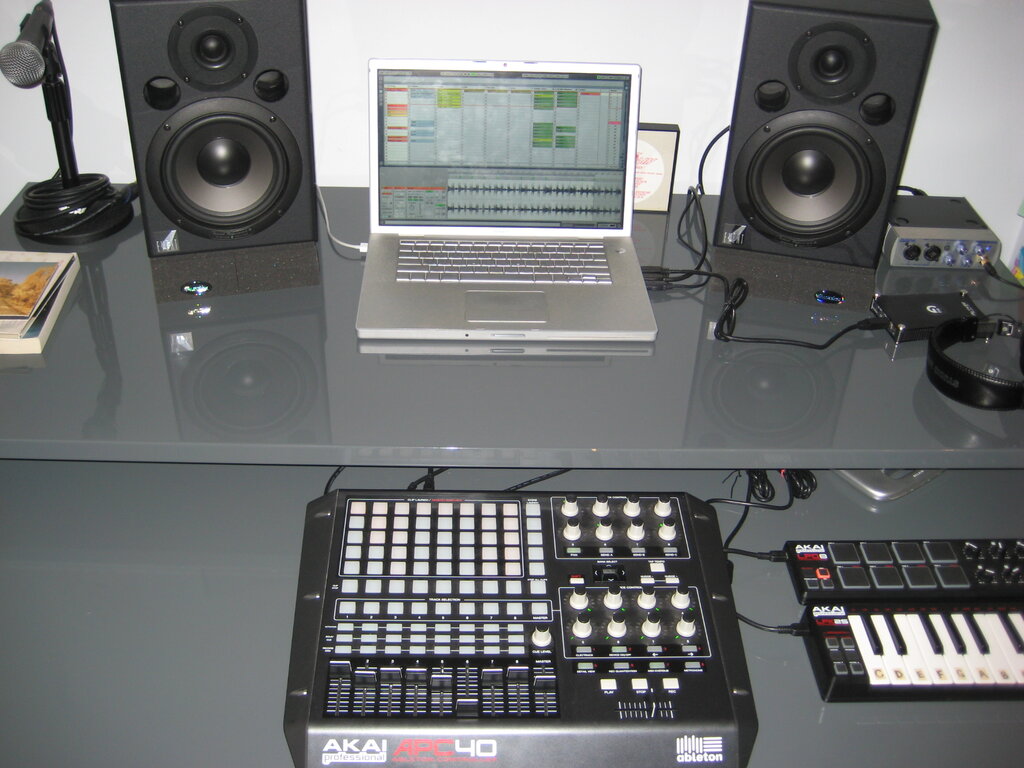
Once you have sounds loaded onto tracks, you need a way to control them. This is done in the Mixer and Device Views, which are usually found at the bottom of the screen.
The Mixer gives you control over each track's volume, panning (its position in the stereo field from left to right), and send/return effects. It’s essential for balancing the different elements of your song to make sure everything sounds good together.
The Device View appears when you select a track. It shows you the specific instruments and audio effects that are on that track. This is where you can tweak the sound of a synthesizer, adjust the settings on a compressor, or change the parameters of a reverb effect. Each device has its own unique set of controls to shape the sound.
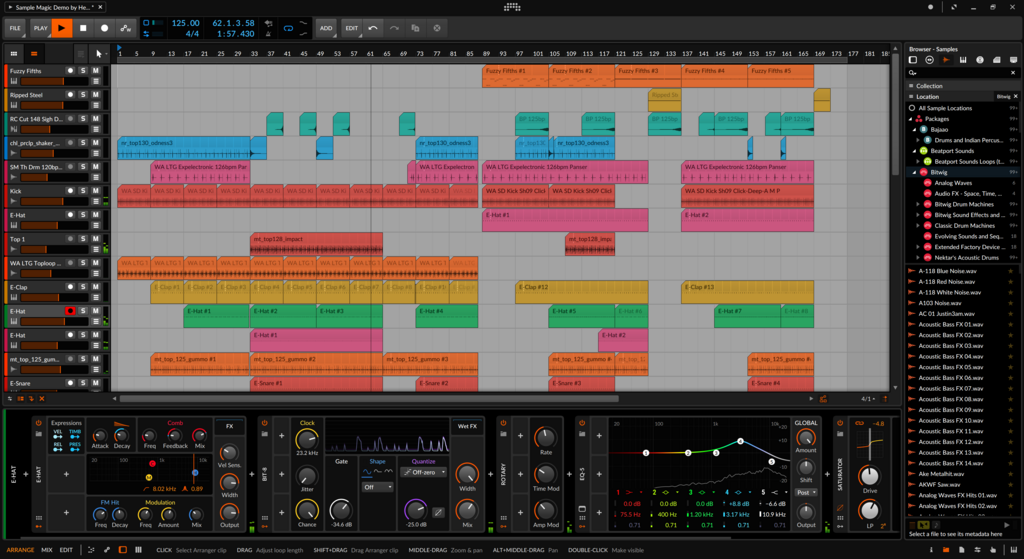
Getting comfortable with these five areas, Session View, Arrangement View, the Browser, Mixer, and Device View, is the first step to mastering Ableton Live. They are the core building blocks for every project you'll create.
What is the primary function of Ableton Live's Session View?
You want to adjust a track's position in the stereo field (left or right). Which control in the Mixer would you use?