Mastering Manual Flash Photography
Introduction to Flash Photography
Lighting in a Flash
Sometimes, the available light just isn’t enough. Whether you're shooting indoors, at night, or trying to brighten up a shadowy face on a sunny day, adding a burst of artificial light can transform a photo. This is where your camera's flash comes in. Think of it as a pocket-sized, controllable sun that you can fire on command.
Using a flash allows you to illuminate your subject, freeze motion, and add a creative spark to your images. But to use it well, you need to understand how it works with the settings you already know: aperture, shutter speed, and ISO.
Flash and the Exposure Triangle
When you use a flash, you're essentially dealing with two different light sources: the existing ambient light and the light from your flash. The magic of flash photography is learning to balance them. Each setting in the exposure triangle affects these two light sources differently.
-
Aperture (f-stop): This controls the amount of light let in through the lens. It affects both the ambient light and the flash. A wider aperture (like f/1.8) will let in more of both, while a narrower aperture (like f/11) will let in less.
-
Shutter Speed: This controls the duration the sensor is exposed to light. Here's the key: shutter speed primarily affects the ambient light. The flash burst is so fast (often 1/1000s or quicker) that changing your shutter speed from, say, 1/60s to 1/200s won't change the brightness of the flash on your subject. It will, however, make the background darker because the sensor is collecting ambient light for a shorter time.
-
ISO: This controls the sensor's sensitivity to light. Increasing the ISO makes the entire image brighter, amplifying both the ambient light and the flash.
In short: Aperture controls flash exposure, shutter speed controls ambient light exposure, and ISO controls both.
Using Your Built-in Flash
Many cameras, like the Fuji X100V, come with a small, built-in flash. While not as powerful as external units, it’s incredibly handy for adding a touch of light when needed. These flashes usually have a few basic modes.
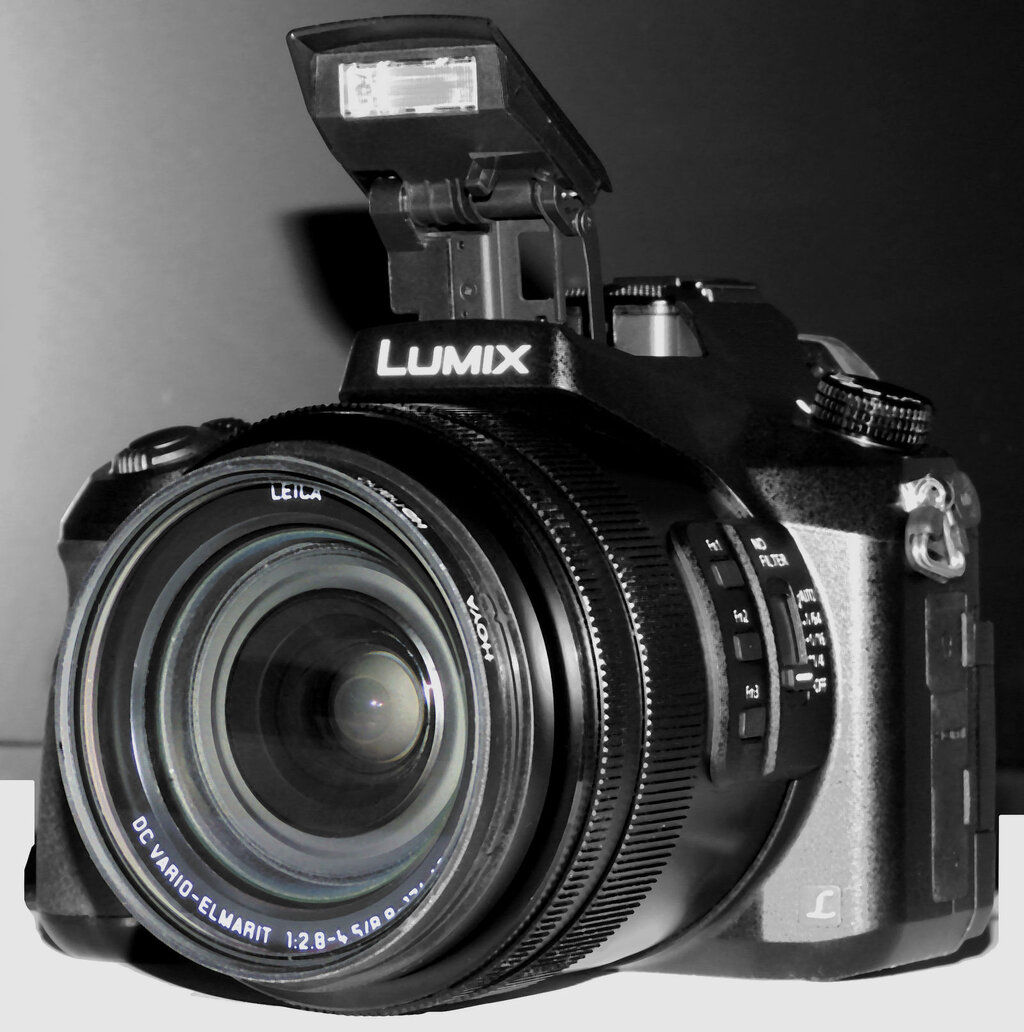
- Auto: The camera decides when to fire the flash based on its reading of the scene. It's a good starting point, but offers little creative control.
- Fill-in (or Forced Flash): This mode fires the flash regardless of the ambient light. It's perfect for “filling in” shadows on a bright, sunny day, such as when your subject is backlit by the sun. It helps balance the light on your subject with the bright background.
- Red-eye Reduction: This mode fires a quick pre-flash to cause the subject's pupils to contract before the main flash goes off, reducing the chance of the red-eye effect in portraits.
By combining these modes with manual control over your aperture and shutter speed, you can start to precisely shape the light in your photos. For example, to make a portrait pop against a sunset, you could use fill-in flash to light your subject and a slower shutter speed to properly expose the colorful sky.
In flash photography, what is the primary effect of changing your shutter speed from 1/60s to 1/200s?
You are taking a portrait of a friend on a sunny day, but their face is in shadow because the sun is behind them. Which flash mode is specifically designed to solve this problem?