Mastering Home Sushi Making
Sushi Rice Preparation
The Heart of Sushi
Great sushi isn't just about the fish. It's about the rice. In Japanese, seasoned sushi rice is called shari (舎利), and it’s the foundation that makes or breaks the entire dish. The texture, temperature, and taste of the rice are paramount. Getting it right is a craft, but one that’s achievable with attention to a few key details.
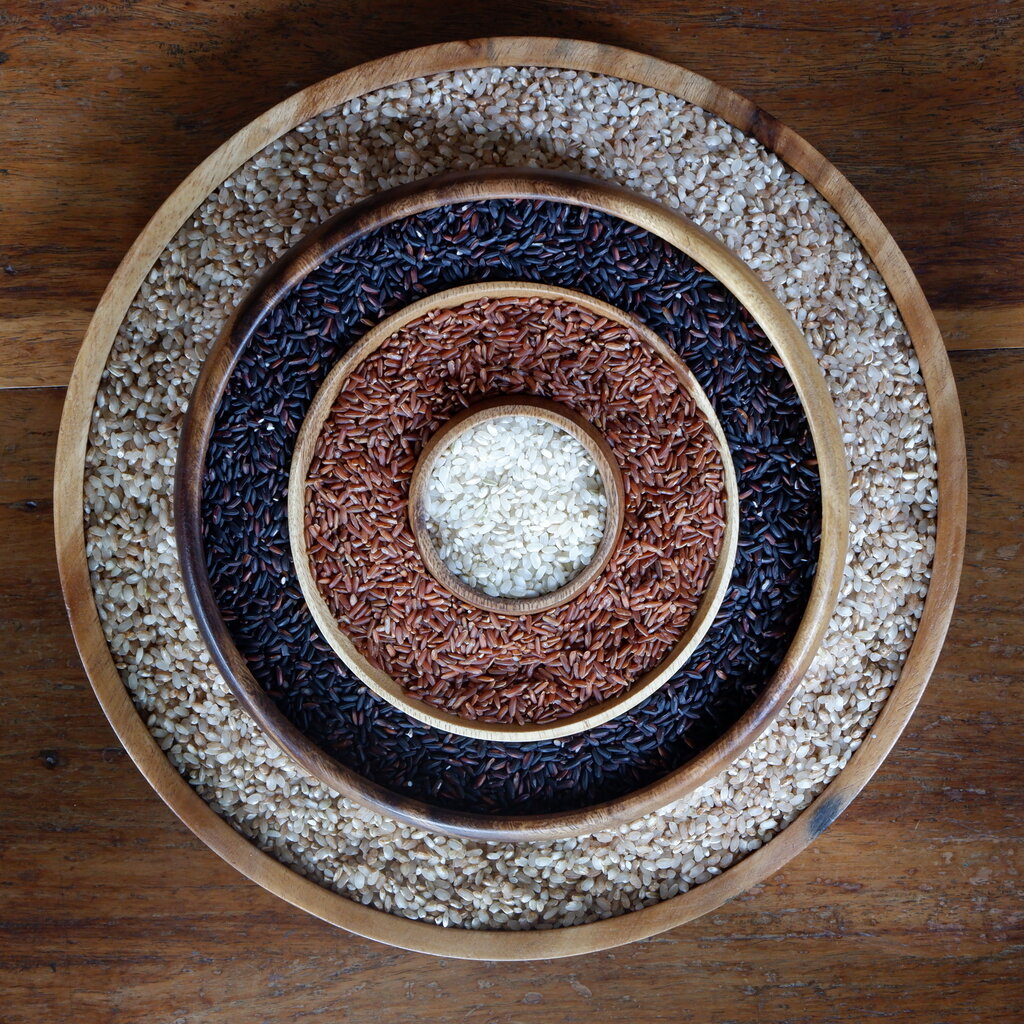
Rice is the backbone of Japanese cuisine.
Choosing Your Grain
The first step is selecting the correct type of rice. You need Japanese short-grain rice. This variety is high in a starch called amylopectin, which makes the grains cling together when cooked. This stickiness is essential for forming sushi that doesn't fall apart.
Long-grain rice like jasmine or basmati won't work. It cooks up fluffy and separate, which is great for a pilaf but disastrous for sushi. Look for bags specifically labeled "sushi rice." Common and reliable varieties include Koshihikari and Calrose, though the latter is technically a medium-grain rice that works well as a substitute.
Cooking the Rice
Perfectly cooked sushi rice should be tender and sticky, but each grain should remain distinct. The process begins with washing.
- Wash the Rice: Measure your rice into a bowl. Add cold water, swirl it around with your hand, and pour out the cloudy water. Repeat this process 5-7 times, or until the water runs mostly clear. This removes excess surface starch, which prevents the rice from becoming a gummy, porridge-like paste.
- Drain and Rest: After the final rinse, drain the rice thoroughly in a fine-mesh sieve. Let it sit for at least 30 minutes. This allows the grains to absorb residual moisture, ensuring they cook evenly.
- Cook: The most reliable method is a Japanese rice cooker. Use a 1:1 ratio of rice to water by volume. For example, if you use 2 cups of rice, add 2 cups of water. If cooking on a stovetop, combine the rested rice and water in a heavy-bottomed pot. Bring to a boil, then reduce the heat to the lowest setting, cover, and let it simmer for 15 minutes. After 15 minutes, remove it from the heat and let it stand, covered, for another 10 minutes. Do not lift the lid during this entire process.
Seasoning and Handling
While the rice is cooking, you can prepare the seasoning, or sushi-zu (寿司酢). This mixture of vinegar, sugar, and salt gives the rice its characteristic tangy and slightly sweet flavor. It also acts as a preservative.
Once the rice has finished its final 10-minute rest, it’s time to combine it with the seasoning. The technique is important.
Transfer the hot rice to a large, non-metallic bowl (a wooden hangiri is traditional, but a glass or ceramic bowl works too). Metal can react with the vinegar and affect the taste.
Pour the cooled sushi-zu evenly over the rice. Using a rice paddle or spatula, gently fold the seasoning into the rice using a slicing and lifting motion. Avoid stirring or mashing, which will crush the grains. The goal is to coat every grain without creating a paste.
As you mix, use a fan or a piece of cardboard to cool the rice down rapidly. This fanning action evaporates excess moisture and gives the rice a glossy sheen. The ideal temperature for sushi rice when you're ready to use it is about body temperature. It should feel neither hot nor cold to the touch.
Once cooled and mixed, keep the sushi rice covered with a damp cloth to prevent it from drying out while you prepare your other ingredients. Do not refrigerate it, as this will make the grains hard and dry.
What is the primary reason Japanese short-grain rice is essential for making sushi?
What are the three core ingredients of sushi-zu, the seasoning for sushi rice?
With perfectly prepared shari, you've mastered the most important part of making sushi.