Mastering Android Development for Experienced Programmers
Android Studio Mastery
The Android Studio Project Structure
When you create a new project in Android Studio, it generates a specific folder structure. While it might look complex, each part has a clear purpose. Unlike a simple web or desktop project, an Android app has to manage many different components, from code to user interface layouts and images.
The most important folder is the app directory. This is where the heart of your application lives. Inside app, you’ll find three critical subdirectories: manifests, java, and res.
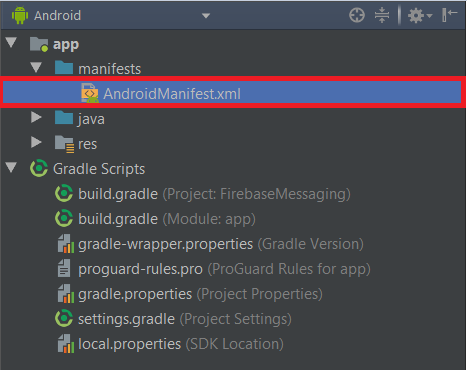
The manifests folder contains AndroidManifest.xml. Think of this file as your app's identity card. It tells the Android operating system everything it needs to know, such as the app's name, icon, permissions it requires (like internet access or location services), and its main components, like activities and services.
The java folder holds your Kotlin or Java source code, organized by package name. This is where you'll write the logic that powers your app.
Finally, the res folder contains all non-code assets, known as resources. This directory is further divided into subfolders:
drawable: For images and custom graphics.layout: For XML files that define the user interface of each screen.mipmap: For your app's launcher icons, provided in different resolutions for various device screens.values: For storing static values like strings, colors, and styles. This helps in managing and localizing your app.
Building with Gradle
Every Android Studio project is built using , a powerful build automation tool. If you've worked with Maven or npm, the concept is similar. Gradle handles compiling your code, managing third-party libraries (dependencies), and packaging everything into an APK or AAB file that can be installed on a device.
You'll interact with Gradle mainly through two build.gradle files. One is for the entire project, and the other is for the app module. The module-level file is where you'll spend most of your time. It's where you define your app's ID, version codes, and, most importantly, the dependencies your app needs.
// Example: app/build.gradle (Groovy DSL)

plugins {
    id 'com.android.application'
    id 'org.jetbrains.kotlin.android'
}

android {
    compileSdk 33

    defaultConfig {
        applicationId "com.example.myapp"
        minSdk 21
        targetSdk 33
        versionCode 1
        versionName "1.0"
    }
}

dependencies {
    implementation 'androidx.core:core-ktx:1.9.0'
    implementation 'androidx.appcompat:appcompat:1.6.1'
}
SDKs and Emulators
To build apps for different versions of Android, you need the corresponding [{
Once you have your SDKs, you need a place to run your app. While you can use a physical Android device, the built-in Android Emulator is incredibly convenient. Using the Android Virtual Device (AVD) Manager, you can create and configure virtual devices that mimic various phones and tablets, complete with different screen sizes, resolutions, and Android versions.
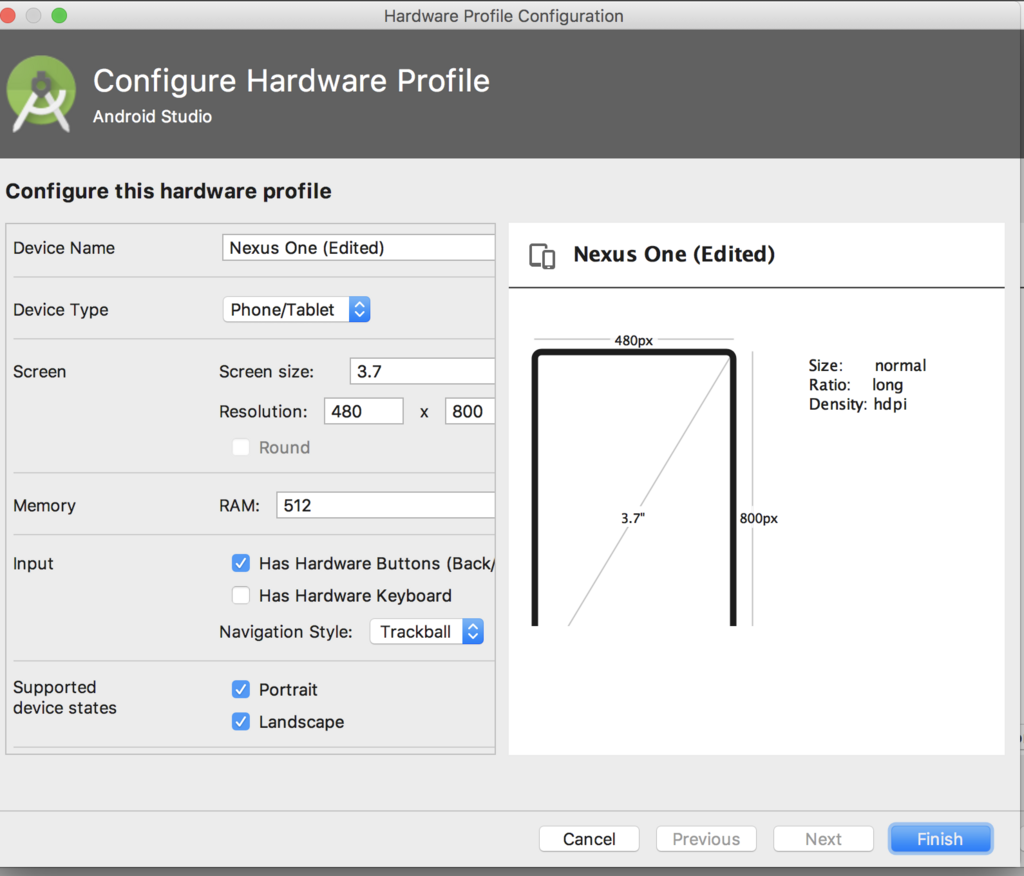
Creating an AVD lets you test how your app behaves on a high-resolution Pixel phone or an older, smaller device without needing the physical hardware. This is essential for ensuring your UI looks good and functions correctly across the fragmented Android ecosystem.
Debugging and Inspection
Android Studio comes with a suite of powerful debugging tools. The most fundamental is , a window that displays real-time log messages from your app and the system. You can print your own messages using the Log class to trace execution flow, inspect variable values, and diagnose crashes. It’s your primary eye into the app’s runtime behavior.
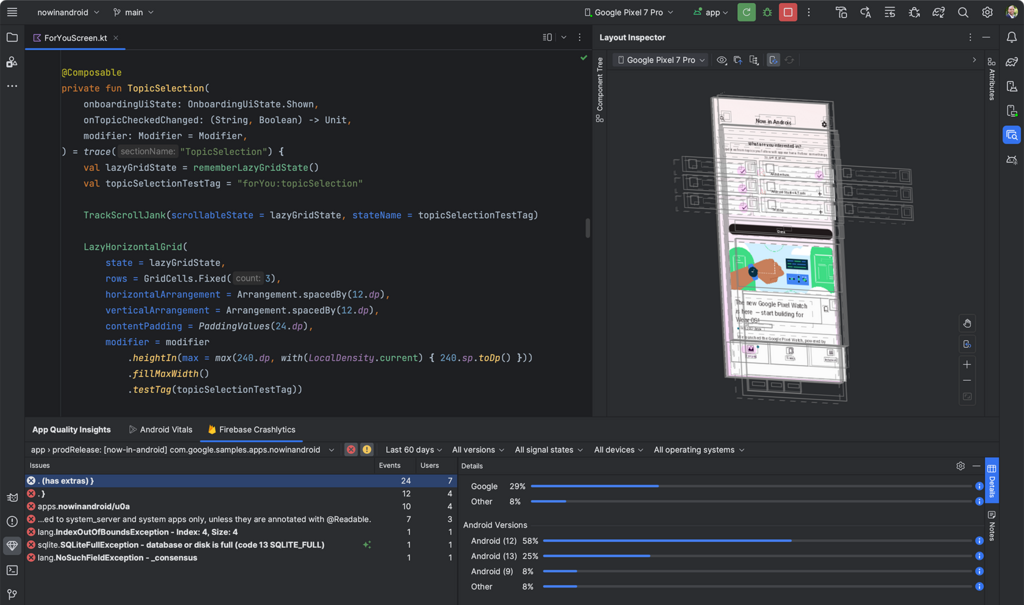
For visual debugging, the Layout Inspector is invaluable. It allows you to inspect your UI's component hierarchy in 3D, view the attributes of each element, and diagnose layout problems. You can see why a button might be off-screen or why your spacing is incorrect. Android Studio also provides tools for profiling CPU, memory, and network usage to help you optimize your app's performance.
Here are some essential shortcuts that are particularly useful for Android development.
| Shortcut (Windows/Linux) | Shortcut (macOS) | Action |
|---|---|---|
Ctrl + Space | ⌃ + Space | Basic code completion |
Alt + Enter | ⌥ + Enter | Show context actions (Quick Fix) |
Ctrl + O | ⌘ + O | Override methods |
Ctrl + Alt + L | ⌘ + ⌥ + L | Reformat code |
Shift + F10 | ⌃ + R | Run app |
Shift + F9 | ⌃ + D | Debug app |
Ctrl + Q | F1 | Quick documentation lookup |
Now, let's test what you've learned about the Android Studio environment.
What is the primary function of the AndroidManifest.xml file?
If you wanted to add a new launcher icon for your app, which directory is the most appropriate place for it?
Mastering these Android Studio features is the first step toward efficient mobile development. By understanding the project structure, leveraging Gradle, and using the built-in debugging tools, you can build and test your apps with confidence.