Kali Linux Mastery
Kali Linux Basics
Setting Up Your Lab
Before diving into Kali Linux, you need a safe place to practice. A virtual lab is the perfect solution. It's a self-contained environment running on your computer, completely isolated from your main system. This means you can experiment without any risk to your personal files or operating system.
We'll use VirtualBox, a free and popular tool for creating virtual machines (VMs). A VM is essentially a computer within your computer. You'll also need to download the official Kali Linux installer image, often called an ISO file, from the Kali website.
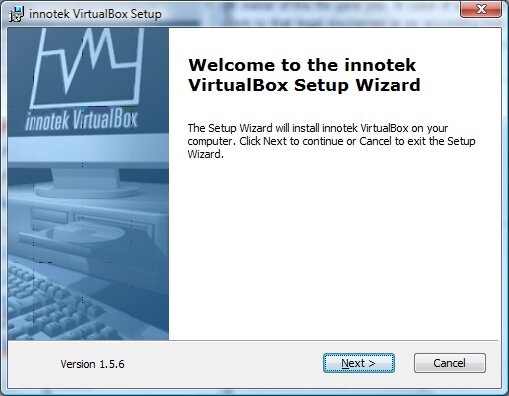
Once you have VirtualBox installed and the Kali ISO downloaded, you're ready to build your virtual machine. In VirtualBox, you'll create a new VM, giving it a name like "Kali Linux." You'll need to allocate some of your computer's resources, like RAM and hard drive space. A good starting point is 2GB (2048 MB) of RAM and at least 20GB of disk space. When prompted, have VirtualBox create a new virtual hard disk for you.
Installing Kali Linux
With your empty virtual machine created, the next step is to install Kali Linux on it. Think of it like putting a new operating system on a brand-new computer. In your VM's settings, you'll find a section for storage. Here, you can select the virtual CD/DVD drive and point it to the Kali Linux ISO file you downloaded earlier. This is like inserting an installation disc.
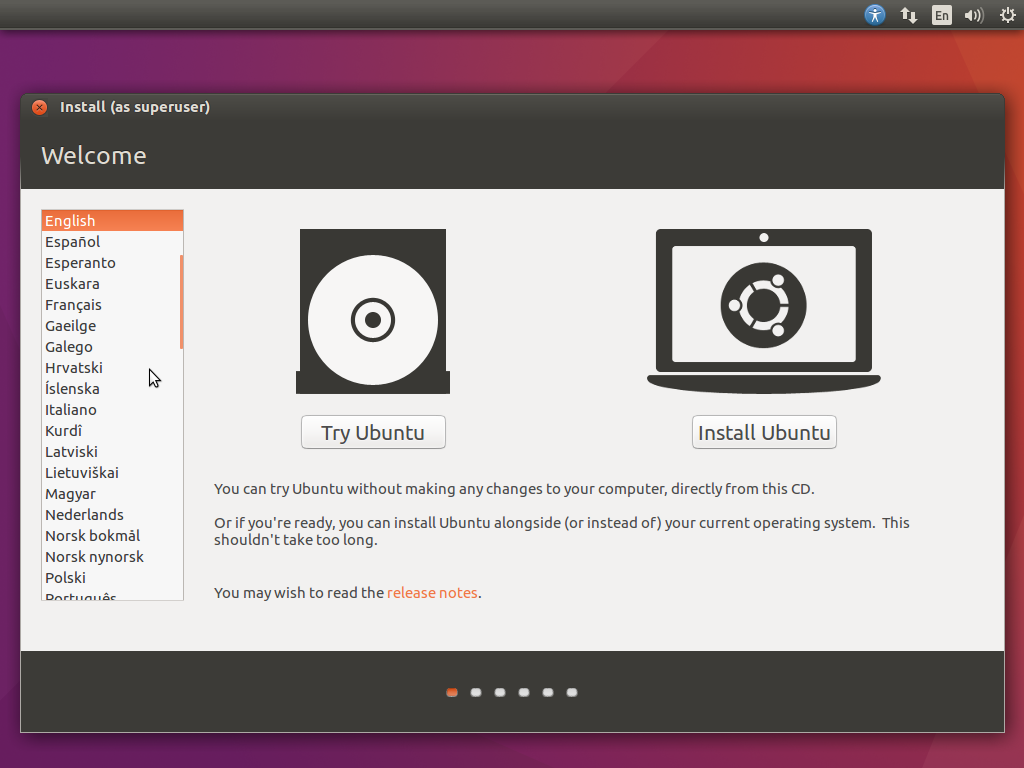
Now, start the VM. Instead of booting into an empty void, it will load the Kali installer from the ISO file. The installer will guide you through the process, asking you to select your language, location, and keyboard layout. It will also ask you to set up a user account with a password. Remember this password, as you'll need it to log in and perform administrative tasks.
The installation process involves partitioning the virtual hard disk. For this lab setup, you can safely accept the default guided partitioning options.
Basic Commands
After the installation is complete and you've logged in, the first thing you should do is update the system. This ensures all the pre-installed software is up to date with the latest security patches and features. You'll do this using the command-line interface, also known as the terminal.
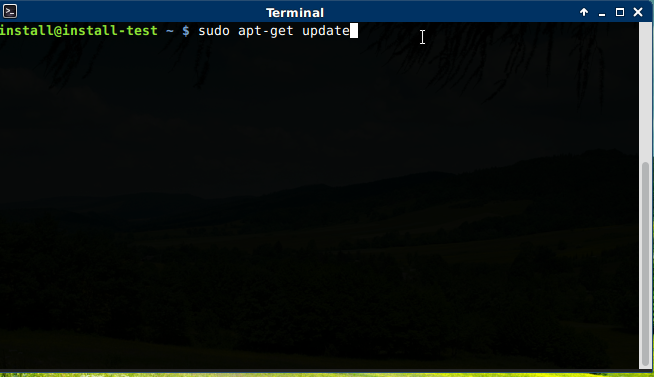
Open the terminal and type the following commands. The first command updates the list of available software packages, and the second upgrades the installed packages to their newest versions.
sudo apt update
sudo apt upgrade -y
The sudo command stands for "superuser do" and it lets you run commands with administrative privileges. You'll be prompted for your password when you use it. Let's look at a few more essential commands for navigating the system.
| Command | Description |
|---|---|
pwd | Print Working Directory (shows your current location). |
ls | List files and directories in the current location. |
cd | Change Directory (used to move to a different folder). |
mkdir | Make Directory (creates a new folder). |
man | Manual (displays the help page for a command, e.g., man ls). |
Let's see how these work together. cd / takes you to the root directory, the base of the entire file system. cd ~ or just cd on its own will always take you back to your home directory.
# Check your current location
pwd

# List the contents
ls

# Move to the Desktop directory
cd Desktop

# Create a new folder for practice
mkdir practice-files
Experiment with these commands. Navigating the file system through the terminal is a core skill for any Linux user. The more you practice, the more natural it will become.
What is the primary benefit of using a virtual lab to practice with Kali Linux?
To install Kali Linux in a new virtual machine, you need to point the VM's virtual CD/DVD drive to a specific file you downloaded. What is this file called?
Getting comfortable with the command line is your first major step into the world of Kali Linux.