JavaScript Fundamentals
Introduction to JavaScript
Bringing Web Pages to Life
Think of a website as a person. HTML provides the skeleton, the basic structure. CSS adds the skin, hair, and clothes, defining the style. But what makes the person move, talk, and react? That's JavaScript.
JavaScript is a programming language that makes web pages interactive. When you click a button and a menu appears, see a photo gallery slide automatically, or get live updates in a news feed without reloading the page, you're seeing JavaScript in action. It's one of the three core technologies of the World Wide Web, working alongside HTML and CSS to create the modern web experiences we use every day.
While HTML and CSS give a page structure and style, JavaScript adds behavior.
Your Coding Toolkit
Getting started with JavaScript is surprisingly simple. You don't need fancy, expensive software. In fact, you likely already have everything you need.
-
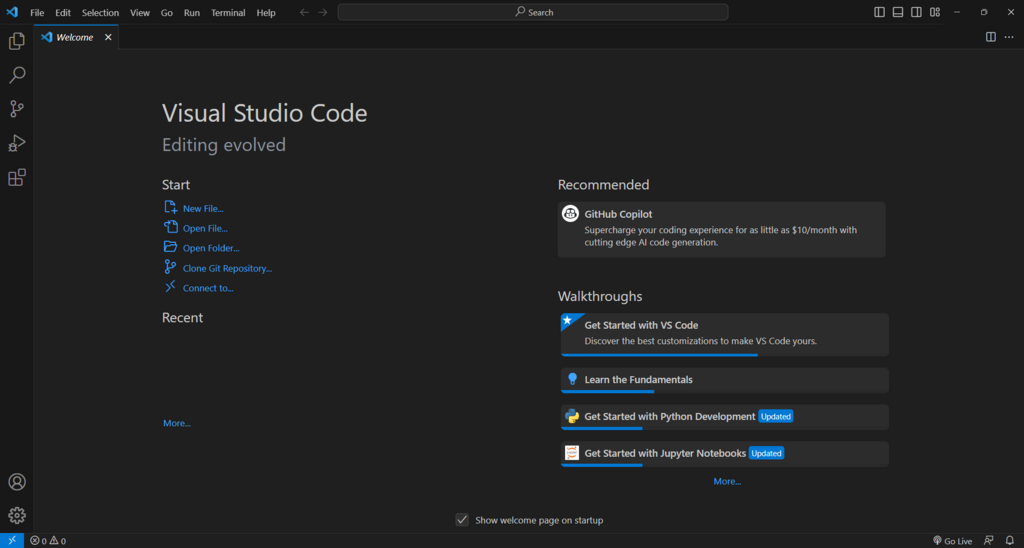
A Text Editor: This is where you'll write your code. While you could use a basic program like Notepad (Windows) or TextEdit (Mac), most developers prefer a dedicated code editor. These editors offer features like syntax highlighting (coloring your code to make it easier to read) and autocompletion. Great free options include Visual Studio Code, Sublime Text, and Atom.
-
A Web Browser: This is where you'll see your code run. Modern browsers like Google Chrome, Mozilla Firefox, and Microsoft Edge come with powerful JavaScript engines built right in. They read your code and execute it to make your web page interactive.
Adding JavaScript to HTML
To make JavaScript work on a web page, you need to connect it to an HTML file. This is done using the <script> tag. There are two main ways to do this.
Internal JavaScript
You can write your JavaScript code directly inside the HTML file. This is great for small scripts or for quick testing. You simply place your code between opening <script> and closing </script> tags, usually just before the closing </body> tag.
<!DOCTYPE html>
<html>
<head>
  <title>My First JS Page</title>
</head>
<body>

  <h1>Hello, World!</h1>

  <script>
    // JavaScript code goes here
    alert('This is an alert from internal JavaScript!');
  </script>

</body>
</html>
External JavaScript For anything more than a few lines, it's best practice to keep your JavaScript in a separate file. This keeps your project organized and allows you to reuse the same script on multiple pages.
First, create a new file and save it with a .js extension, like myscript.js. Then, link to it from your HTML file using the src attribute in the <script> tag.
<!-- In your index.html file -->
<script src="myscript.js"></script>
Linking to an external file is the preferred method for most web development projects.
Using the Browser Console
One of a web developer's most important tools is the browser console. It's a built-in part of your browser's developer tools that lets you test snippets of JavaScript code, see messages from your scripts, and debug problems.
To open it in most browsers, you can right-click anywhere on a webpage and select "Inspect" or "Inspect Element." Then, click on the "Console" tab. You can also usually open it with a keyboard shortcut like Ctrl+Shift+J (Windows) or Cmd+Option+J (Mac).
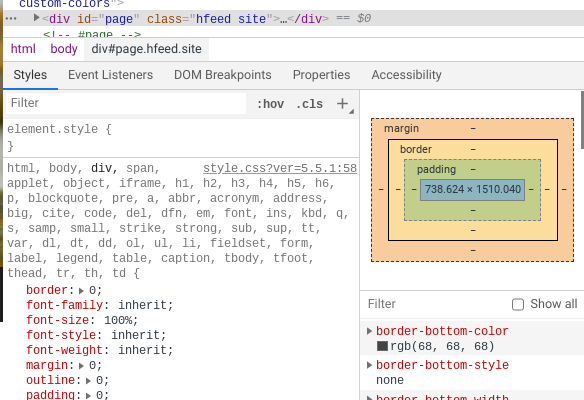
Once the console is open, you'll see a prompt where you can type. Let's try a common command: console.log(). This command prints messages to the console, which is incredibly useful for checking the value of variables or seeing if a part of your code is running.
// Type this into the console and press Enter
console.log('Hello, console!');
You'll see the message "Hello, console!" appear. This simple tool is fundamental for writing and troubleshooting JavaScript.
In the analogy of a website as a person, if HTML is the skeleton and CSS is the style (skin, hair, clothes), what role does JavaScript play?
Which of the following are the two essential tools you need to start writing and running JavaScript?
You now have the basic setup for writing JavaScript. You know what it's for, what tools you need, and how to run your first commands. You're ready to start building dynamic web experiences.