GitHub Essentials for Beginners
Git Environment Setup
Git vs. GitHub
Before we start, let's clear up a common point of confusion: the difference between Git and GitHub.
Think of Git as a program you install on your computer. Its job is to track the history of your project's files. It’s like a personal time machine for your work, saving snapshots of your code so you can revisit any past version. Git works entirely on your local machine, without needing an internet connection.

GitHub, on the other hand, is a website. It’s a cloud-based service that hosts your Git projects. Think of it as a social network for coders where you can store a backup of your project history online, share your work, and collaborate with other people. You use Git on your computer to manage your project, and then you use GitHub to store a copy of it and work with a team.
In short: Git is the tool, and GitHub is the place you store and share what you build with that tool.

Installing and Verifying Git
The first step is to install Git on your computer. It's free software available for Windows, macOS, and Linux. The easiest way to get it is from the official Git website. The site will automatically suggest the correct version for your operating system.
During installation, you'll be presented with several options. For now, you can safely accept all the default settings. The goal is just to get it installed.
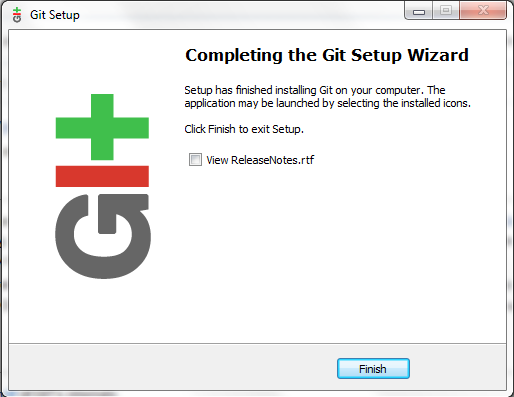
Once the installation is complete, you need to verify that it worked. You'll do this using the terminal, also known as the command-line interface (CLI). This is a text-based application for running commands on your computer.
Open your terminal (on macOS, you can find it in Applications > Utilities; on Windows, you can use Git Bash, which was installed with Git) and type the following command, then press Enter:
git --version
If Git is installed correctly, you'll see a message with the version number, something like git version 2.39.2. The exact number doesn't matter, as long as a version is reported. This confirms that your computer now understands Git commands.
Tell Git Who You Are
Now that Git is installed, you need to introduce yourself. Every change you save in Git, called a "commit", is tagged with an author's name and email. This is essential for keeping track of who made which changes, especially when working in a team. Each change is to an author, creating a secure and trustworthy project history.
To set your identity, you'll use the git config command. Run these two commands in your terminal, one after the other. Replace the placeholder text with your actual name and email address. Use the same email you plan to use for your GitHub account.
git config --global user.name "Your Name"
git config --global user.email "youremail@example.com"
The --global flag tells Git to use these settings for every project you work on with this computer. You only need to do this once per machine.
To double-check that your information was saved correctly, you can ask Git for the current settings:
git config --global user.name
git config --global user.email
Running each command should display the name and email you just entered. Your computer is now set up and ready to start using Git for version control.