Crafting an Iced Latte Candle
Candle Making Basics
The Heart of the Candle: Wax
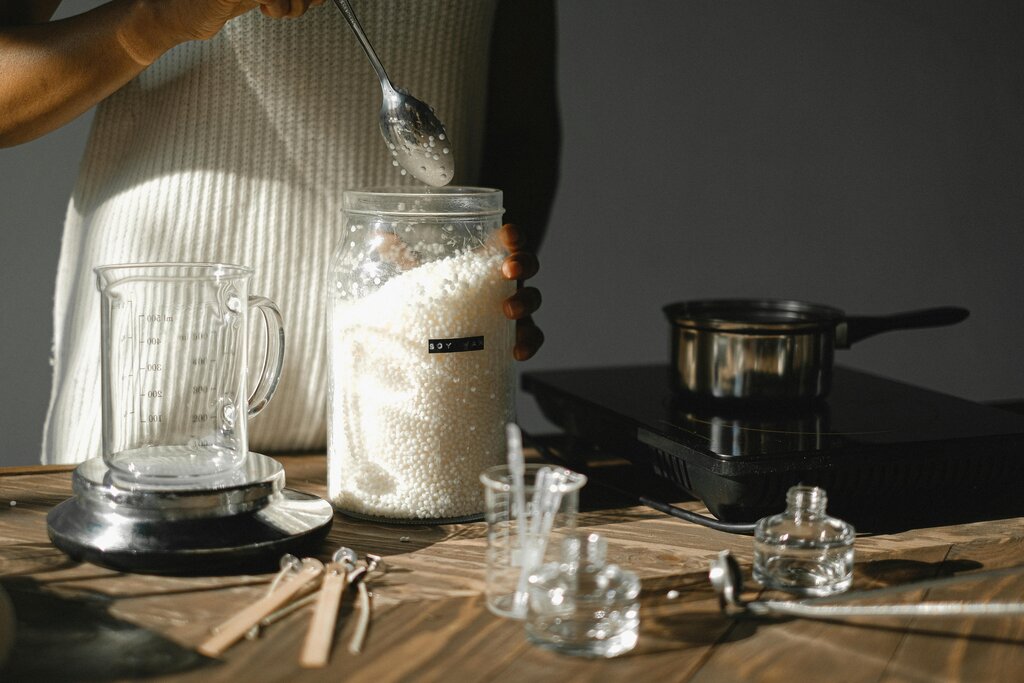
The foundation of any candle is its wax. The type you choose affects everything from burn time to scent throw—how well the fragrance fills a room. While countless blends exist, most candle makers start with one of three main types.
Select the appropriate wax for your candles, such as paraffin, soy wax, beeswax, or a blend.
Each has unique properties, making them suitable for different kinds of candles and projects.
| Wax Type | Source | Common Characteristics |
|---|---|---|
| Paraffin Wax | Petroleum byproduct | Inexpensive, excellent scent throw, can be blended for different hardness levels. It is the most traditional candle wax. |
| Soy Wax | Soybeans (vegetable) | Natural and renewable, burns cleaner and slower than paraffin. It's soft and popular for container candles. |
| Beeswax | Honeycomb | All-natural, has a subtle honey scent, and burns very cleanly with a bright flame. It is a harder wax, great for pillar candles. |
For beginners, soy wax is often the top recommendation. It's forgiving to work with, readily available, and holds scents well.
Wicks, Additives, and Tools
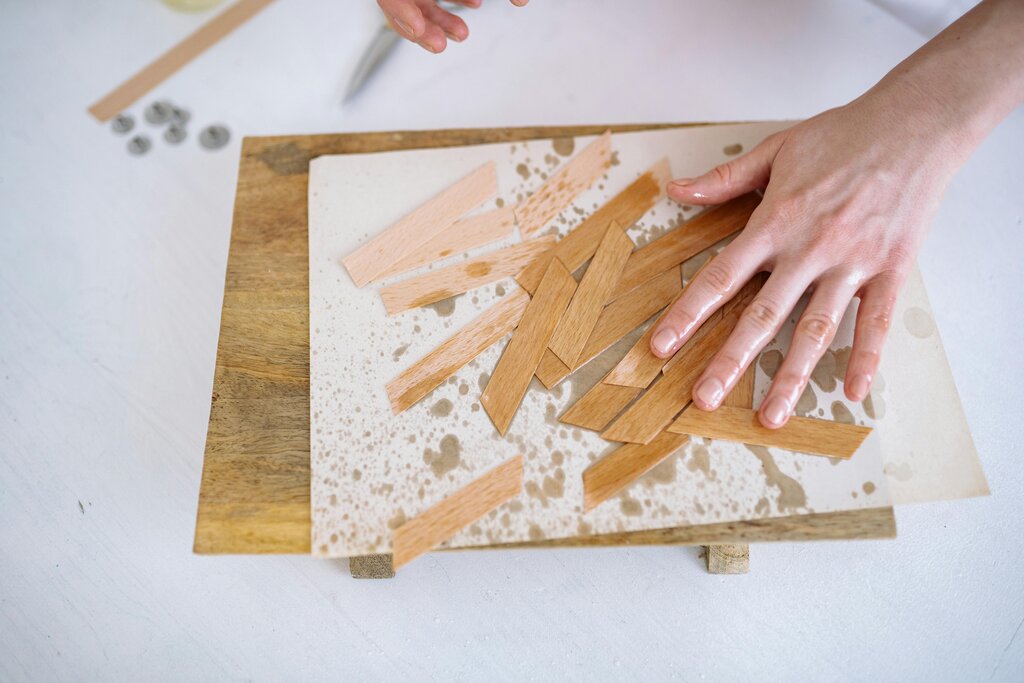
Once you've chosen a wax, you need a wick. This is the braided material, usually cotton or wood, that draws up the melted wax to fuel the flame.
wick
noun
A strip of porous material that draws up liquid fuel, such as molten wax, by capillary action to the flame in a candle.
The size of your wick is critical. A wick that's too small will create a tunnel, leaving wax stuck to the sides of the container. A wick that's too large will produce a dangerously high flame, smoke, and soot. Wick size should be matched to the diameter of your container and the type of wax you're using. Most suppliers provide charts to help you choose the right one.
Beyond wax and wicks, you can use additives to customize your candles. The most common are fragrance oils for scent and dyes for color. Fragrance oils are specially formulated for candle making to ensure they burn safely and smell great. Dyes can come in liquid, block, or flake form.
To get started, you'll need some basic equipment. Most of this can be found in your kitchen or at a craft store.
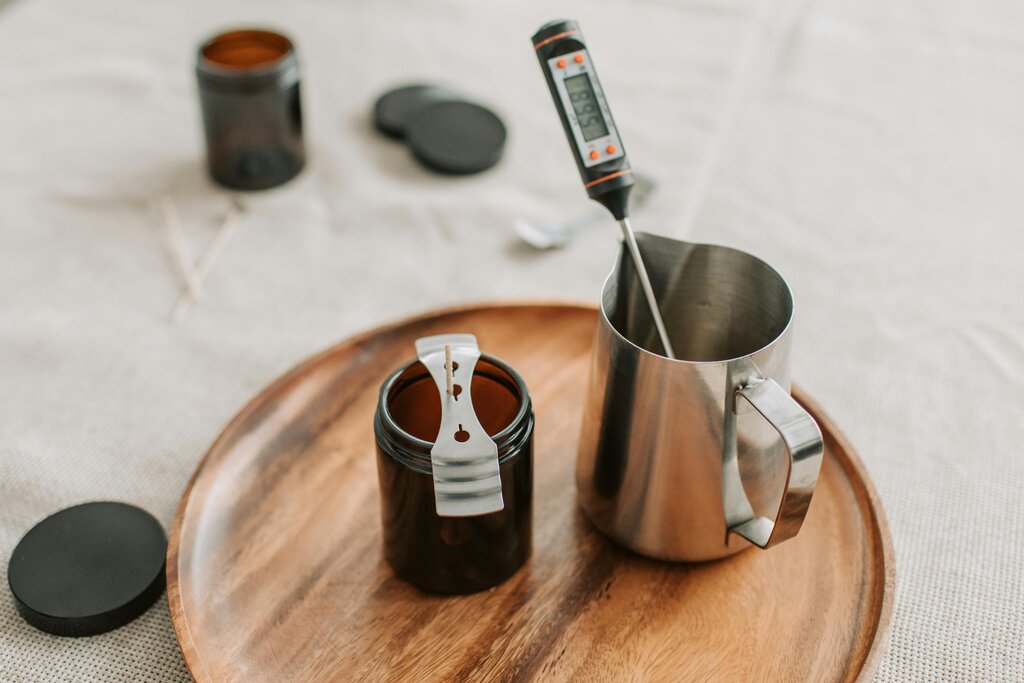
Essential Gear: • A double boiler or a dedicated pouring pot and a saucepan • A digital kitchen scale for accurate measurements • A candy or digital thermometer • A container for your candle (like a glass jar) • Wick clips or clothespins to hold the wick centered • Stirring utensils (like a silicone spatula or wooden skewer)
The Basic Process
Candle making is a straightforward process, but it requires care and attention to detail. Safety is the top priority. Wax is flammable at high temperatures, and melted wax can cause serious burns. Never leave melting wax unattended, and always work in a well-ventilated area away from children and pets.
Always have a fire extinguisher nearby and never pour wax down the drain, as it will solidify and clog your pipes.
Here are the fundamental steps to making a simple container candle:
- Preparation: Measure your wax using a kitchen scale. A good rule of thumb is that the amount of solid wax flakes you need by weight is roughly 85-90% of the volume of your container. Prepare your container by cleaning it and securing the wick to the bottom center with a dab of hot glue or a wick sticker.
- Melting: Gently melt the wax in a double boiler. If you don't have one, place your pouring pot inside a larger saucepan filled with a few inches of water. Heat the wax slowly and stir occasionally. Use a thermometer to monitor the temperature, following the recommendation for your specific wax type.
- Adding Fragrance and Color: Once the wax is fully melted and has reached the recommended temperature, remove it from the heat. This is the time to stir in any fragrance oil or dye. Mix thoroughly but gently for about two minutes to ensure everything is fully incorporated.
- Pouring: Let the wax cool slightly to the recommended pouring temperature. This helps prevent cracking and sinkholes. Pour the wax slowly and steadily into your prepared container, avoiding the wick. Use a clothespin or wick clip laid across the top of the container to keep the wick centered and upright.
- Setting: Let the candle cool completely at room temperature on a flat, protected surface. Avoid placing it in the fridge or a cold area, as rapid cooling can cause defects. This curing process can take several hours or even a full day. Once it's solid, trim the wick to about 1/4 inch before lighting.
Ready to test what you've learned?
What is the most recommended type of wax for beginners due to its forgiving nature?
If you burn a new candle and it produces a dangerously high flame and black soot, what is the most likely cause?
With these fundamentals, you have a solid base for creating all kinds of beautiful candles.