CapCut Video Editing Essentials
Getting Started
Getting the App
CapCut is a free video editing app that works on just about any device. You can use it on your phone, tablet, or computer. Getting it is straightforward.
If you're on an iPhone or iPad, find it in the App Store. For Android devices, head to the Google Play Store. On a Mac or Windows computer, you can download it directly from the official CapCut website. The installation is quick, and you don't need to create an account to start editing.
Because it's available on both mobile and desktop, you can start a project on your phone and finish it on your computer, though that's a more advanced workflow we'll touch on later.
Starting a New Project
Once you've installed and opened CapCut, you'll see a clean, simple interface. The most prominent button will be something like "New project." Tap or click this to get started.
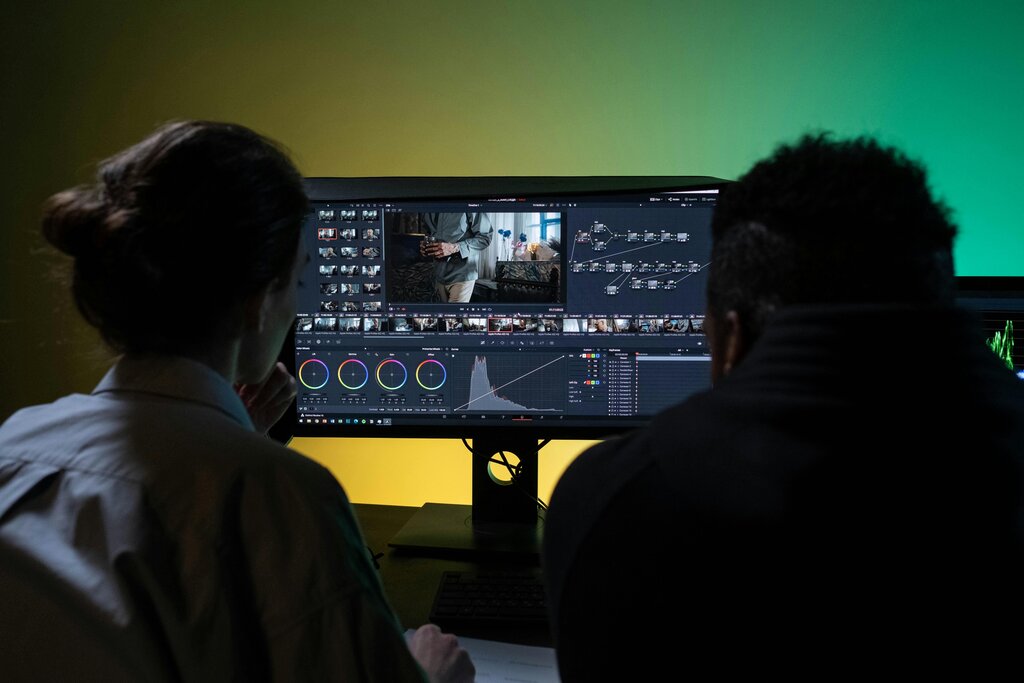
Creating a new project opens up your editing workspace. This space is organized into a few key areas which we will explore in detail. For now, think of it as your digital cutting room floor. It's a blank canvas waiting for your video clips, photos, and audio.
Adding Your Clips
A video project is empty without media. The next step is to import the video clips or photos you want to use. When you start a new project, CapCut will usually prompt you to select your media right away.
On a mobile device, you'll need to give the app permission to access your photo library. Then, you can scroll through your camera roll and tap to select all the files you want to include. On a desktop, you can click an "Import" button to browse for files on your computer or simply drag and drop them into the project window.
You can select as many clips as you like. Once you've chosen your files and confirmed, CapCut will pull them into your project. You'll see them arranged in the media panel and on the main editing timeline at the bottom of the screen. Now, you're ready to start arranging them and trimming them down.