AutoCAD for Mac Interior Design Mastery
AutoCAD for Mac Interface
AutoCAD on a Mac
If you're used to Windows software, the AutoCAD interface on a Mac might feel a little different. Instead of the large, tabbed Ribbon bar common on Windows, the Mac version leans into a more traditional macOS design with a main menu bar at the top of the screen and floating palettes for tools and properties. It's a cleaner, more minimalist approach that can be tailored to your specific workflow.
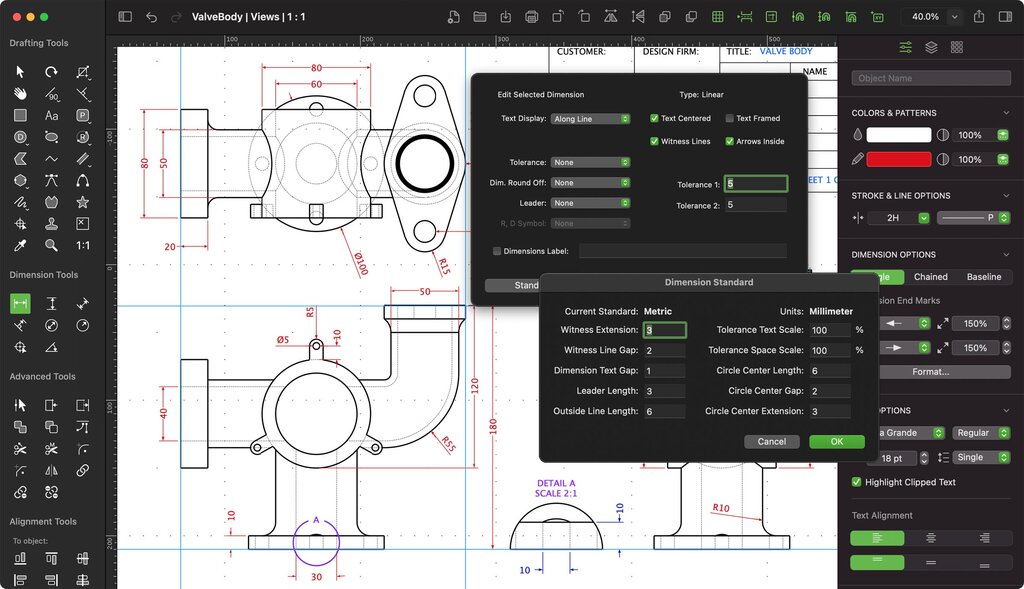
This setup allows you to place your most-used tools exactly where you want them, even on a second monitor, keeping your main drawing area as uncluttered as possible. Let's break down the key components you'll interact with.
Core Interface Palettes
Three main palettes form the heart of your interaction with AutoCAD on a Mac: the Tool Sets, the Command Window, and the Properties Inspector. You can open or close these from the 'Window' menu in the menu bar.
The Tool Sets Palette groups commands by function, like 'Draw', 'Modify', and 'Dimension'. Think of it as your digital toolbox. You can expand or collapse each set to show only the tools you need. For an interior design project, you might keep the Draw and Dimension sets expanded while collapsing others you use less frequently.
The Properties Inspector is your control panel for any selected object. Click on a line, a piece of furniture, or a dimension, and this palette instantly updates to show all its attributes: its layer, color, linetype, measurements, and more. This is where you'll make precise adjustments to the elements in your design.
Finally, the Command Window offers a powerful, text-based way to work. Instead of clicking a tool icon, you can simply type the command name, like LINE or CIRCLE. As you type, AutoCAD will suggest commands, making it a very fast way to work once you learn the basic command aliases.
For example, typing
Land pressing Enter is the fastest way to activate the Line tool. Many experienced users rely almost entirely on the Command Window.
Customizing Your Workspace
The real power of the Mac interface is its flexibility. You are not locked into a single layout. You can drag the palettes anywhere on your screen, dock them to the sides, or have them auto-hide to maximize your drawing space. This is especially useful for interior designers who need to focus on the visual details of a floor plan.
To customize your setup, simply click and drag the title bar of any palette. As you drag it toward the edge of the screen, a transparent outline will show you where it will dock. You can also stack palettes on top of each other to create tabs.
Once you have an arrangement you like, you can save it as a custom workspace. Go to Window > Workspaces > Save Workspace As... in the menu bar. This allows you to create different layouts for different tasks, such as one for drafting floor plans and another for creating presentation layouts, and switch between them instantly.
What is the primary difference in the user interface between AutoCAD for Mac and AutoCAD for Windows, according to the text?
If you select a line in your drawing and want to change its color and linetype, which palette would you use?
Getting your workspace set up properly is a key first step. It makes the software feel more personal and streamlines your entire design process.