Advanced Pesticide Application Techniques
Precision Equipment Calibration
Pre-Calibration Inspection
Calibration starts before you ever turn the pump on. It begins with a thorough inspection of your sprayer. Think of it as a pre-flight check for your equipment. A perfectly calculated application rate means nothing if your gear is faulty.
Start with the tank. Make sure it's completely clean and free of any residue from previous applications. Check the hoses for any cracks, leaks, or weak spots, especially at connection points. Clogged filters are a common source of pressure problems and uneven spray patterns, so inspect and clean all of them—the main filter, in-line filters, and individual nozzle screens.
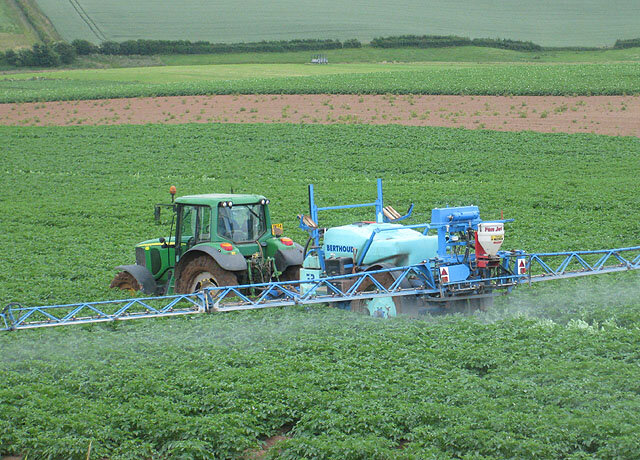
Finally, examine the nozzles. They are the most critical component for uniform coverage. Remove and inspect each one for visible damage or signs of , which can dramatically alter flow rate and spray pattern. Even small, invisible changes from abrasive pesticide formulations can cause big problems in the field. Using a soft brush, clean any nozzles that are dirty, but never use a metal object that could damage the orifice.
Calibrating Your Ground Sprayer
With your equipment checked and ready, the next step is to calibrate for your target application rate, typically expressed in (GPA). This process involves three key variables: your ground speed, your nozzle spacing, and your nozzle flow rate.
First, determine your actual ground speed. Don't rely on the tractor's speedometer, as wheel slip and terrain can affect it. To measure it accurately, mark out a test course in the field where you'll be spraying—typically 100 to 200 feet. Fill the sprayer tank at least halfway with water. Get the sprayer up to your intended application speed before you reach the starting mark, and record the time it takes to travel the course. Do this a few times and average the results for accuracy.
Next, measure the nozzle flow rate. With the sprayer parked and running at your desired operating pressure, place a collection jar under a single nozzle for a set amount of time, like 30 or 60 seconds. Measure the collected water in ounces. Repeat this for several nozzles across the boom to check for uniformity.
As a rule of thumb, if any nozzle's flow rate varies by more than 10% from the average of all nozzles tested, you should replace it. In fact, if you find several worn nozzles, it's best practice to replace the entire set to ensure a uniform spray pattern.
Now you have all the pieces to calculate your sprayer's output.
If your calculated GPA doesn't match the rate required on the pesticide label, you need to make adjustments. Small changes can be made by altering the pressure. Increasing pressure increases flow rate, while decreasing pressure lowers it. However, be careful: large pressure changes can distort the spray pattern and affect droplet size. The best way to make significant changes to your GPA is by changing your travel speed or by switching to nozzles with a different flow rate.
Notes on Aerial Equipment
Calibrating aerial equipment, like helicopters or crop dusters, follows similar principles but with added complexity. Ground speed is now flight speed, and instead of nozzle spacing, the critical measurement is the effective , which is the width of the area covered by the spray.
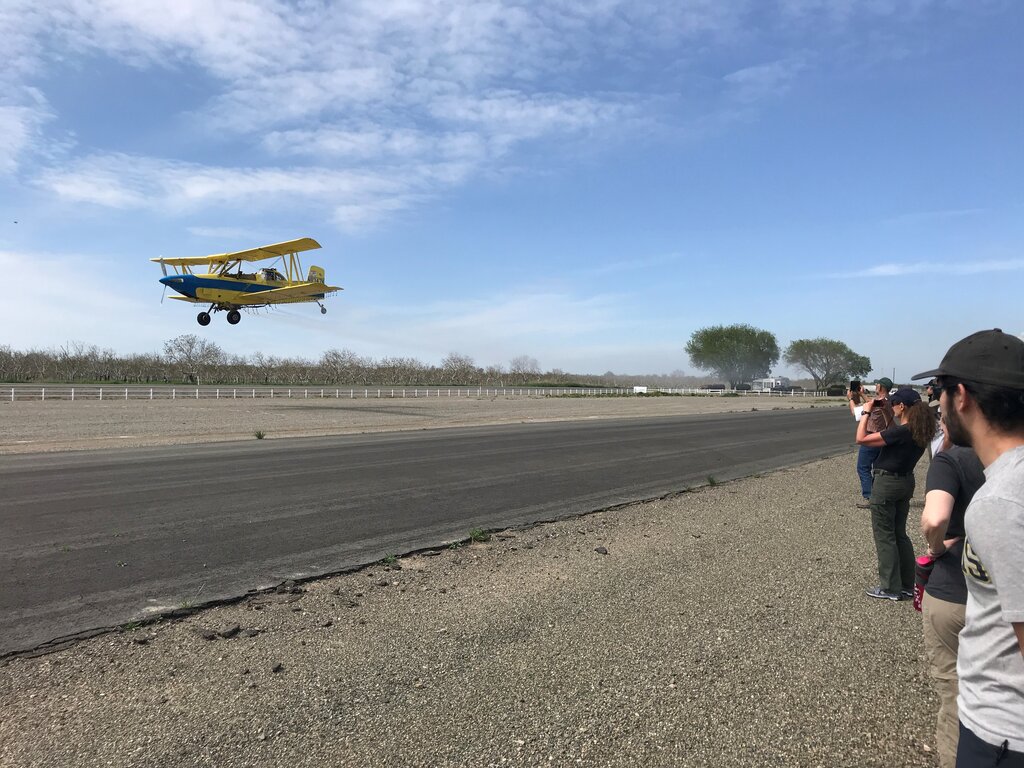
Pilots use specialized equipment to test the spray pattern and ensure it's uniform across the entire swath. Nozzle flow rates are checked, and adjustments are made to pressure and flight speed to hit the target GPA. Because of the high speeds and large areas involved, precision is paramount.
According to the pre-flight check analogy, what is the very first step in calibrating your sprayer?
What is the most common cause of pressure problems and uneven spray patterns mentioned in the text?
Whether on the ground or in the air, accurate calibration is the key to safe, effective, and economical pesticide application. It turns guesswork into precision.