Advanced Image Clarity and Restoration
Frequency Based Edge Control
Separating Texture from Tone
Standard sharpening tools are blunt instruments. They increase contrast along edges, but they don't distinguish between the fine texture you want to sharpen and the smooth color gradients you want to protect. The result is often crunchy, over-sharpened images with harsh halos.
A more surgical approach is to split the image into its core components. Every image is a combination of two things: high-frequency information (fine details, like skin pores, fabric weaves, or hair strands) and low-frequency information (broad shifts in color and tone, like the smooth curve of a cheek or the soft gradient of a sky). This technique is called frequency separation and it gives you independent control over each.
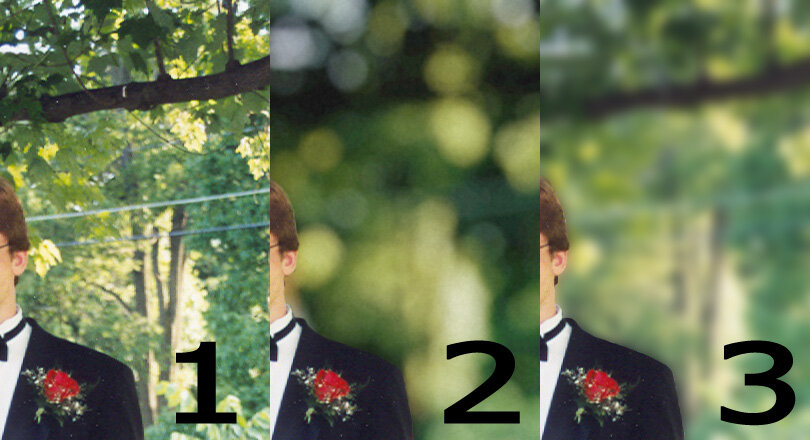
The goal is to create two new layers. One, the 'Low Frequency' layer, will hold all the color and tonal data. It will look like a blurred version of your original image. The other, the 'High Frequency' layer, will hold only the texture and edge details. It will look like a flat, gray canvas with just the outlines and fine patterns visible.
When these two layers are recombined using a specific blending mode, they perfectly reconstruct the original image. But now, you can apply sharpening exclusively to the high-frequency layer, enhancing texture without corrupting colors or creating halos.
The Setup Process
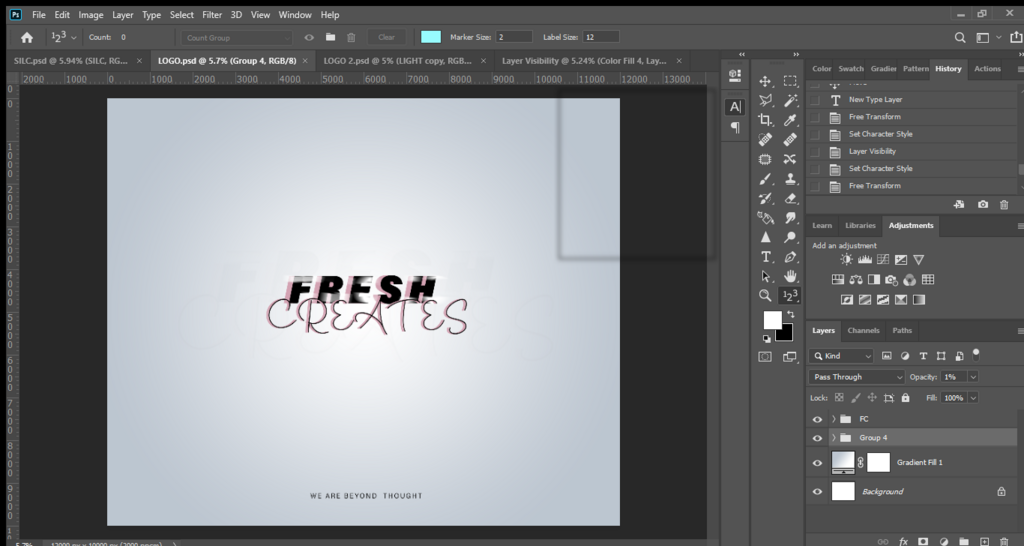
Let's walk through the setup in Photoshop. Start by duplicating your background layer twice. Name the bottom copy 'Low Frequency' and the top copy 'High Frequency'.
- Create the Low Frequency Layer: Select the 'Low Frequency' layer and turn off the visibility of the 'High Frequency' layer for now. Go to
Filter > Blur > Gaussian Blur. The key here is the radius value. You want to choose a radius that blurs out the fine details you intend to sharpen, but not so much that the main forms become unrecognizable. A good starting point for a portrait might be a radius that just blurs away skin pores. This radius value is critical because it defines the boundary between your high and low frequencies. A larger radius isolates larger details in the high frequency layer.
Think of the Gaussian Blur radius as a net. A small radius is a fine mesh that only lets the smallest details pass through to be blurred, while a large radius is a wide net that blurs much larger features.
- Extract the High Frequency Layer: Now, make the 'High Frequency' layer visible and select it. This is where the magic happens. Go to
Image > Apply Image. This tool performs calculations between the pixels of two different layers.
Your dialog box should be set up to subtract the blurred 'Low Frequency' layer from the current 'High Frequency' layer. The settings depend on your image's bit depth:
- For a 16-bit image: Layer:
Low Frequency, Blending:Subtract, Scale:2, Offset:0. - For an 8-bit image: Layer:
Low Frequency, Blending:Subtract, Scale:2, Offset:128.
After applying this, your 'High Frequency' layer will turn into a neutral gray image containing only the details that were blurred out of the low-frequency layer. The offset value of 128 for 8-bit images is used because it represents 50% gray, the neutral point for this operation.
- Reconstruct the Image: The final step is to blend these two layers back together. Change the blending mode of the 'High Frequency' layer to Linear Light. Your image should look exactly as it did when you started. If it does, you've successfully separated the frequencies without any data loss.
You now have a setup where you can sharpen the 'High Frequency' layer using any tool you like, such as Unsharp Mask or a High Pass filter, without any risk of creating color halos or blotchiness. You're operating only on the texture.
Spatial vs. Tonal Frequency
It's important to clarify what 'frequency' means in this context. We're talking about spatial frequency, not tonal frequency. Spatial frequency refers to how rapidly the image information changes across a physical distance in the photo.
- High Spatial Frequency: Rapid changes. Think of the fine threads in a piece of clothing, individual strands of hair, or wood grain. These details change from light to dark very quickly over a small number of pixels.
- Low Spatial Frequency: Slow changes. A clear blue sky, soft shadows on a wall, or smooth skin tones are examples. The color and brightness change very gradually over large areas.
Tonal information, on the other hand, just refers to the brightness and color values themselves, regardless of how they are arranged. Frequency separation allows us to edit spatial details without altering the underlying tonal and color foundation.
Focus on mastering layers, blend modes, and selection tools first.
By isolating spatial frequencies, you gain an incredible amount of control. You can sharpen the high-frequency texture of a brick wall while simultaneously smoothing out subtle color blotches on the low-frequency layer. This dual control is the hallmark of professional retouching.
Now, let's test your understanding of these concepts.
What is the primary advantage of using frequency separation for sharpening an image?
Which of the following would be considered 'high spatial frequency' information in a photograph?
Mastering this technique moves you from simply applying filters to truly sculpting the details of an image.